Adobe Draw App for Fashion– it’s time to check it out!
Adobe Draw App for Fashion? How’s that?
Here’s some background, and samples of what you can do with it from my portfolio.
Hi! I”m Laura Volpintesta.
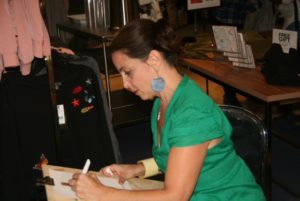
I’m a fashion designer and illustrator, Founder of FashionIllustrationTribe.com and a 20 years faculty, Assistant Professor of Fashion at Parsons School of Design . I’m an author, speaker, and performing artist who loves sparking creativity in others!
SO
It’s officially called Adobe Illustrator Draw App. Adobe Draw for short.
IT’S a WONDERFUL APP because you can use it FREEHAND!
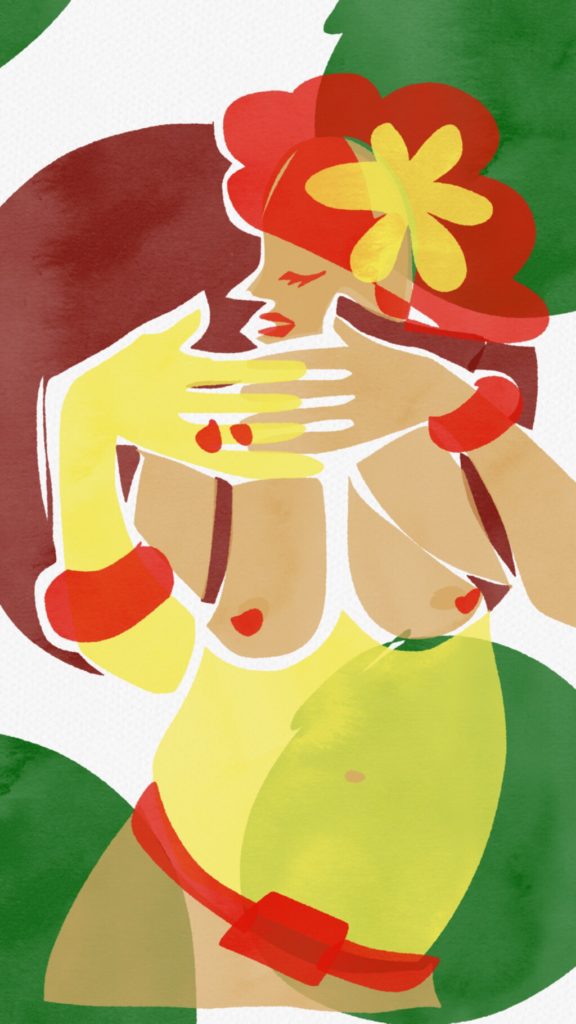
Here is a squiggly sampler of it’s smooth lines and edges, and the variety of opacities and color.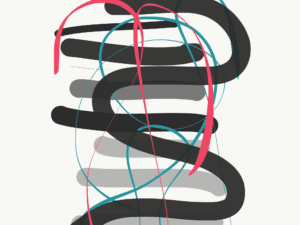
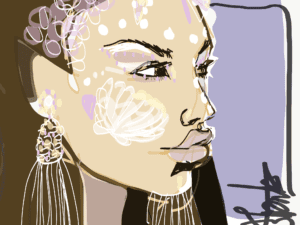
And here’s a detail from an illustration I did of a mermaid (below).
Notice there is only flat opaque color, and flat sheer color.
When you layer sheer colors over each other, the overlapping areas will give some nice changes in tone, like on her cheek.
I’m a freehand fashion illustrator.
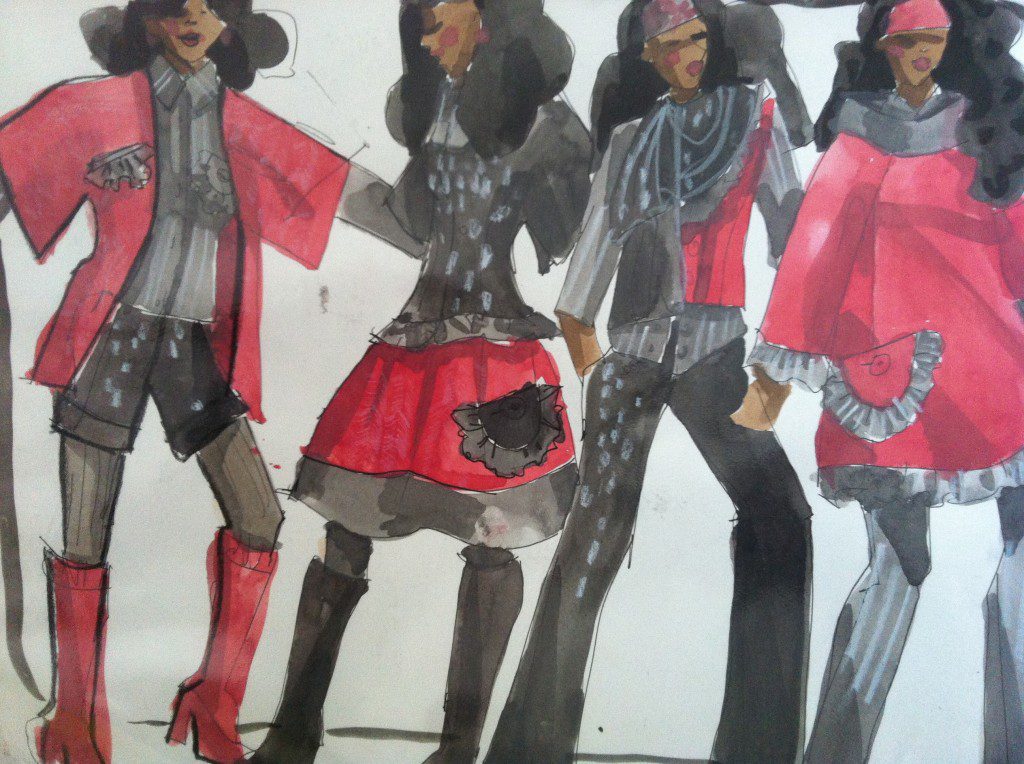
I used to work exclusively in gouache, pencils, watercolor, ink pens. An “all natural” gal.
I resisted digital fashion illustration FOR-EVER because I had taken Adobe Photoshop and Adobe Illustrator courses in the late 90s and knew it was NOT for me. My students at Parsons were using Photoshop and Illustrator to create images that I felt were flat, cold, and hard. I couldn’t feel the emotion in them.
The experience of drawing was like: Click- point- click- enter numbers in tiny little boxes–drag, point, click. That didn’t feel “BEAUTIFUL” to me!
UGH! It was frustrating
because while I was also a technical designer, in my illustrations I wanted to be expressive, impulsive, comfortable and immediate.
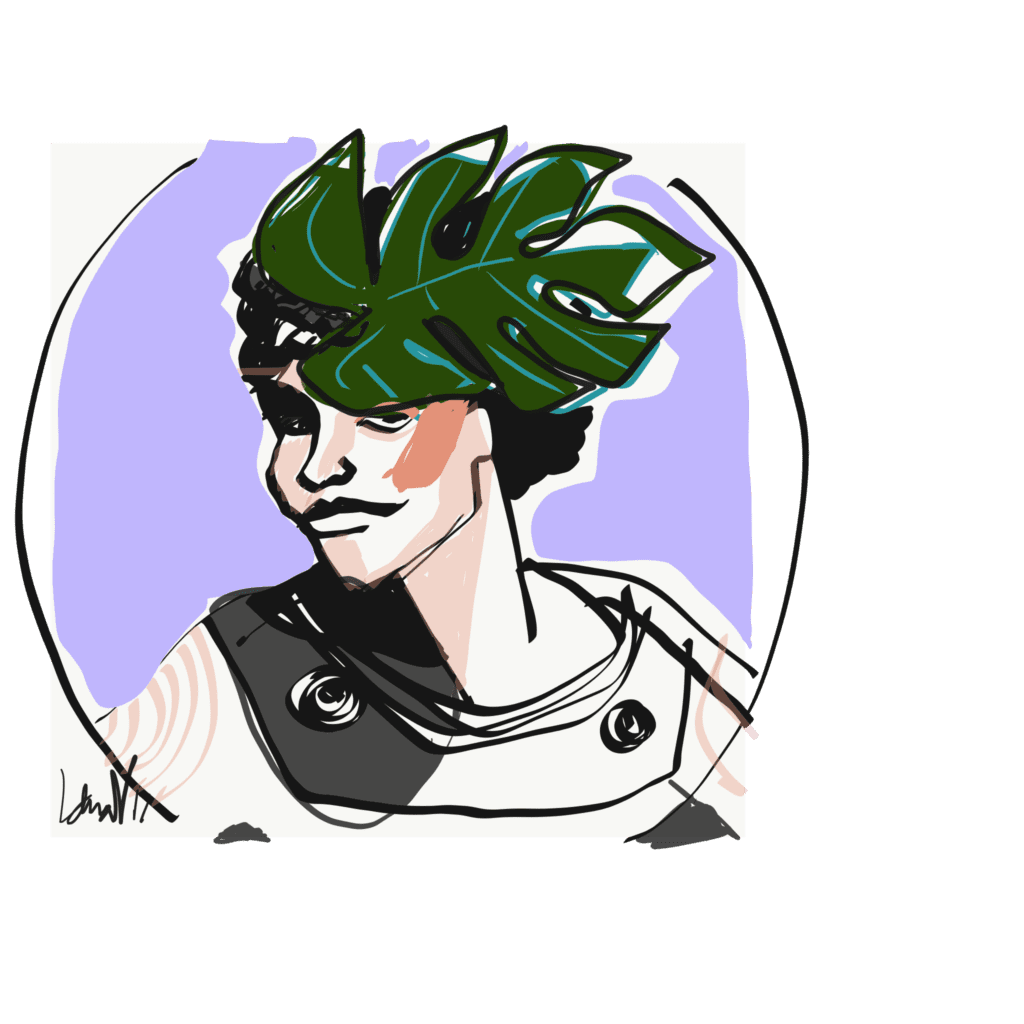
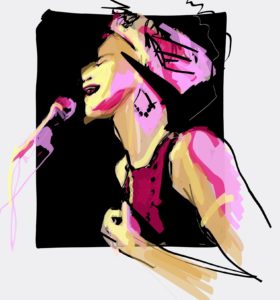
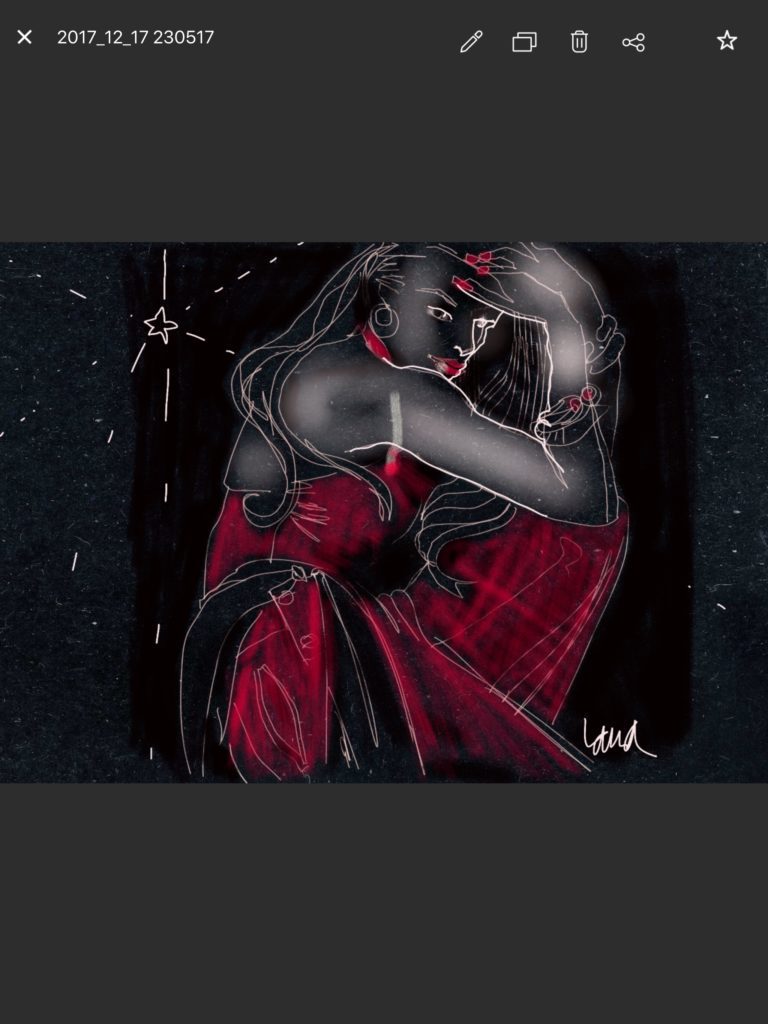
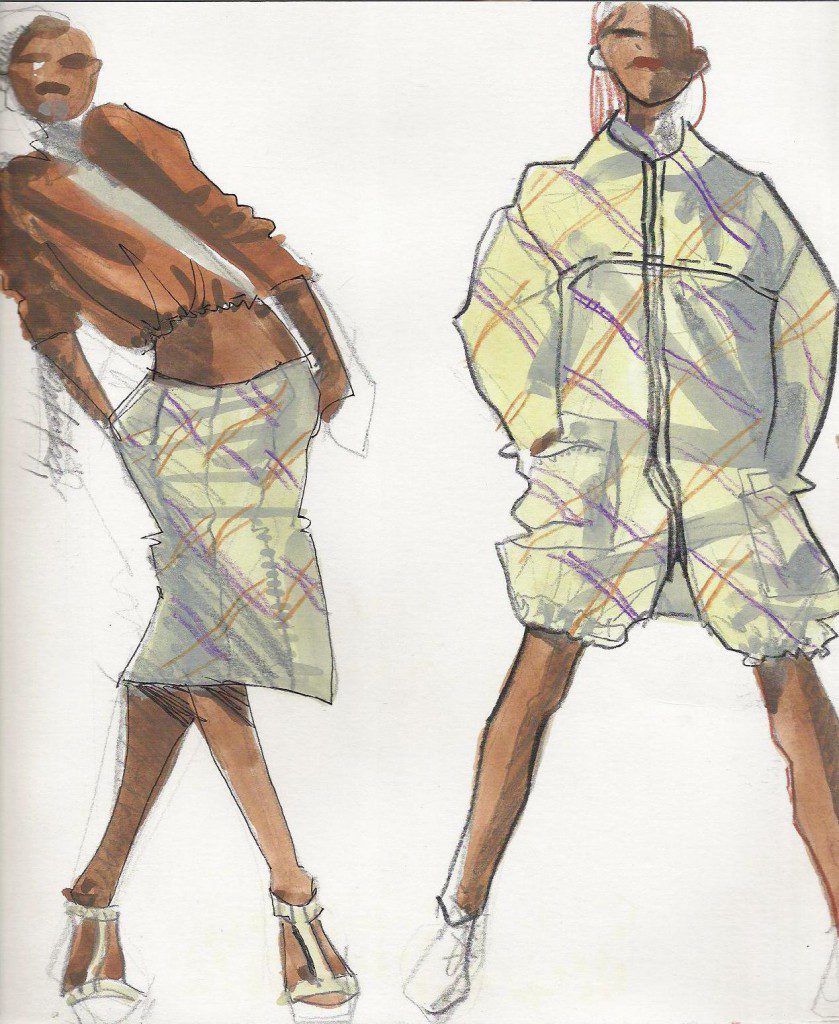
Like this one below. But this, I created on ADOBE DRAW APP, so…… what happened?
WHY did I get into digital painting?
I had been struggling
as I shared my artwork on social media, it lacked the brightness that I wanted to have when I showed up in newsfeeds.
So I started looking at apps for drawing, painting, and illustrating.
Many were annoyingly techy, clunky, with a ZILLION options to choose from for every little little action. Not intuitive, not impulsive, not easy to learn.
Adobe Draw was different.
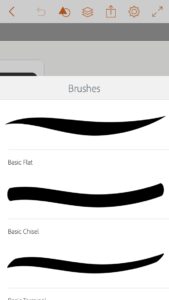
Just 5 simple tools to choose from. Vector drawing means that the images I create in Adobe draw can be blown up infinitely in size! How cool is THAT?
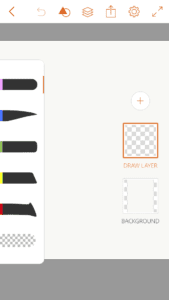
Here they are, at the left, as they appear on Iphone (much more spread out on IPad or Tablet)
- rounded tip
- tapered tip
- flat tip
- chisel tip
- eraser
- more
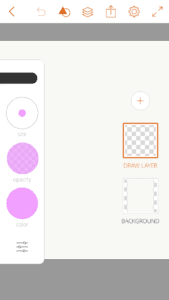
At the right hand side of the screen, you can see the layers. Layers give you the ability to save your work and continue new work on a new layer…. so your earlier work is protected.
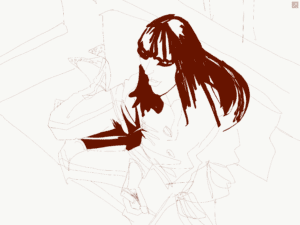
Another fun way to use layers is as an “undersketch”. That means, you can sketch out your idea, but then do your clean, finished drawing OVER IT on a new layer, like a tracing! You can even use a slider on the underlayer to make it less opaque so that it’s just a whisper of an image in the background. I LOVE to use “undersketches ” a lot of the time.
Other times, I just dive in headfirst in my process.
Here are how the lines look/work
You can make transparent images like logos, too, in Adobe Draw, that you can overlay over anything. AWESOME.
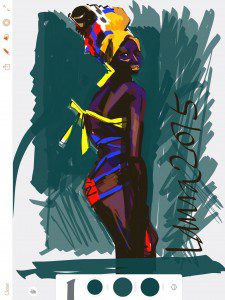
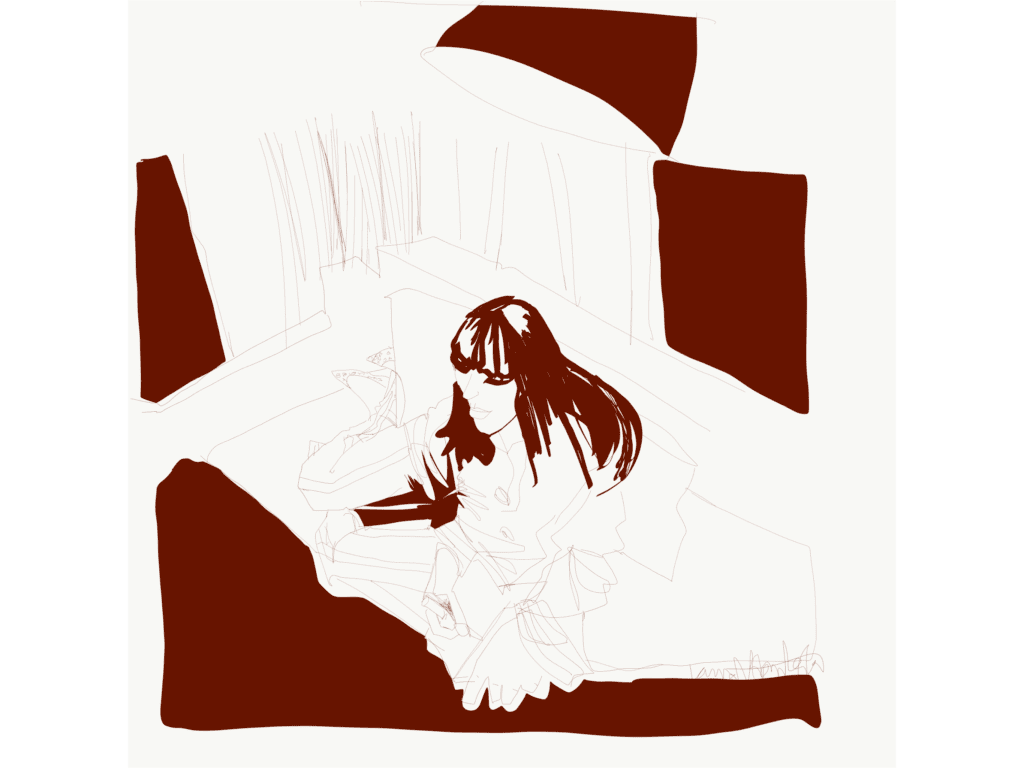
Adobe Draw app for fashion or any kind of art also has the ability to do extremely fine lines, like you see here. If you draw a closed shape and hold your stylus or finger down , the closed shape will fill itself in with solid color. That’s how I did the shapes around the model as well as the shadows on her hair.
As an illustrator,
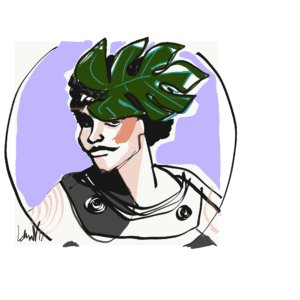
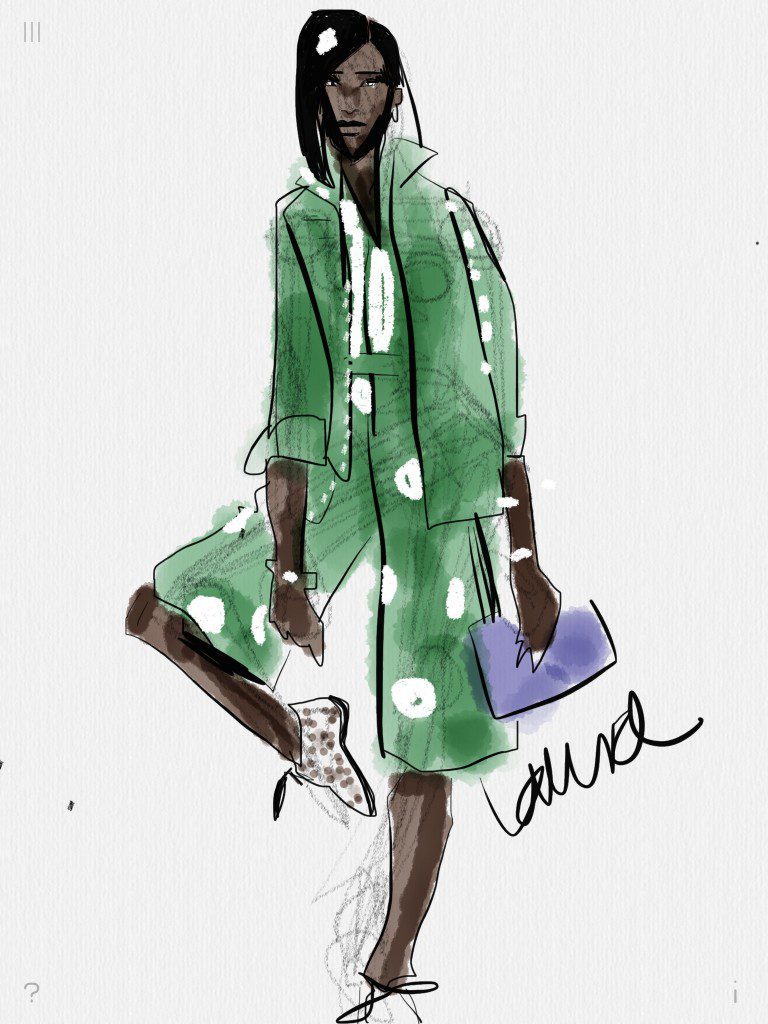
here are some of the effects I’ve gotten by using the clean tools in Adobe Draw app for fashion.
I teach how I use it (and also two other apps I love) in my ABOUT FACES digital drawing course for the ipad/android tablet. In it you can learn to use Adobe Draw and two other inexpensive wonderful apps I use for fashion illustration and see how it is quite different, and whether/ how it works for you.
Vector Drawing?
The main difference with Adobe Draw is that it is a vector drawing ( you can blow it up in size)and that the tools are flat and smooth edged and smooth surfaced, not organic looking but slick. Choose any color you want, and go! You can adjust the size and opacity/ sheerness of each tool (round tipped tool, taper tool, flat tool, chisel tipped tool, brush tipped tool) but that’s it. An eraser allows you to make adjustments. The brushes? They are super clean and precise, flat color, which gives a particular style.
- The top of the bar at left shows the tip I’m using.
- the (pink) dot below that shows the size of the tip I’m using
- a (pink)dot below that shows how sheer it is (if it’s opaque, the grid in the background of the dot won’t show up.
- another pink dot below that is the color selector.
At the right, see the layers menu.
ADOBE DRAW app for FASHION and beyond.
It can be easier to learn because the options are fewer.
It can be a challenge (or a thrill) to learn because it is so “not -organic” feeling.
So try it out! Let us know you think in the comments below!
Have you tried it? Do you use it? Do you like it?
Was it easy for you to learn? Are there key benefits or frustrations for you?
DON’T FORGET TO SUSCRIBE To get your freebie packet: two 30 page EBOOK PDFS (“100 Fashion Design Inspiration Prompts” and “Flat Sketching 101”) as well as a model drawing lesson and mini course. SIGN up NOW!
