Illustrating fashion designs in gouache:
Do YOU GET NERVOUS approaching the blank page?
That’s normal.
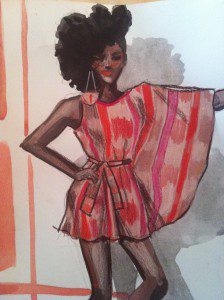
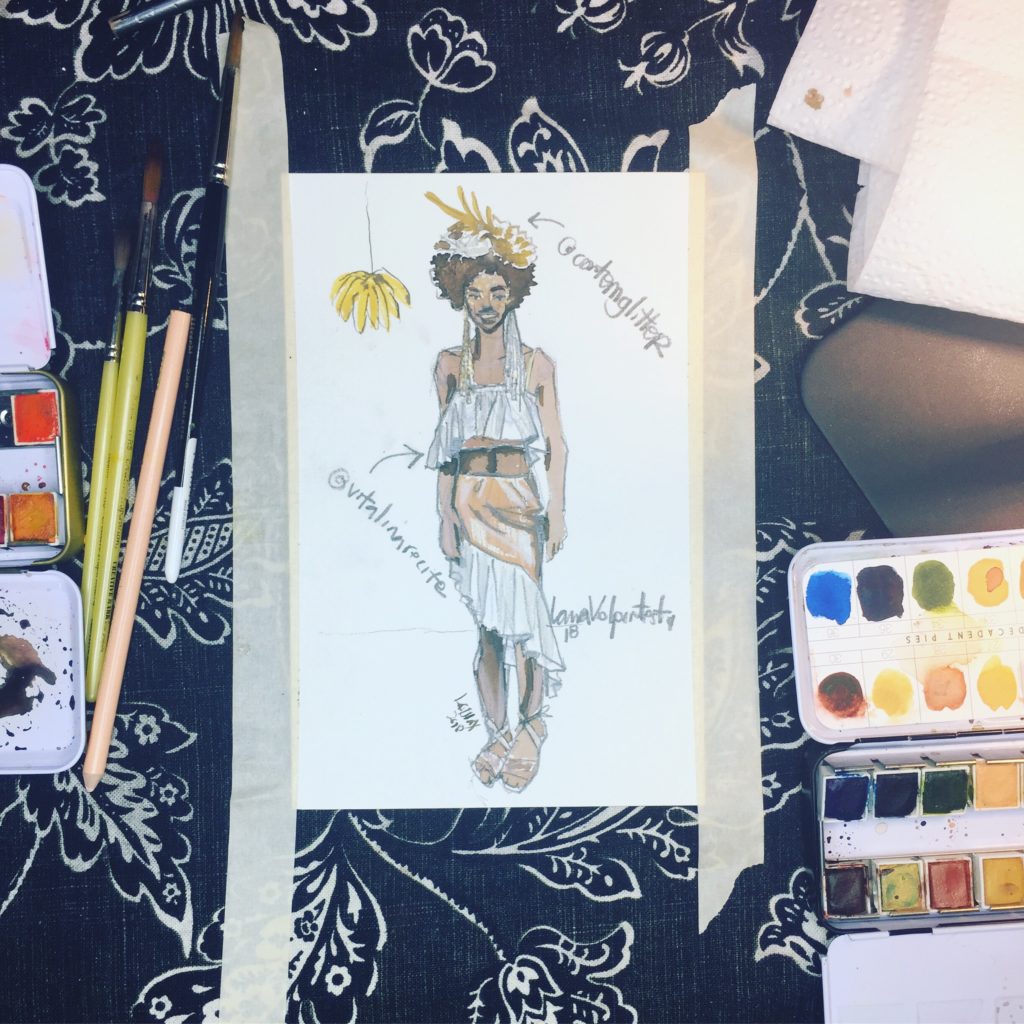
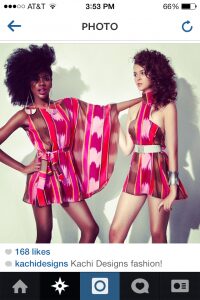
I thought I’d share a few photos step by step of myself illustrating fashion design from a photo/model/dress/design/fabric that I just loved by KachiDesigns, (who I discovered through AfricaFashionWeek (AFW) and follow on Instagram).
My remedy for “blank page freeze-up” is pretty simple: make a gentle, light mess on it. It takes away that cold, sterile feeling.
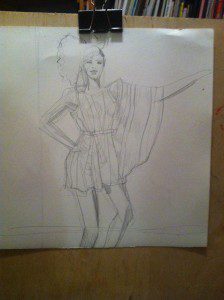
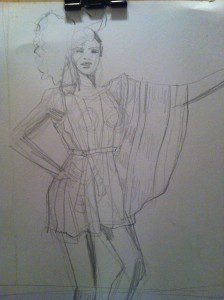
First I sketch out really loosely and build up the figure on the page, adding the garment secondly.
I’m not too nervous about “imperfect ” lines showing later when I’m illustrating fashion because most of those lines disappear under the opacity of gouache (the type of watercolor I use in my online fashion design courses. They are my “thinking” lines, and they inform every step I take to build the illustration.
I clipped my Bristol Vellum (the kind of paper I used) to a 1/4 ” thick board so that I would have a portable, angled surface to work on. This will do wonders for your body’s comfort. If you work in a small place you can have lots of drawing boards with different illustrations drying while you work on others and working this way saves your back!
And as I always say:
If you’re uncomfortable when you’re working, its likely that your models won’t look to comfy, either!
Mix the base colors for garment and skin, hair, and fill each flat shape with a flat color. Make sure that one shape dries before you color an adjacent shape, because otherwise they will feather and bleed into each other.
I ALWAYS do the skin first when illustrating fashion designs. Then garments, then hair. That’s just my routine.
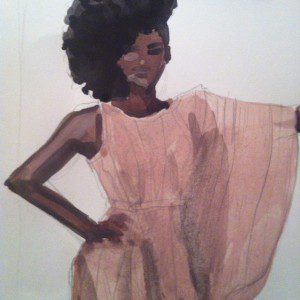
Add a pinch of black to each base color to create your shadow color.
Look for chunks/ shapes of shadow to create 3d form. I even added the shadow on the page as an element of composition here, as well as the orange blocks just for fun.
What I didn’t do here was tape down all four edges of my page, which means the illustration curled up a bit after it dried. Don’t do that, okay?
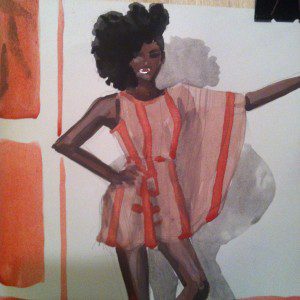
Block out any other major colors or patterns with an artist-grade colored pencil after all that is dry.
Remember a bendy-lamp can speed up drying. Go get a healthy drink or snack.
WATER!!
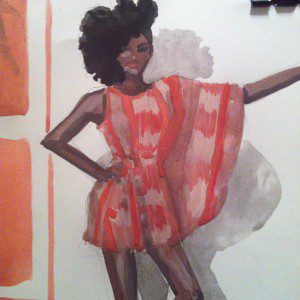
I got the ikat effect and strips/stripes with paint.

Bring in colored pencil for definition and crisp edges, small details.
Colored pencil is also great for color -correcting any color that dried and ended up …um…”wrong”.
THIS IS PLAYTIME!!!! Enjoy.
We do a lot of this in my online courses. But I usually teach through video there. We go REALLY DEEP in the foundations if illustrating fashion and have a wonderful time finding our unique beauty to redefine and shine through design!!!!!!!!
Subscribe to stay tuned in, and share!
Do you like the dress???? LOOOOOVE the dress by @Kachidesigns (on instragram) from Africa Fashion Week ( #afw @afw @adiree #illustrationtribe)
Follow me on instagram for more, but most importantly subscribe right here and please SHARE with your community if you think they would enjoy this article!
Love always,
Laura
