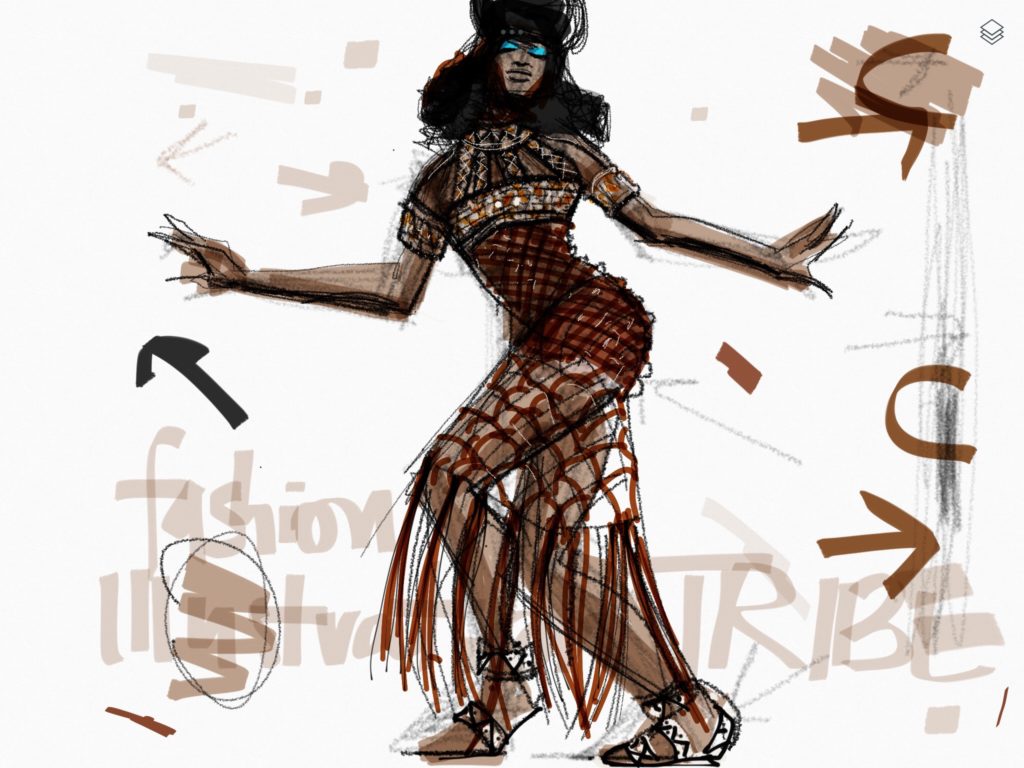
Sketching African Print Fashion on ipad
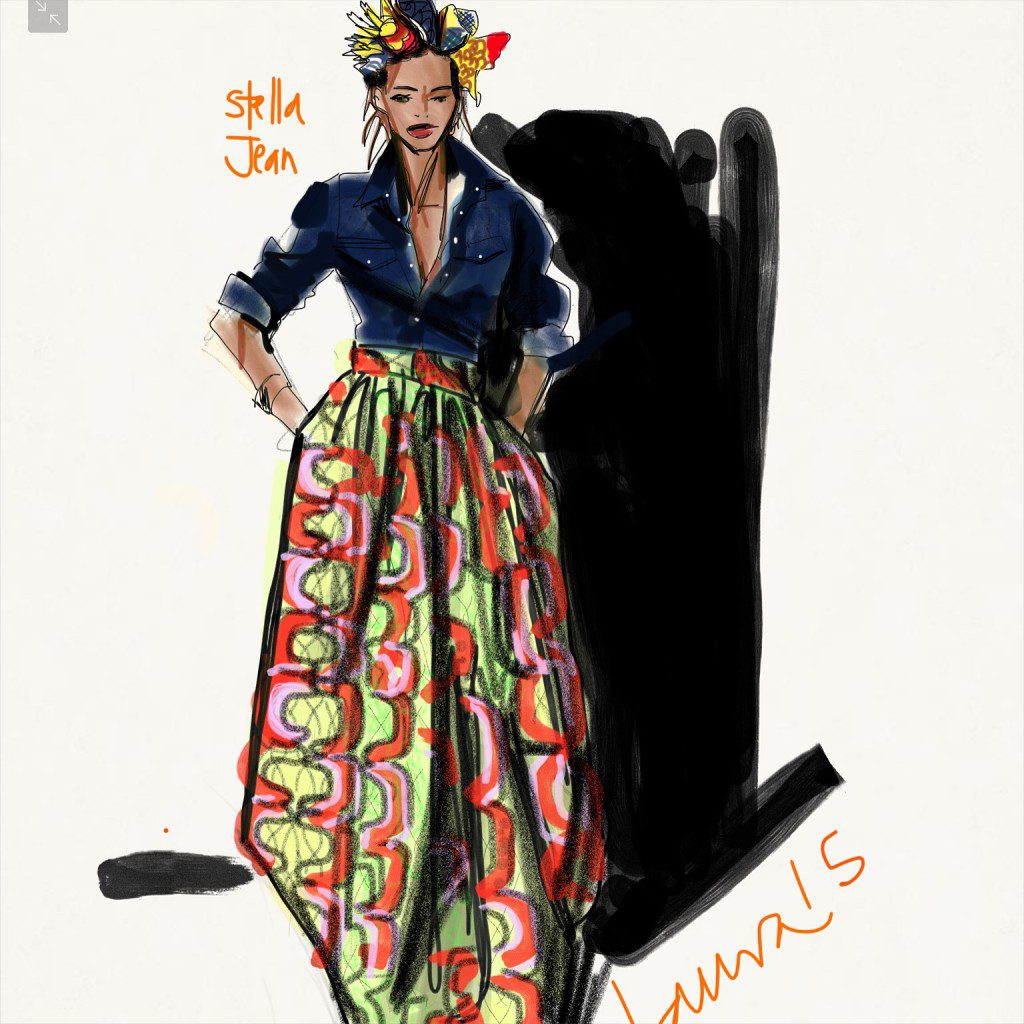
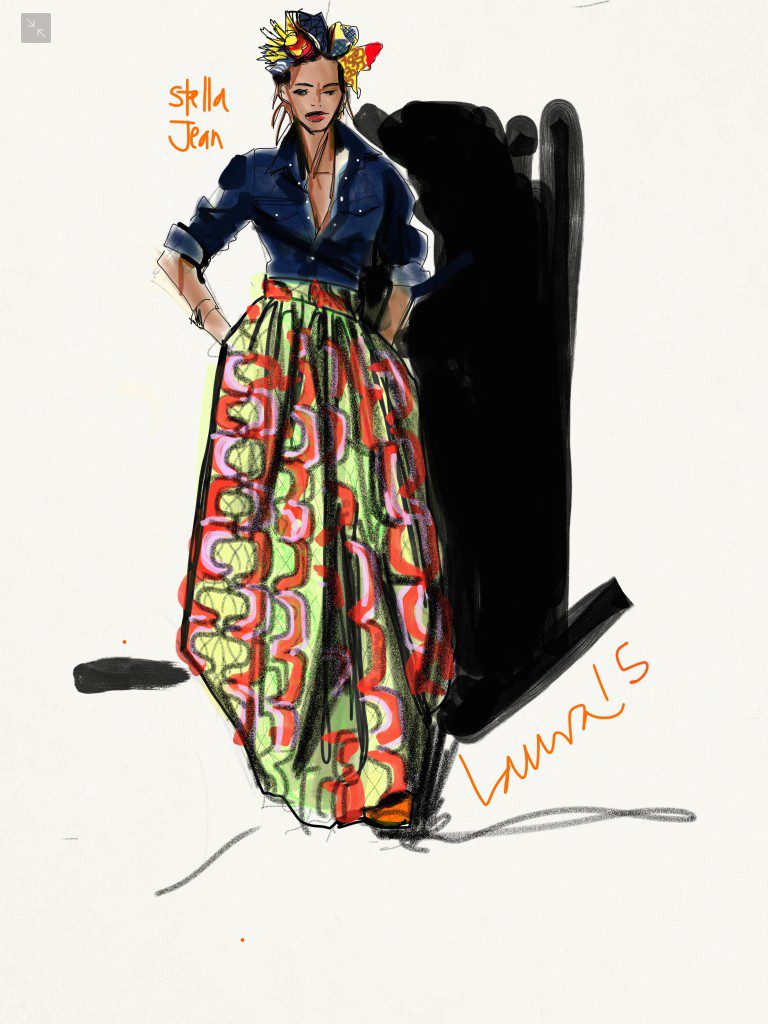
Here I use the Adobe Photoshop Sketch App on my iPad Mini using the 53Pencil stylus, to illustrate this beautiful ensemble by Stella Jean.
****ADOBE PHOTOSHOP SKETCH APP (a pixel based app) has been discontinued since I wrote this originally in 2015. Now the same tools have been moved into a new app called ADOBE FRESCO APP , rendering the same results with a different interface.****
My love affair with African Prints is now going on 23 years…. Digital Fashion Sketching made it a lot of fun to do on the go!
This illustration was my first time really getting comfortable with this app, previously I was spending all of my time on Tayasui Sketches app which I really love love love! Both apps are free and cost just a few dollars to get some extra bells and whistles that are totally worth it. Some people refer to this app as “Sketches Pro” app,
The only real investment is the iPad and Stylus, which is much more substantial.
One of the reasons I originally wanted to try the app is because it has a “palm resist” feature: so that you can rest your hand on the iPad without leaving a mark on the page… Tayasui Sketches app, since then, has also added Palm Resist feature.
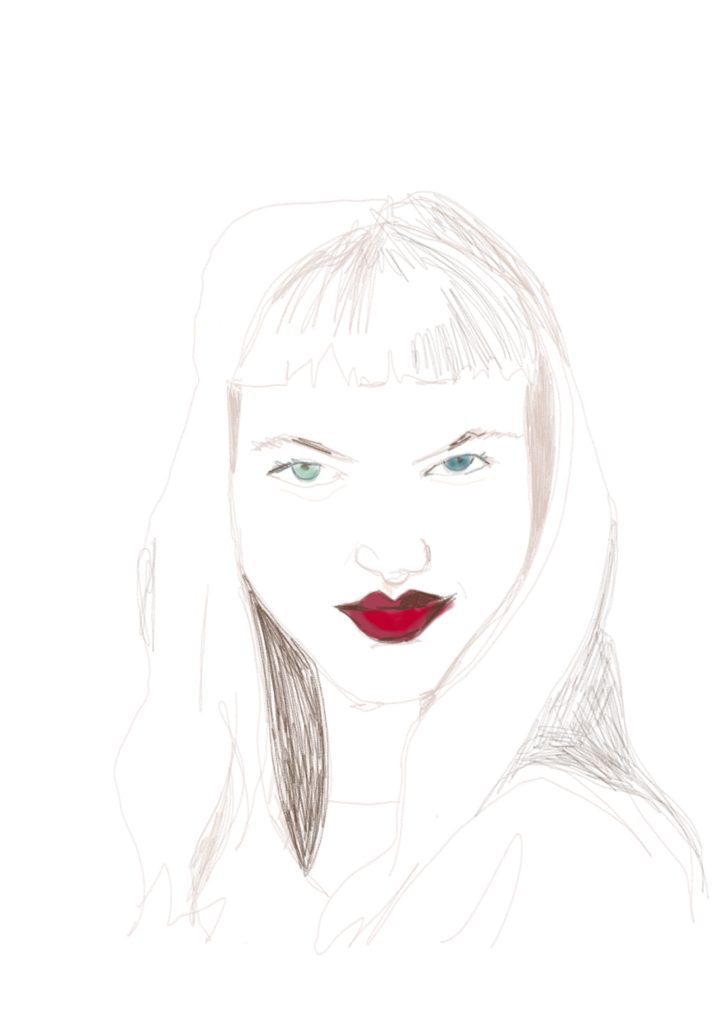
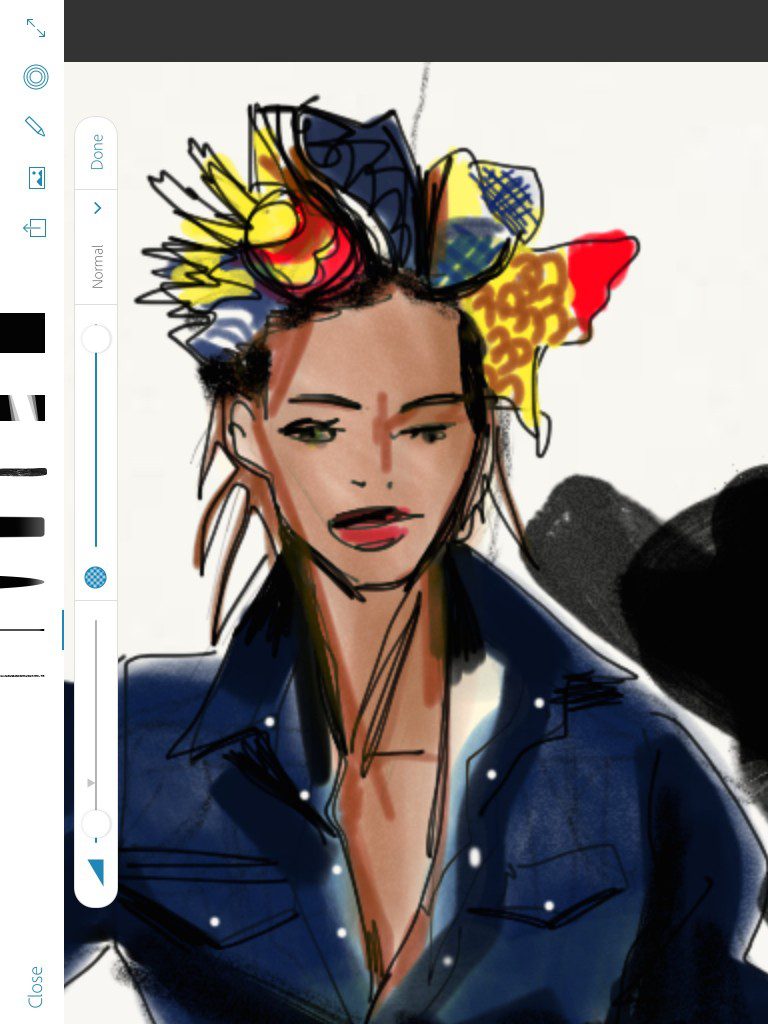
Ironically, I fell into a really tough spot while working on the face…. I was unable to zoom beyond a certain point… and so I had very little control over the detail on the face.
Zooming happens by spreading two fingers on the page.
SATISFACTION, STEP BY STEP: African print FASHION ILLUSTRATION process
I love how it came out.
Whether you care about digital drawing or not, if you love fashion illustration today’s tutorial is still useful…
the step by step visuals are so much like the way I work on paper, just less mess :0).
My online Masterclass courses work non-digitally, I do think it’s the best way to get your CHOPS down!!!!
Here is where you learn designer processes, model drawing, illustration, research, presentation. DEVELOP your design voice and share it!
building the fashion sketch
My illustration process overview:
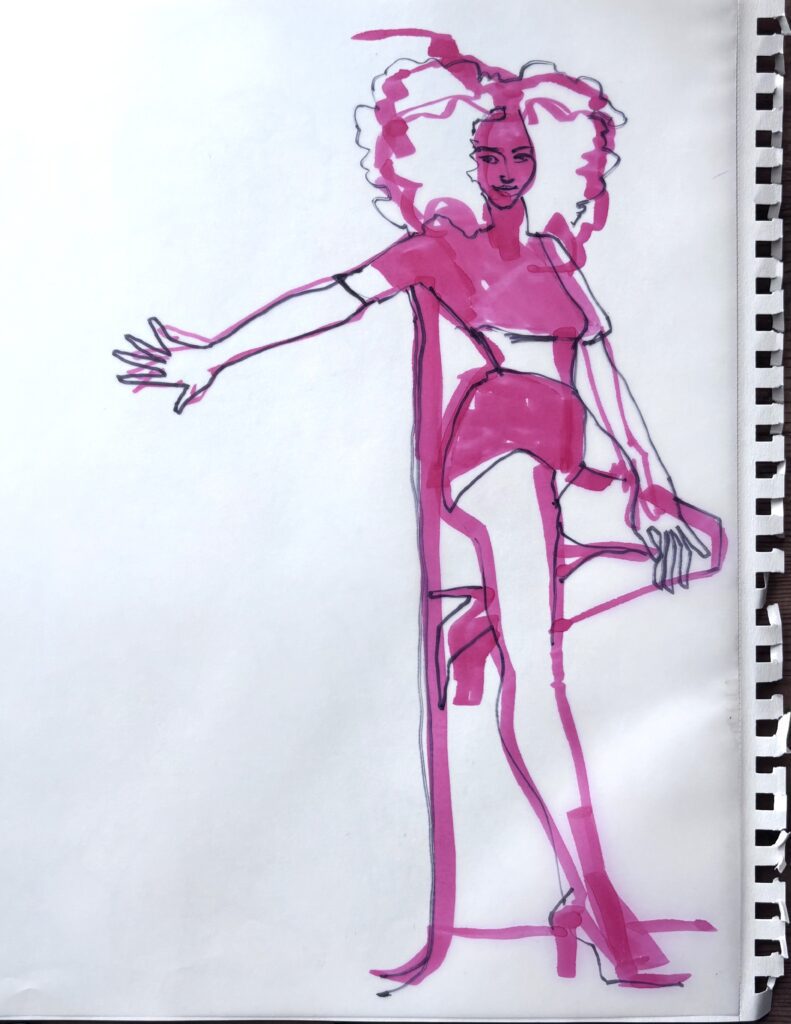
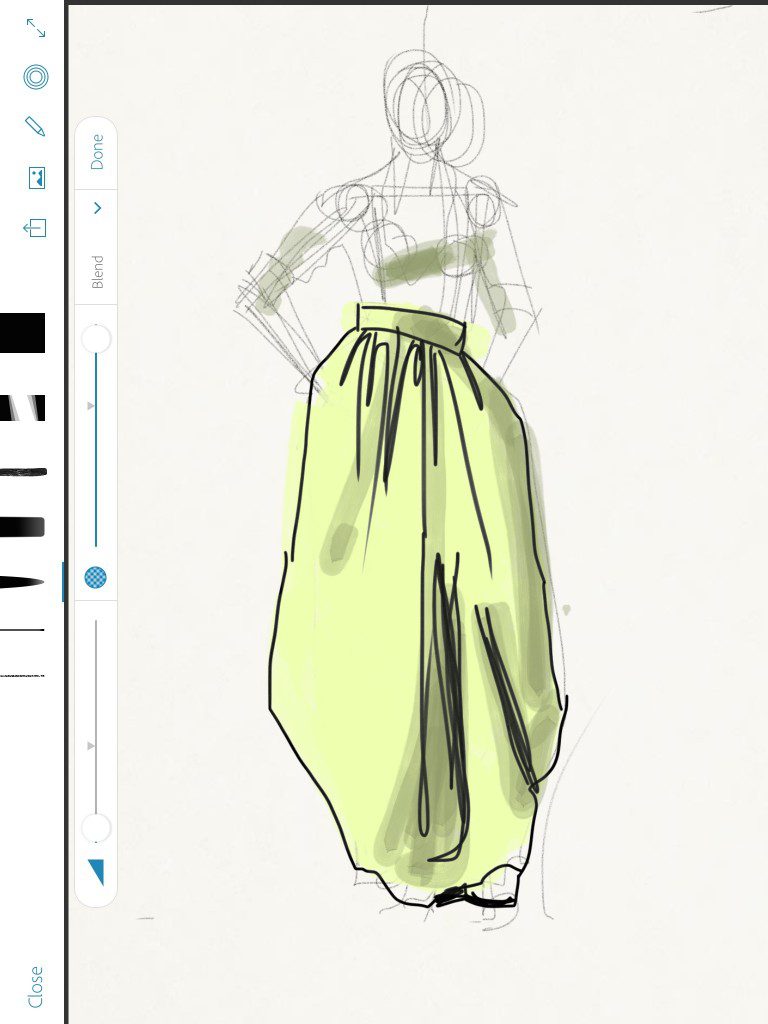
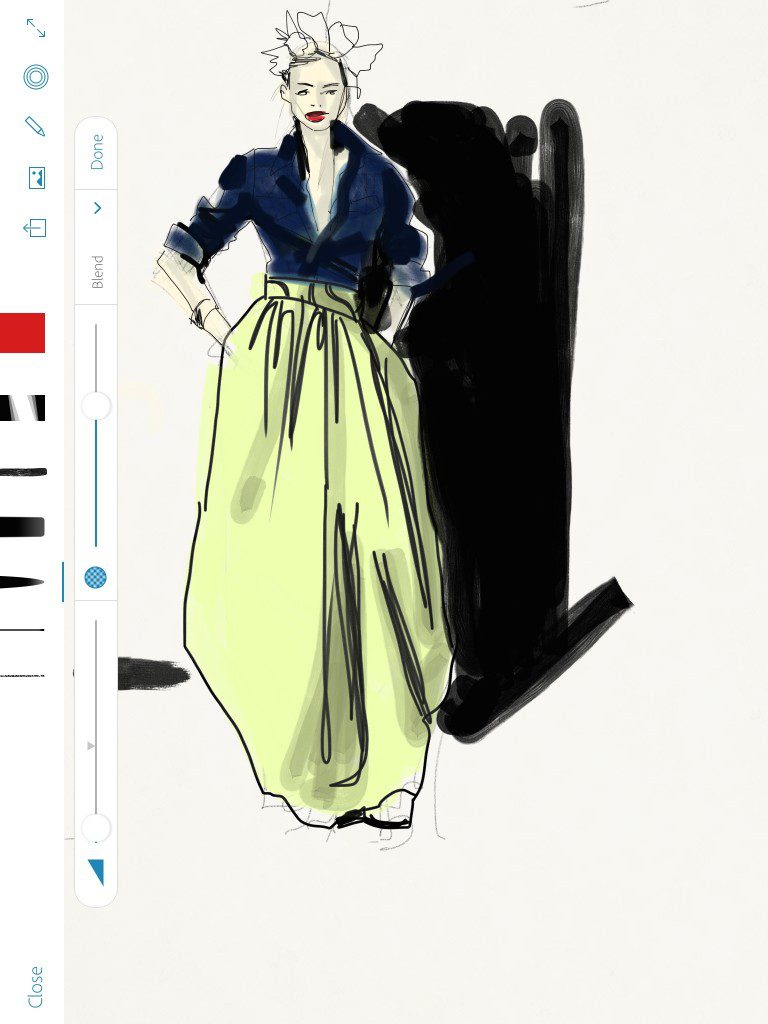
- SKETCH THE FIGURE PROPORTION AND POSE: First I sketched the figure with a light pencil tool. I always do this to establish the proportion/ size and shape, a MAP, of the figure.
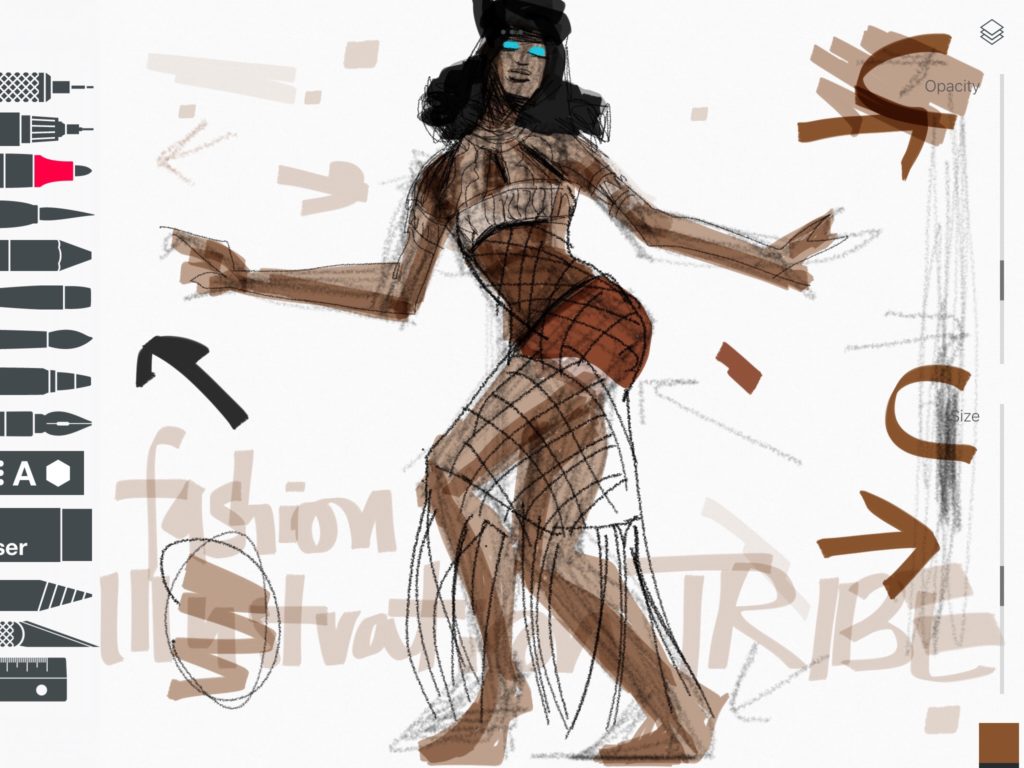
- “BRUSH” SIZE AND TYPE SELECTION. I went ahead and used a “pen” tool.
- COLOR SELECTION if you look at the PHOTOSHOP app tools visible in the photo below, you can see I used black.
- OPACITY: Look at the blue sliders to see that I used a fine, fully opaque setting,
- SLIDERS FOR ADJUSTMENT in most digital illustration apps give you a range of wide to thin, opaque to sheer, for every kind of pen, brush, or tool.
- DEFINING PURE SHAPE/ SILHOUETTE. SOLID FLAT TONE. I used the pale yellow to fill in the solid flat base tone for the printed fabric.
- SHADING: then I used a washy/sheer, wide grey brush to lay down major shadows as shapes: under the bust, and here and there on the skirt.
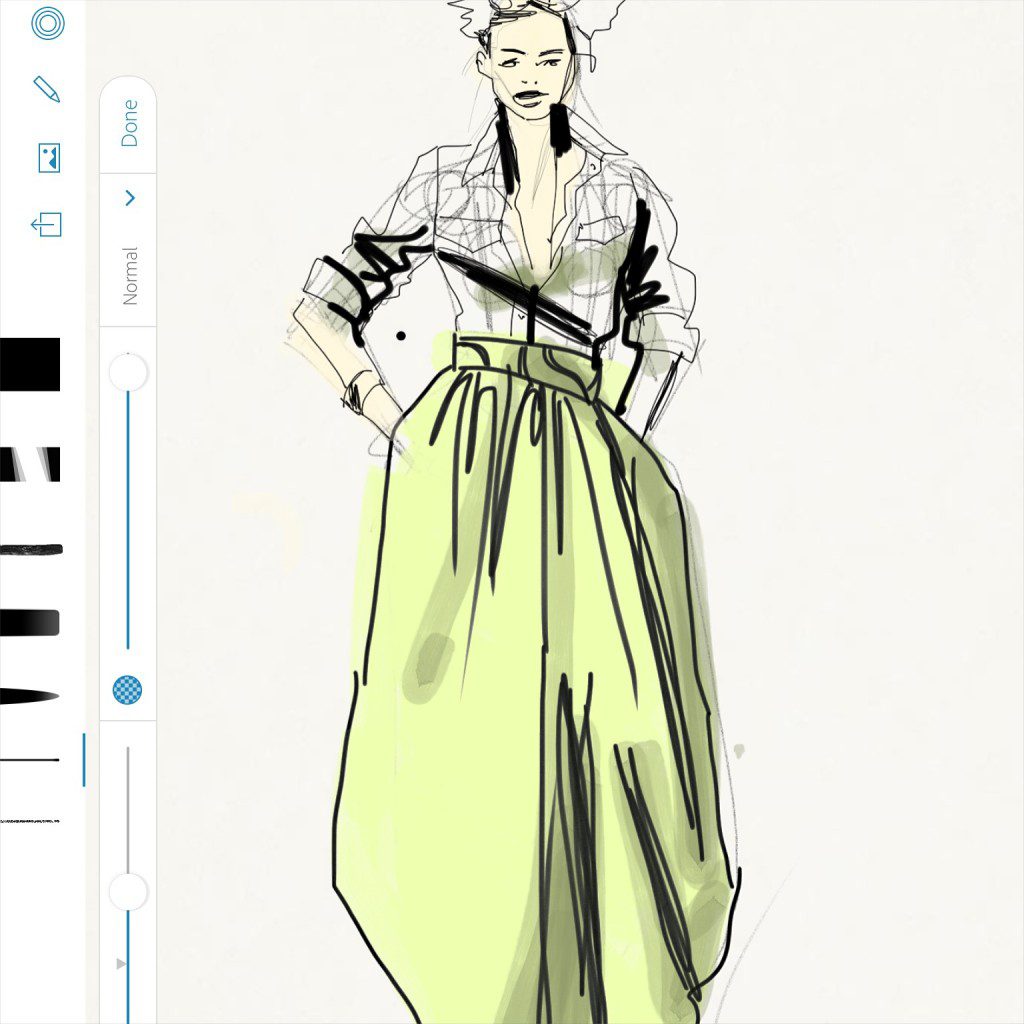
- FASHION DESIGN DETAILS. The waistband is defined with line, and the pen tool used to show the gathers going into the waistband.
- CONTOURS: outlines, wrinkles, volume, textures. Here I took a fine, black pen to add the outlines, contours, wrinkles of the shirt. I worked out the neckline opening, and the collar and pocket flaps.
- FACES, HEADS, HAIR and EXPRESSION: I worked out some facial features
- I grabbed a thick, super-black digital Sharpie-like marker tool to show the blackest points from the photo I sketched from, showing the deep shadow INSIDE the collar and some deep wrinkles in the sleeves.
- I also used black to put some motif from the print into the waistband.
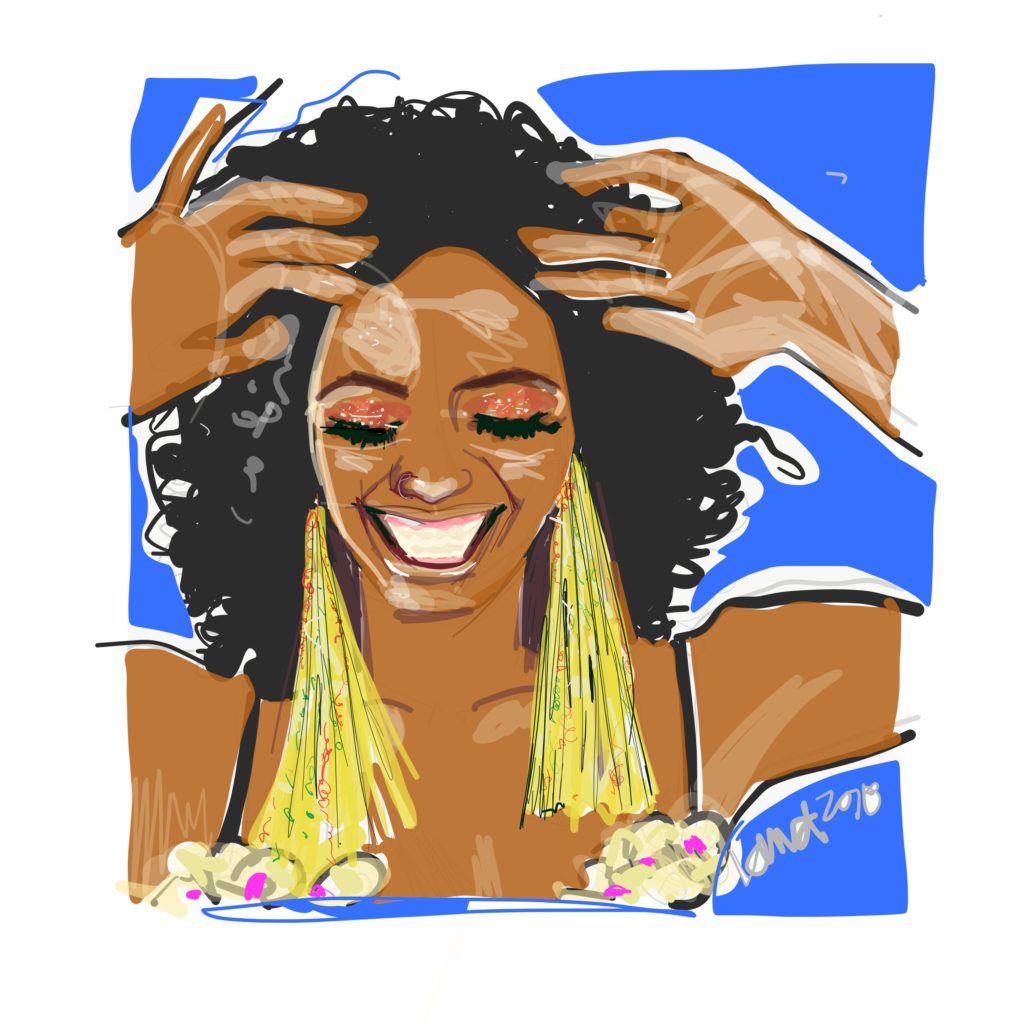
- I selected a skin tone and laid that in everywhere the skin shows. That’s always one of my first steps. It “brings the woman to life”.
- Adding a thick black chiseled tip marker background gives a deep background that propels the model forward in our vision! This will balance well with the graphic, complicated pattern.
NOTICE that the black background doesn’t touch right up against the indigo shirt. I left some white space there so the black and blow wouldn’t blend together visually, and it even feels like light, and keeps the character of the edges I had drawn still there.
- See the red square where I selected red with my color picker? (I love how quickly you can “mix”–select– colors in this app :0)
- That color is selected first off for the shoe under her skirt.
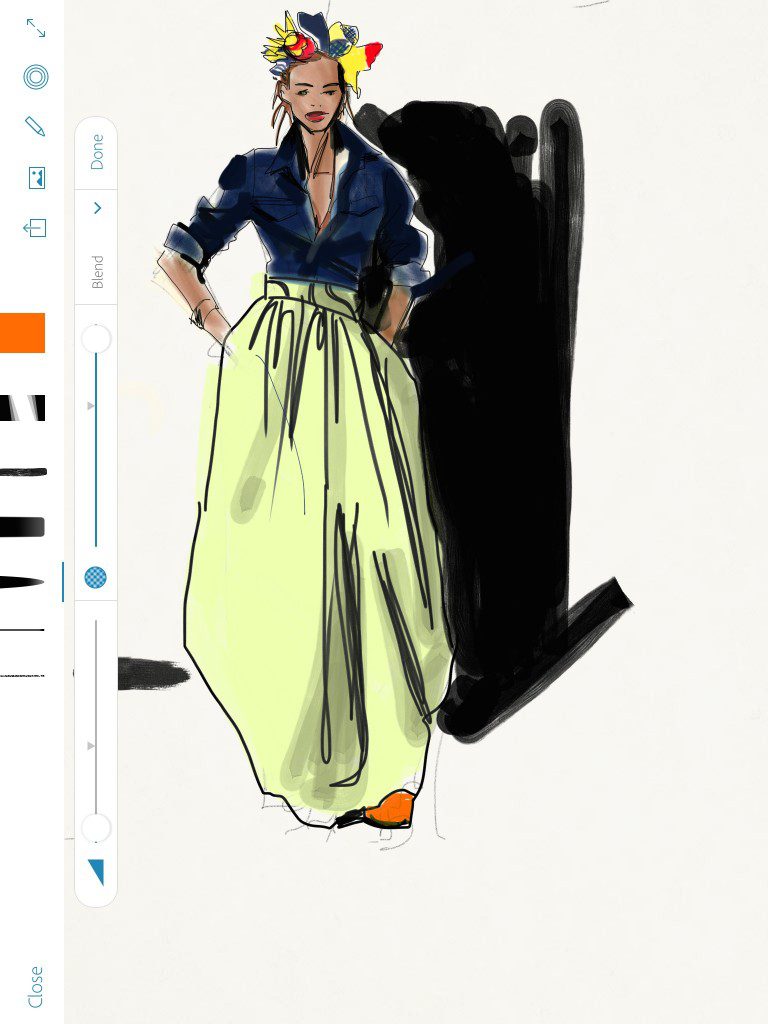
- Skin tone gets darker, more precise (I thought I had matched it, then it didn’t feel right) It was very much a Naples Yellow, which is what I mix my skin tones from gouache on paper, but I never use it without mixing some Van Dyke Brown into it. Then I start to block out some of the colors in the headgear.
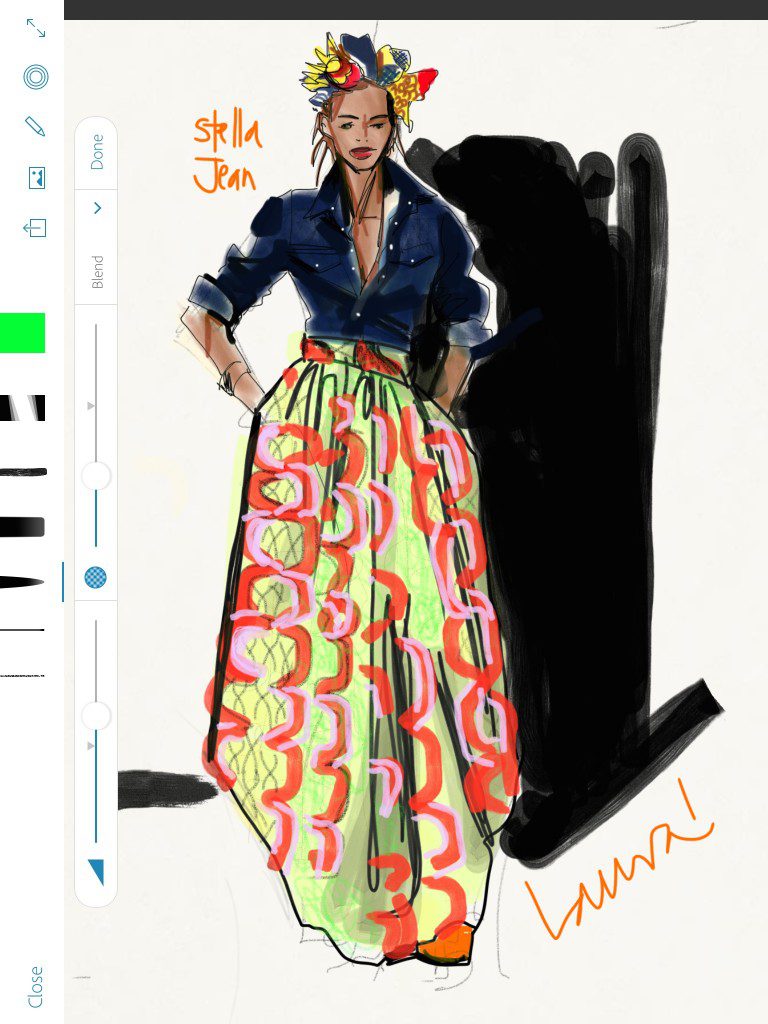
BELOW, I
- chose the red color and blocked it in everywhere I saw it.
- Then I selected the pink and added that on everywhere I saw it.
- I selected the green color that I saw in the print and added that in everywhere it appeared, then selected a fine, slightly sheer line to show those crackled-wax-batik lines on this “SUPER-WAX” style of print .
- Also notice the sheerer indigo where the sleeves are rolled-up– looks like the “wrong side” of denim!
- At his point, using an opaque white marker allowed me to put the buttons onto the denim shirt and just LOOK how that adds “POP” and dimension, …. “sparkle’, even!
- Remember I said the face was hard because I couldn’t zoom? this is how close I was able to zoom–no closer. Seems like no problem, but the 53Pencil stylus is really LARGE for such a small place on iPad mini. It was sooooooo hard to work without an infinite zoom. I was so mad at the time :0)
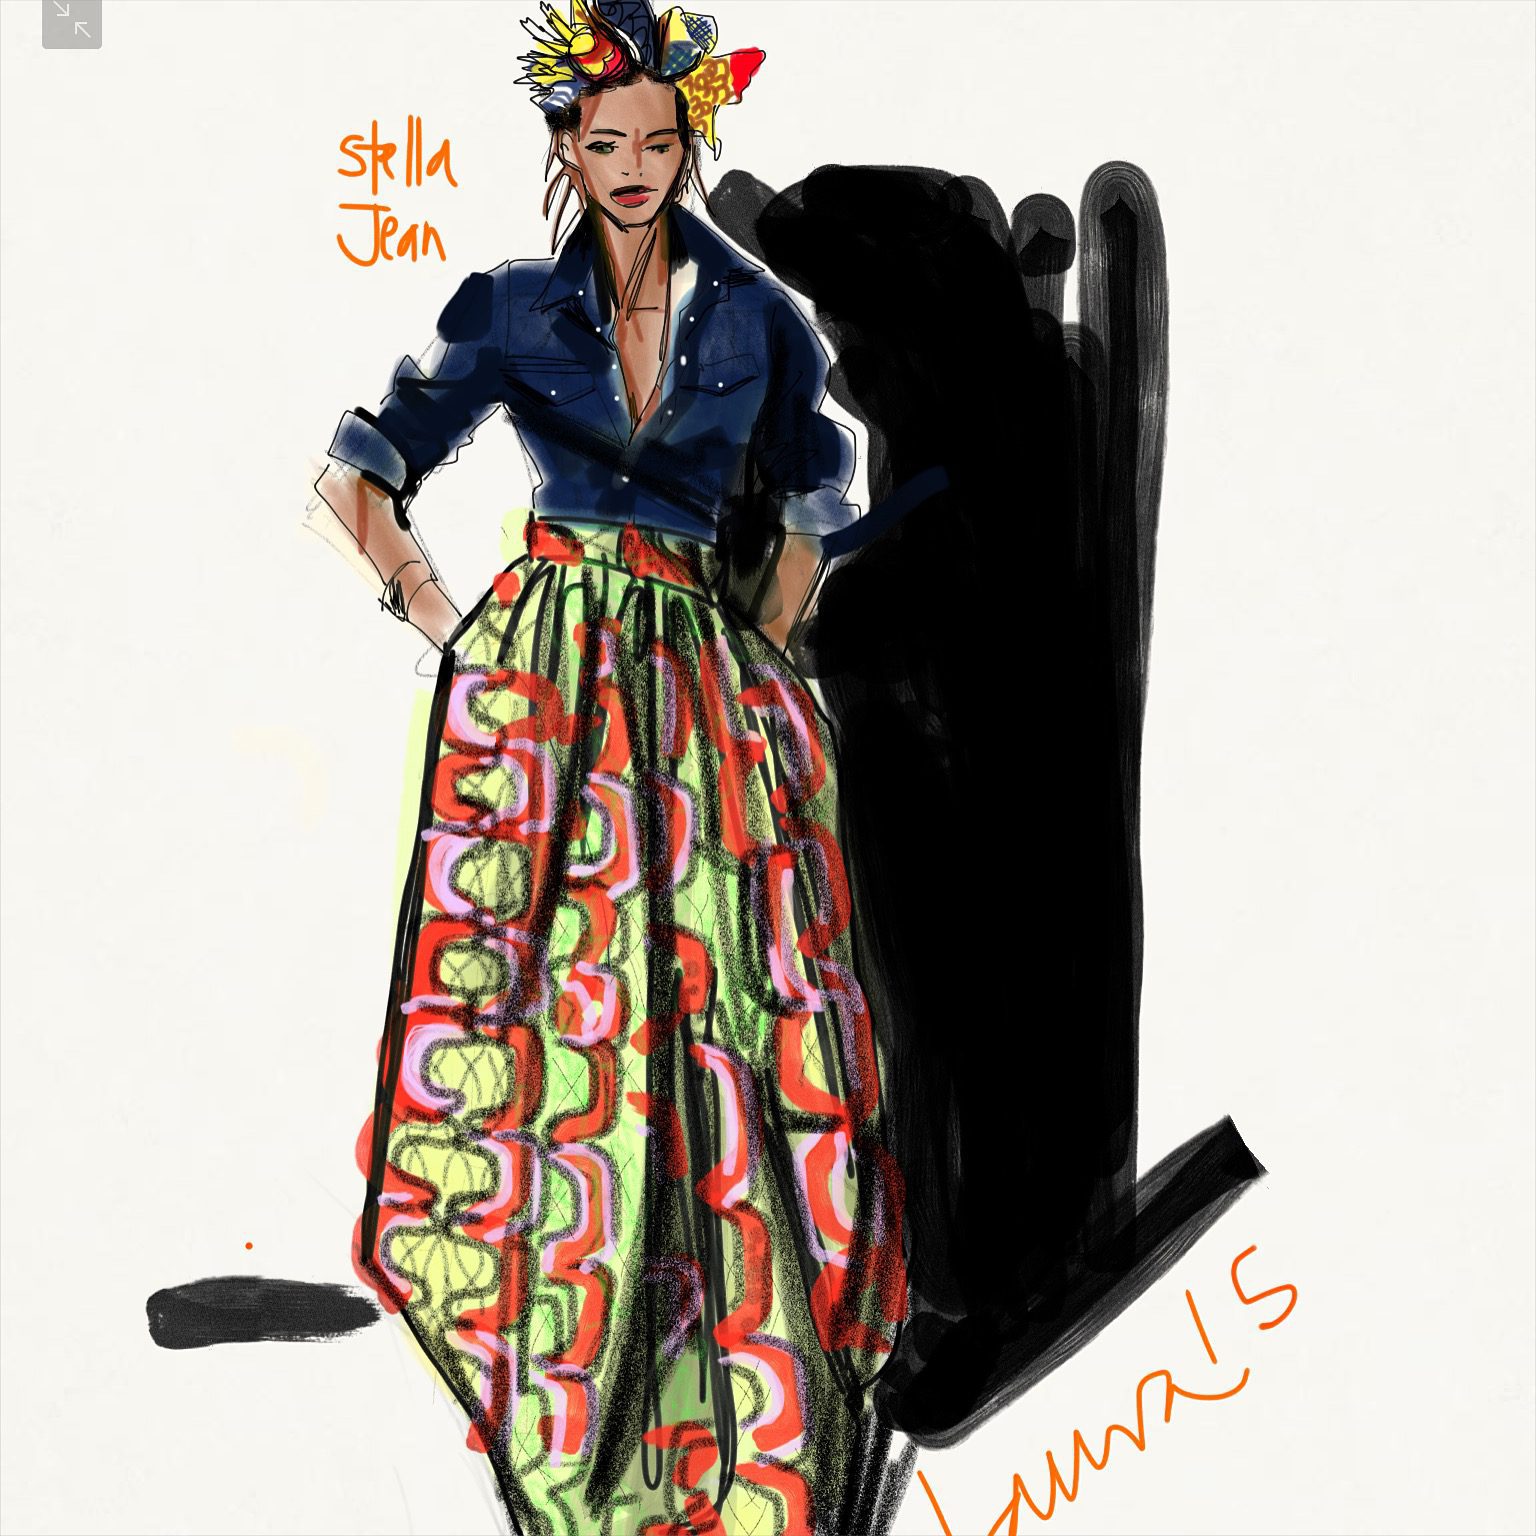
- TO finalize, I softened everything by adding a few deep folds with “sharpie” marker tool, and some deep shadows, over the bright print rendering, which makes it look more flawy and soft falling around the figure. Voila!!
Finally, I came back and added in the rest of the dark/black pattern over the blocked out colors of the print, so every detail that I saw in that beautiful Dutch Wax/ Ankara/ Wax Print/ African Print/ Pagne/ Afro Chic fabric/ Super Wax.
I was really happy with this! Do you like it? Do you have any questions?
I love to hear from you. Comment below! SHARE WITH A FRIEND!
I hope you will comment below, and share this material if you find it useful and want to help me share my work and my online school.
I hope you will join our
Most of all, I HOPE YOU WILL SKETCH!
TODAY!!!
Much love, always,
Laura

![]()