Using Procreate app for Fashion Illustrations
Using Procreate app for Fashion Illustration on iPad
I had resisted using Procreate app for Fashion Illustration on iPad for a long time.
Why?
I felt like it was too smooth and slick looking.
While I first tried it a long time ago and definitely got it to the point where I could use it for all fo the qualities I look for in fashion illustration, it just didn’t match up to my favorite app which is more textural and organic feeling.
BUT ACROSS THE BOARD, for WHATEVER reason, my Parsons Fashion students ALL come in already using Procreate for one thing or another, so I have made sure to SINK INTO IT so that I can support and guide them and understand what they are working with.
Fashion Illustration Process: digital apps
I’ll confess that the one HUGE WIN for me with Procreate is the capability to export a timelapse video to show my process for using Procreate app for fashion illustration.
Here’s one, from my Lunch Sketch live zoom model drawing course, fashion illustration session just yesterday:
PROCREATE OVERWHELM IS REAL
Have you already fallen down the rabbit hole of Procreate app for your fashion illustrations or creative sketching?? IT’S REALLY TOO MUCH.
(Next post I’ll share timelapse process of my FASHION DESIGN sketching process, which is quite different from the Procreate fashion drawings I’m sharing on today’s post- these are drawings from observation: looking at fashion and drawing what I see.)
THE RABBIT HOLE ABYSS IS TOTALLY OVERWHELMING because there literally ZILLIONS of tools, options and brushes available inside Procreate app (as well an as ANY app that you are using for art or fashion illustration). It’s easy to fall into this hole because we are eager to create TEXTURES.
In fashion design and illustration, this means recreating the feeling of layers, shadows, textures such as fur, crochet, satin, stretch, sheer, chiffon, tulle, tweed, knit, etc, etc, etc, etc! As well as skin, hair, etc.
THE MOST IMPORTANT THING I CAN SHARE TO YOU is that you will describe textures much more easily by cultivating drawing skills– understanding line, shadow, and form– than you will by using any “magic brush”.
Believe it or not, (and I’ll show you), one or two brushes using variety in opacity and/ or thickness will be infinitely more descriptive and communicative than a fancy brush.
Compositions and Layouts
Once you’ve created your drawing, using layers in a fashion illustration app like Procreate means that you can open a layer UNDER/ BEHIND your sketch and play with all sorts of composition, background effects and layouts.
Many fashion students just sketch a model or design and leave it floating in the middle of the page. I’m truly amazed sometimes how a so-so drawing can become TOTALLY WOW and engaging when presented with some other element/s on the page to “set it off”.
Sometimes even just your SIGNATURE is that final finish on the page that shows the love and ownership you have for your design.
Fashion Drawing on Procreate: SIMPLIFY
AS you get experienced with fashion drawing skills, you realize that Fashion Illustration using Procreate App doesn’t require ALL THOSE FANCY TOOLS!!!!!!
One of the biggest things to learn at the beginning when using ANY app for fashion illustration is that you can do just about EVERYTHING using only one or two core tools:
- zoom
- layers
- color picker
- opacity
- brush size
- one or two brushes or pencils
- fill tool (optional)
- copy/paste (optional)
- eraser, or history (go back a step or more in your process)
This is because with a decent pen or pencil tool for line work and a larger tool for large areas of color, all you need is your drawing skills, and regulating the opacity and size of the tool from tiny to huge and sheer to opaque is ALL YOU REALLY NEED AT ALL!. (Hence my digital drawing course that explains this thoroughly and gets you up and running.
Pastels, pencils, gouache, charcoal, inks, brushes, and pens in Procreate

While this conversation can go on and on, “the devil is in the details”.
I promise that choosing one or two tools to use for 99% of any fashion illustration using Procreate is the best solid advise I can give you.
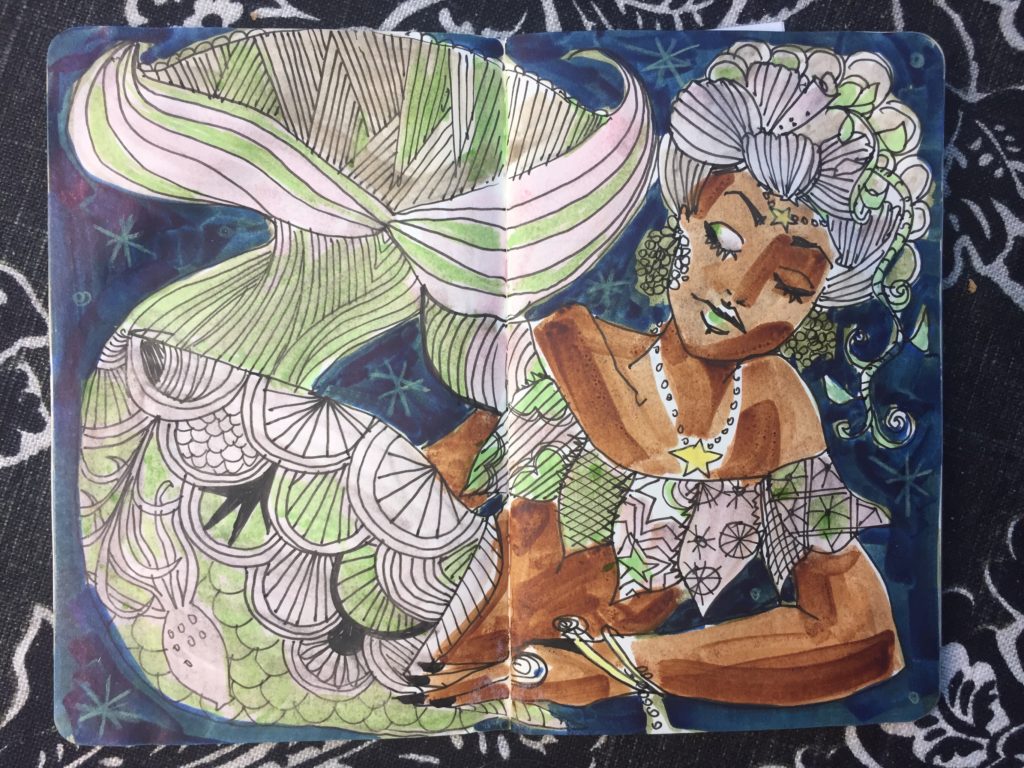
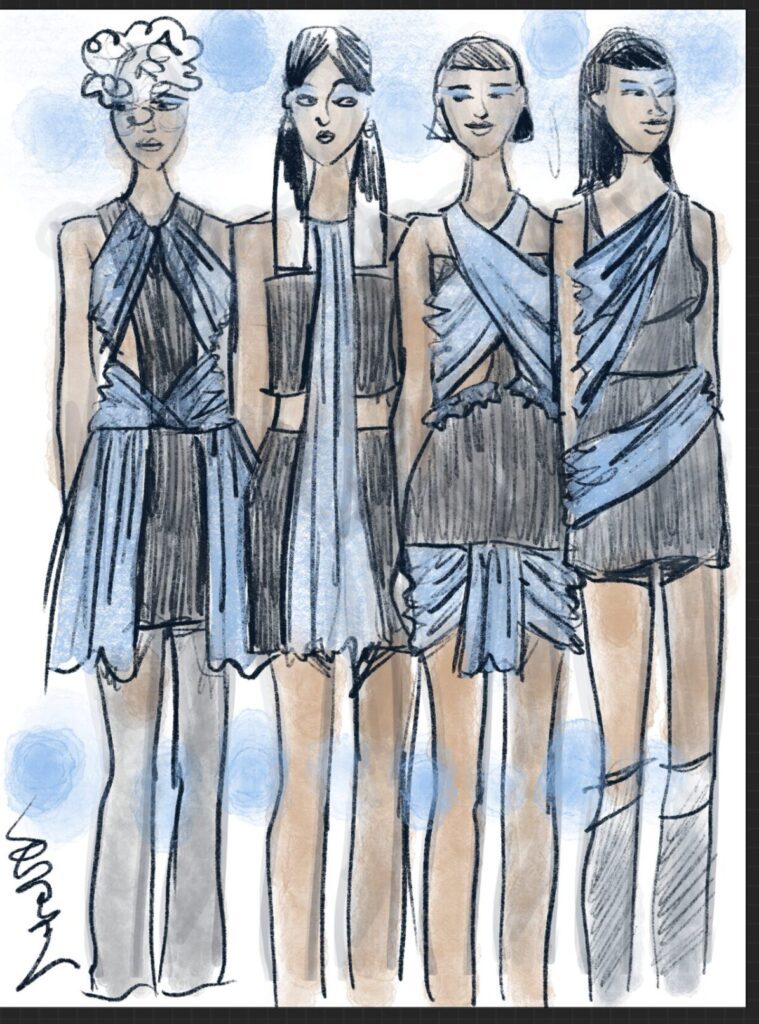
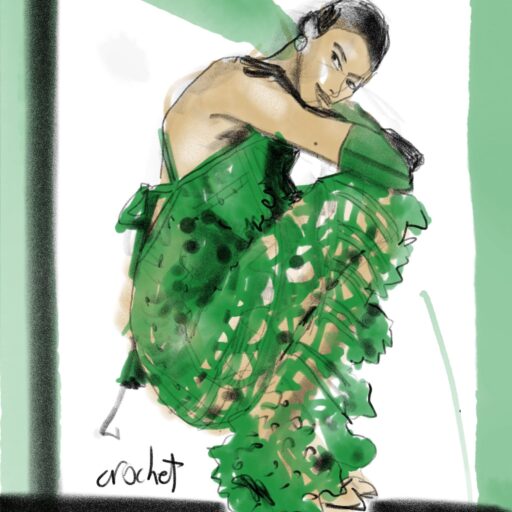
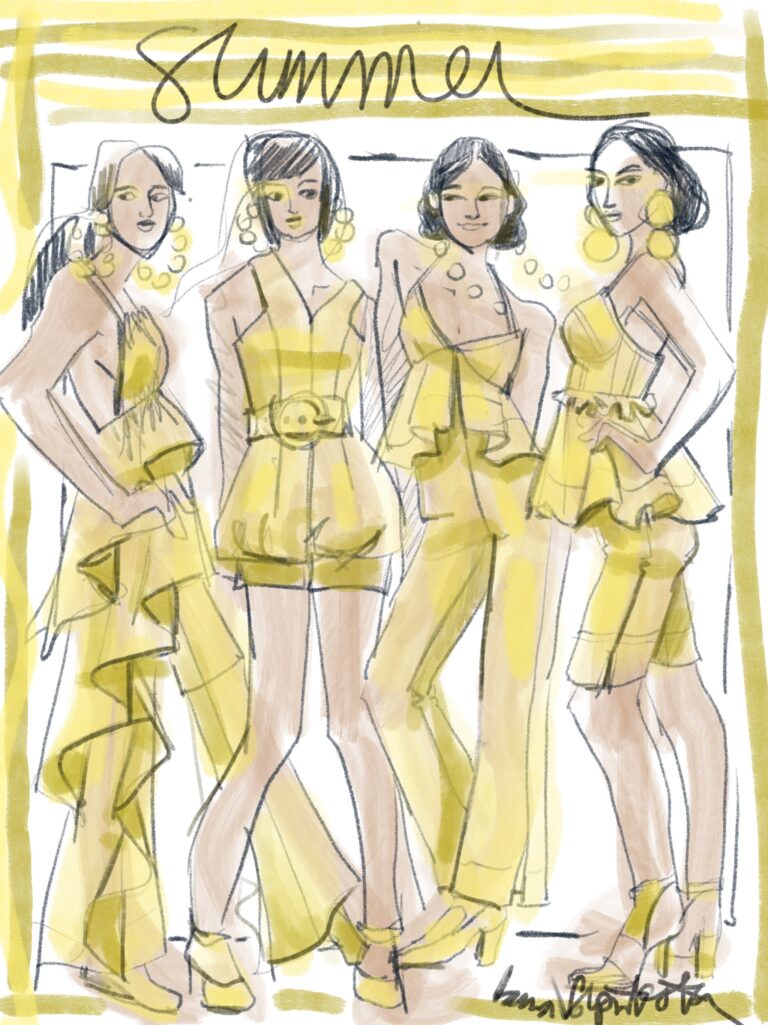
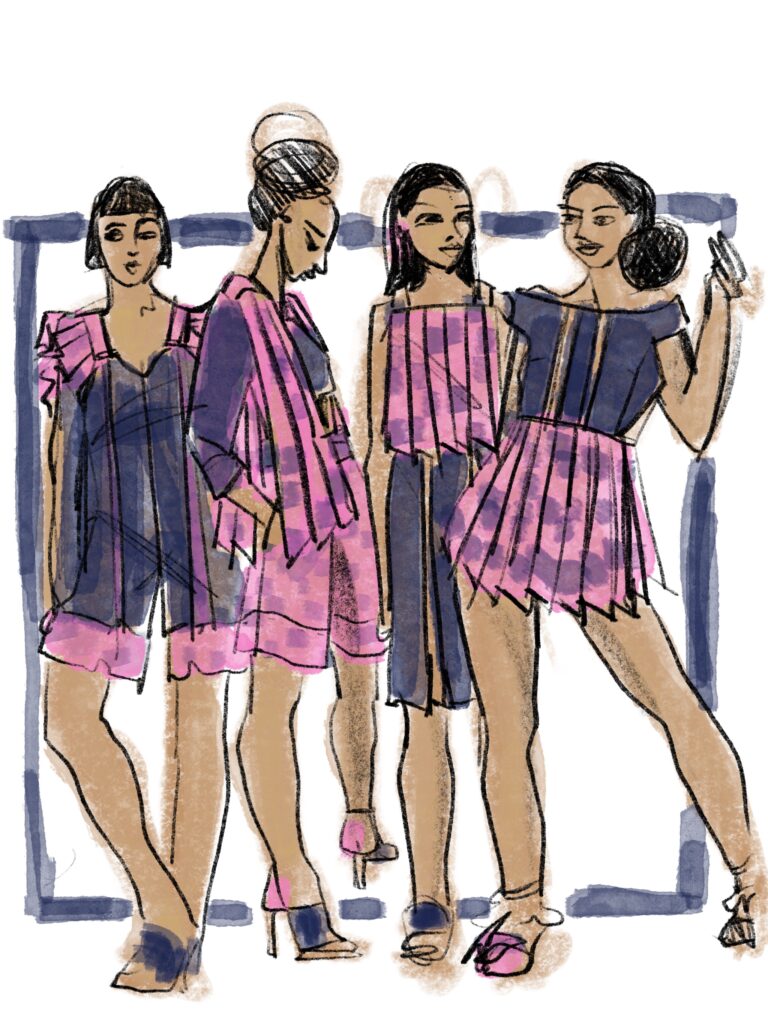
On today’s page/ blog post, there is a “dry” appearance to the sketches as I used powdery/ dry tools ( I can’t remember but I think it was the 6B pencil tool and a pastel.
I share other posts on this blog where I share “wet” Procreate app media such as watercolor or gouache for fashion illustration which I LOVE for their fluidity, whereas a powdery/ dry texture creates a different sort of fuzziness and warmth that you can appreciate here.
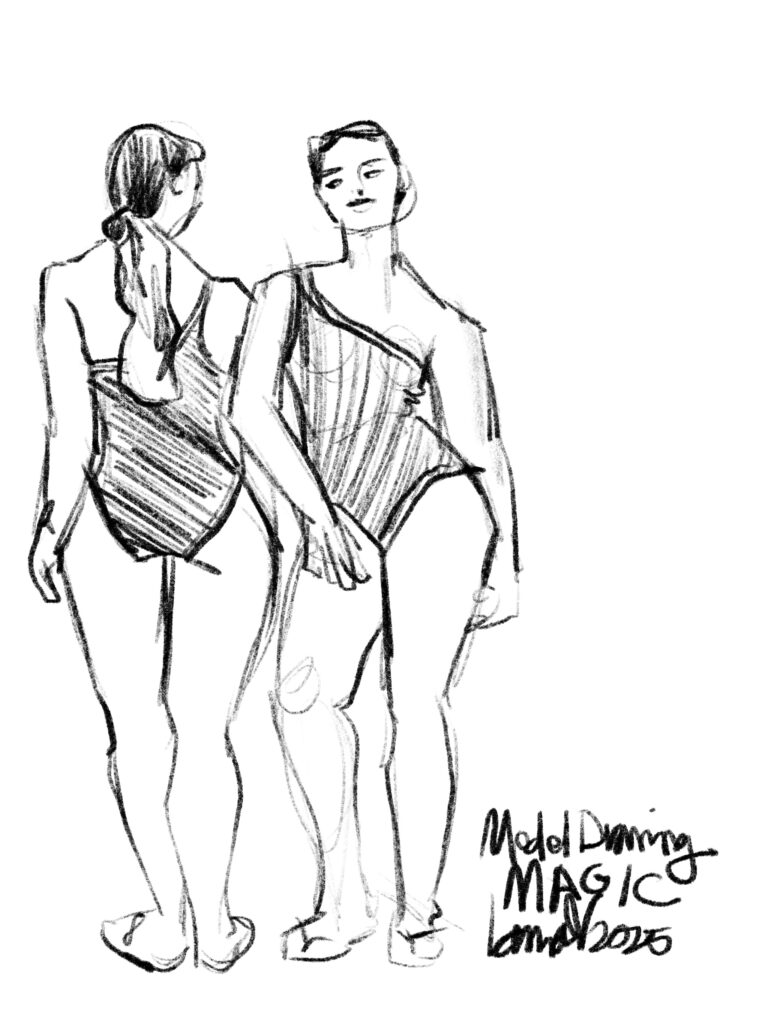
(I always take my students through a rigorous training DRAWING from OBSERVATION (what you see here– during MODEL DRAWING SESSIONS— drawing from images we are LOOKING AT), to build our vocabulary for drawing from our IMAGINATION.)
Textural papers in fashion illustration
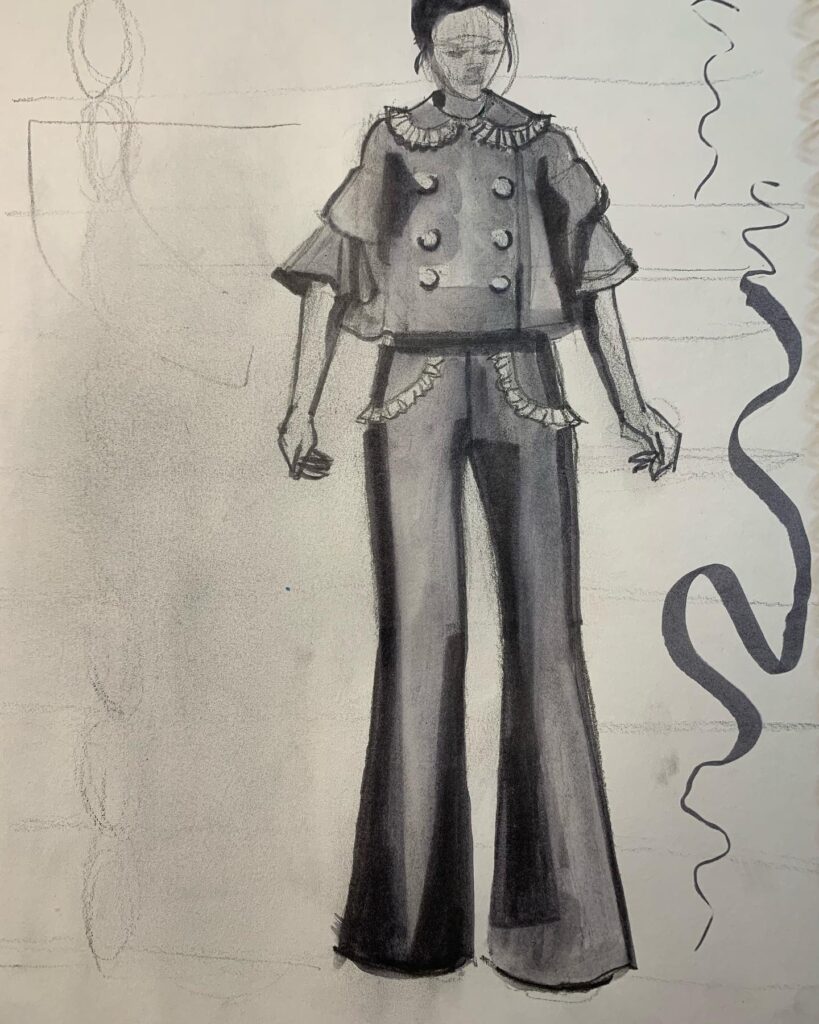
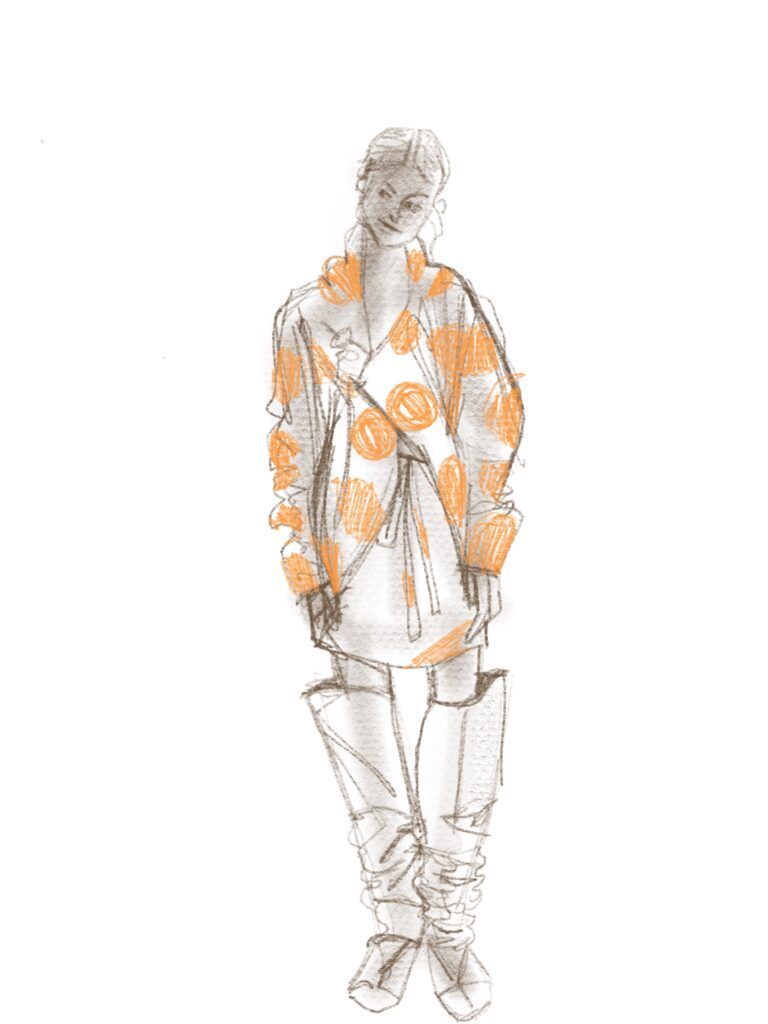
If you look at the sketch above/below, you can see the texture of the “paper” showing through the pastel media / brush that I used in the Procreate app.
The interesting thing in Procreate is that the base paper is totally smooth in appearance. In Tayasui app, it’s easy to start with a textural page before I begin sketching, so I can see the grit of the paper even before I draw on it.
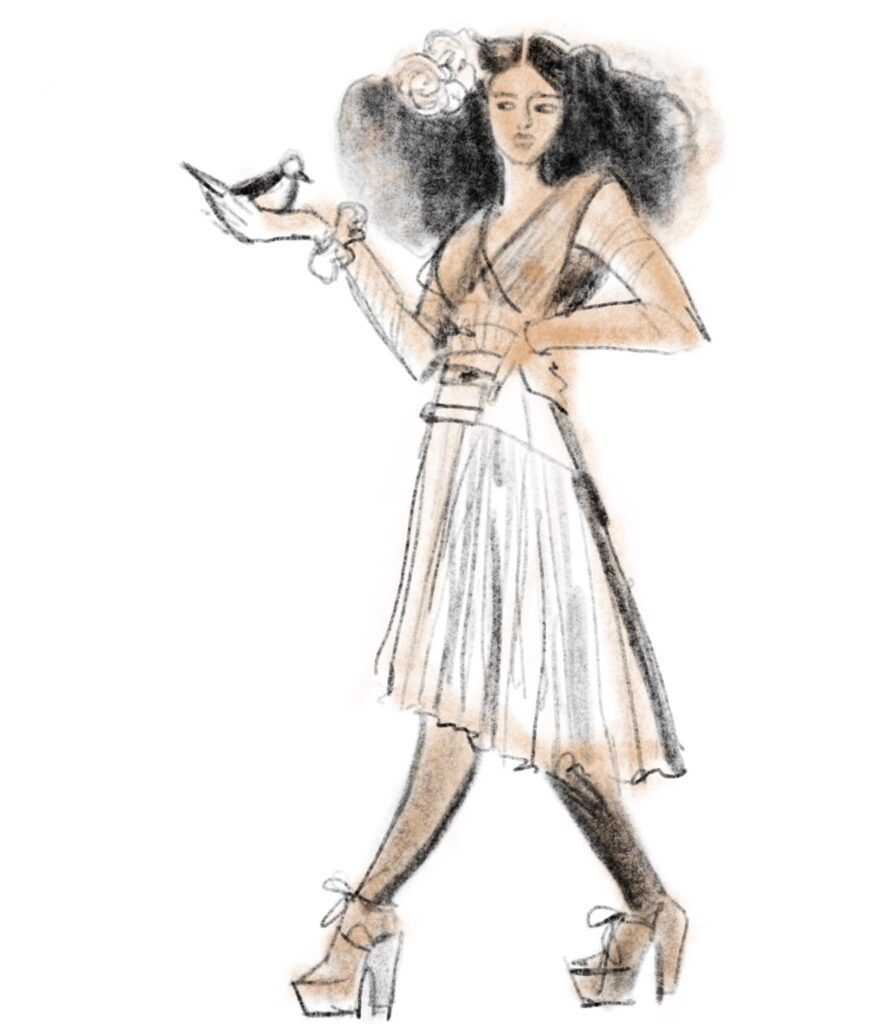
I used a neutral pencil to show this layered look (above) and then a colored pencil for the mega-polka-dots in the jacket. Since we were doing a 10 minute sketch studying this outfit, those are the only details i captured.
The exaggerated suede boots were a hoot, the only think I wish I had time for (and I can always go back to add ) in this fashion illustration is the skin tone, boot color, skirt color, and jacket background color.
I would likely add these with either a paintbrush (or the pastel in a size that feels right), or else select a shape and FILL it with color all at once.
Using Layers in Procreate for Fashion Illustration
It will be so easy to add base colors to the individual garments when I feel like it, because I can add a different color to each garment on a separate LAYER which can go BEHIND / UNDER the layer that holds the pencil lines!!
This means that the informative pencil lines that show individual design details, seams, pockets, stitching, folds, etc…… get to “SIT ON TOP OF THE PILE” of layers, and the colors can sit behind that.
That’s one huge difference from working with gouache, which due to its opacity, dulls the lines beneath it..
LAYERS are definitely one of my favorite aspects of all ipad fashion illustration and design work, please leave a comment and let me know if you ‘d like me to teach more about layers in a future post!
MODEL DRAWING on Procreate app
Even though I have the largest size of ipad pro (not required– you can use your iphone with a stylus OR you can use an ipad mini….) size is not part of this conversation too much today.
I would like to mention that even if you LOOOOOOOVE using your ipad and Procreate for fashion illustration more than ANYTHING at all….
LET’S GET PHYSICAL
I urge you to work with PENCILS, WATERCOLORS, COLLAGE, CHARCOAL, GOUACHE, PASTELS, etc etc etc ON PAPER first, or whenever you can
- so you can develop a relationship with the qualities of each of these tools
- so you can discover different voices and aspects of your expression through the use of each of these tools offers you
- so you can experiment with different papers to work on
- so you can use LARGE SHEETS to get PHYSICALLY INVOLVED , and to “spread out” in your sketching experience…. using your arm to make sweeping motions over the page, rather than being restricted to a plastic stylus on a glass “page.
- Use your fingers to smudge.
- Peer in closely, then stand back to “zoom out”.
Digital work has the drawback of getting very heady, mental and restricted and tense. PHYSICAL drawing frees you from these constraints and relaxes the body if you let it. (Music helps with this too)>
A ROUGH START
If you’re like me, it isn’t just the Procreate App for fashion Illustration or drawing experience that is a challenge….
it’s DRAWING WITH PLASTIC ON GLASS! This can be very off -putting and fast-moving.
My remedy for this frustration of slippery, cold tools is to begin by using your finger to sketch. It’s okay that your finger is huge, because you can zoom in when you want to create finer details like facial features and stitches.
My second recommendation is to apply a PAPERLIKE film to your ipad to give it a grittier, matte texture that feels more like real paper under your apple pencil.
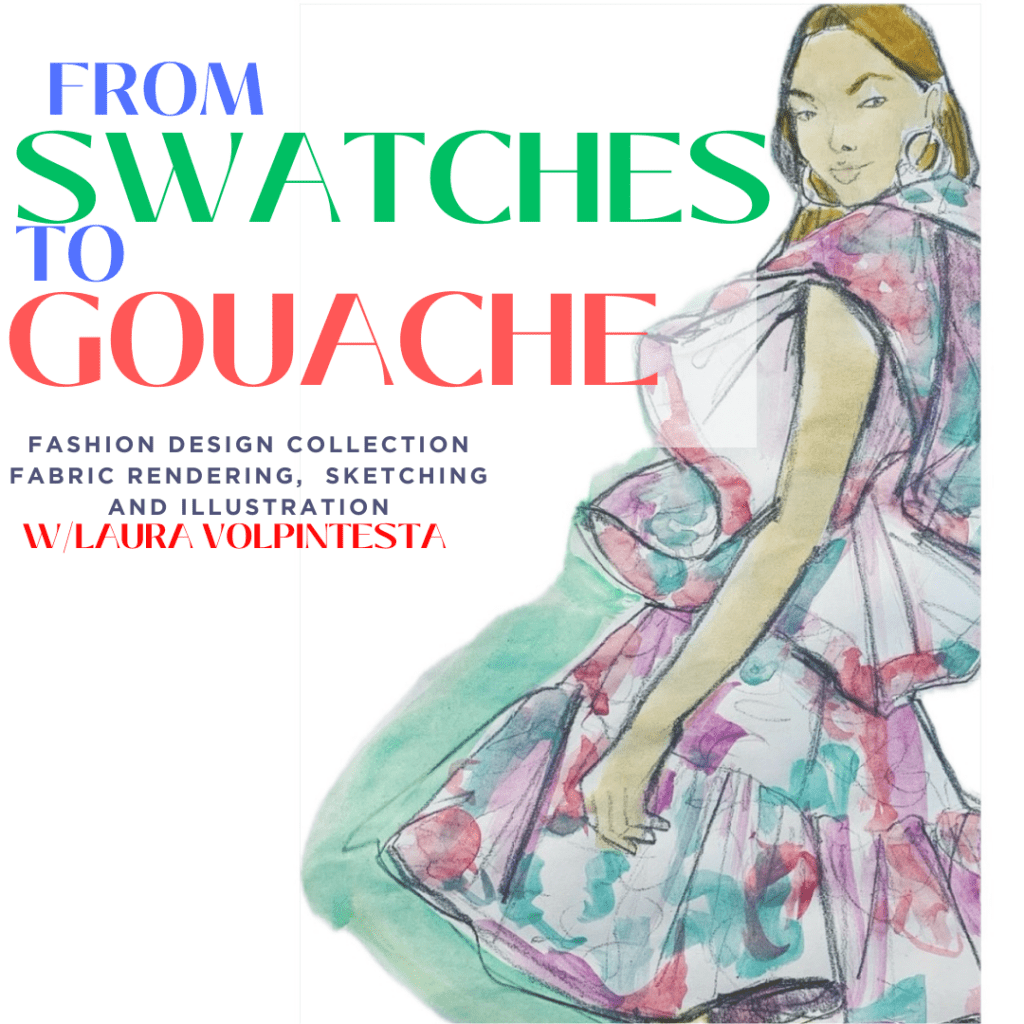
Swatches to Gouache courseprojects and demonstrations take you through gouache, pencils, markers, and digital techniques so you can “feel into” all of these options and find which ones feel best for you.