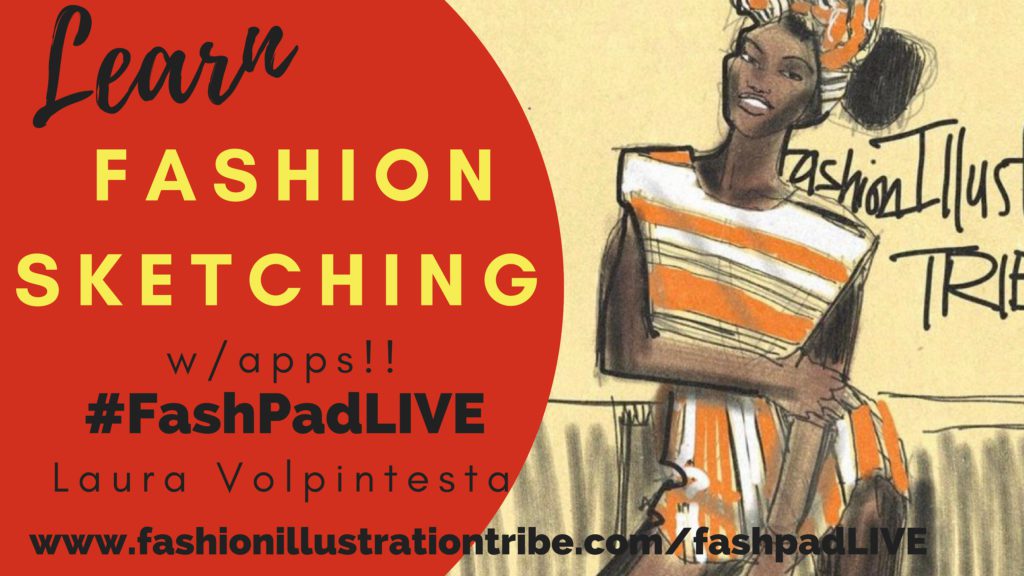
This page originally housed a temporary livestream masterclass
Stay informed about upcoming events- follow me on instagram for daily updates, tips and livestreams!
I’ve provided some Procreate timelapse videos as well as two instructional videos so you can get a feel for the look and capabilities of digital drawing basics with Procreate app. I use it on my ipad.
Guiding and supporting you to get comfortable, fluent, creative and familiar with Procreate app and to use it in line with your goals in fashion illustration, design, costume design, print concepts, etc…. is my specialty.
contact me at info@fashionillustrationtribe.com if you want to add coaching to any digital course.
THE SIMPLICITY OF USING A SINGLE BRUSH in PROCREATE APP
Because Procreate offers so many tools and brushes, options and little boxes and sliders to select from, it is TOO EASY to fall down a rabbit-hole of overwhelm without acctually feeling like you’re able to do what you set out to do in the first place!
To ILLUSTRATE with confidence, clarity and flow.
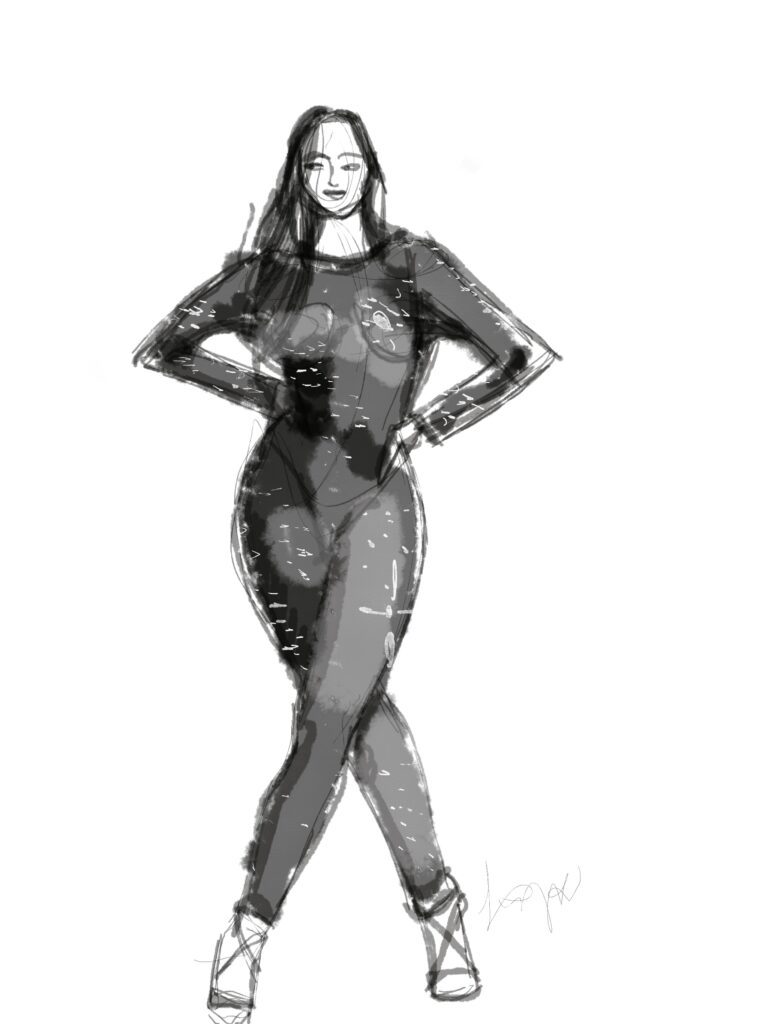
This first video shows my process off of the screen. I want you to watch know that I AM ONLY USING ONE BRUSH for the ENTIRE WORK!!!!
SIMPLE ADJUSTMENTS TO BASIC PROCREATE TOOLS
I may increase or decrease a tool’s size or opacity as I work, but the bottom line is that it’s only one tool that I used.
TRY THIS METHOD!!!!!
Using 10 different brushes does NOT make you a more interesting or capable illustrator. The day I discovered this, was the day everything started to make sense.
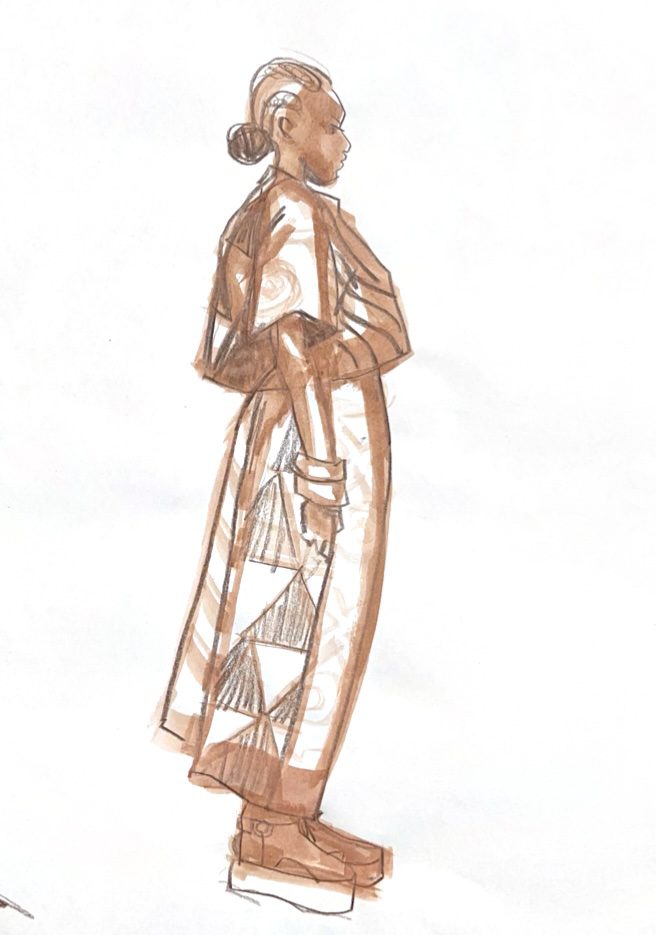
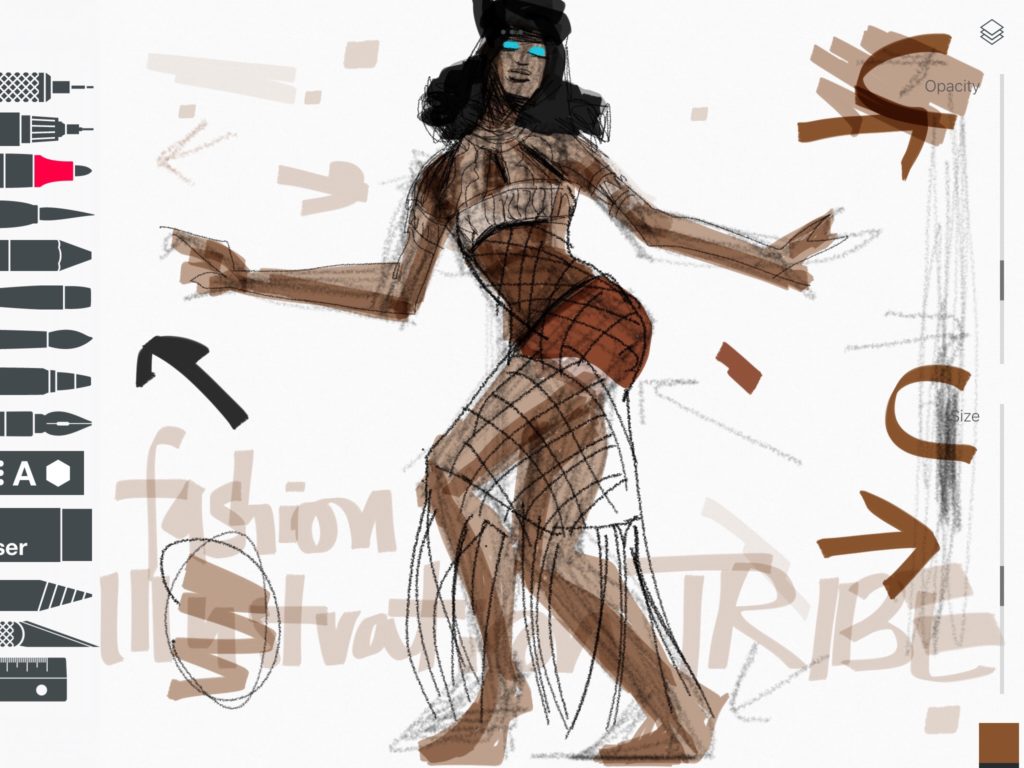
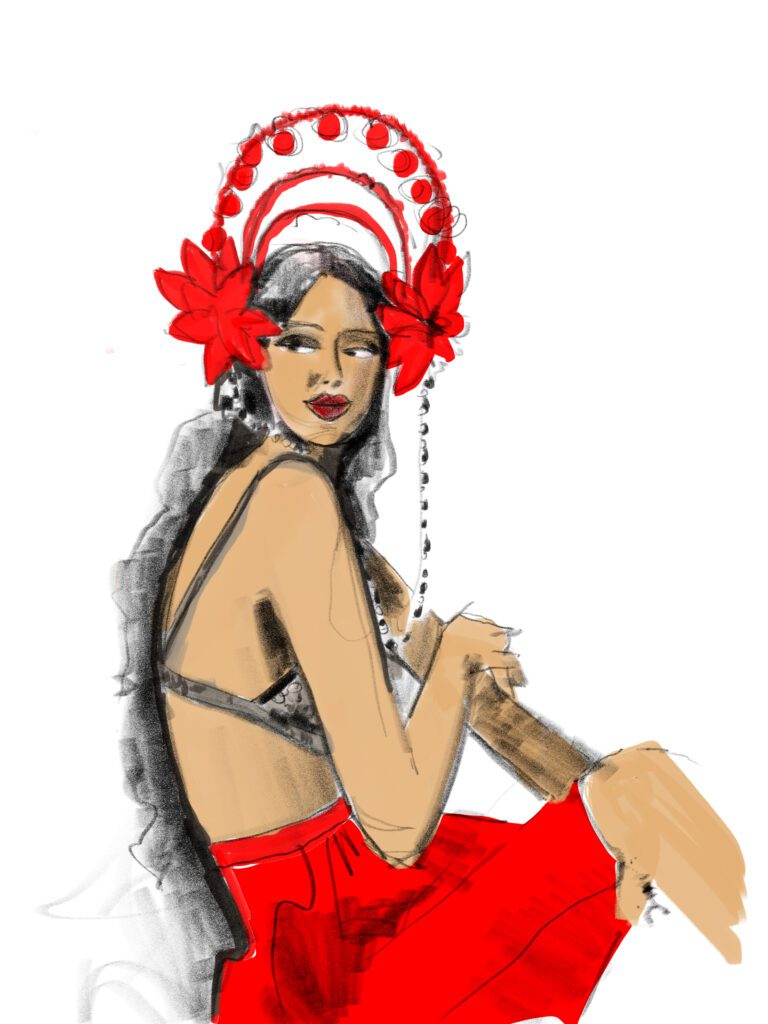
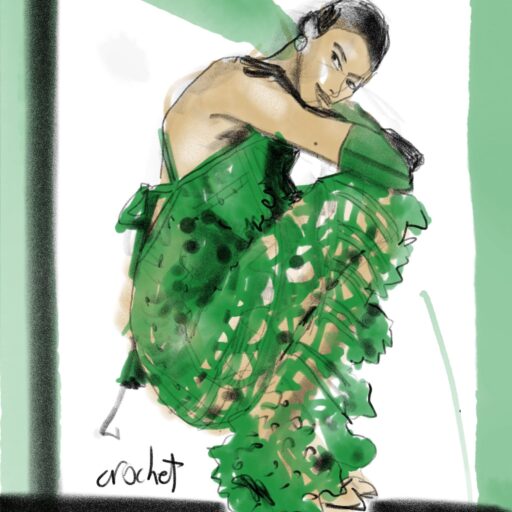
This timelapse shows the process and the quality of the brushes and textures that digital drawing basics with Procreate can acheive. It’s not my “main tool”, but I could easily get the effects that I love with it right away.https://procreate.art/
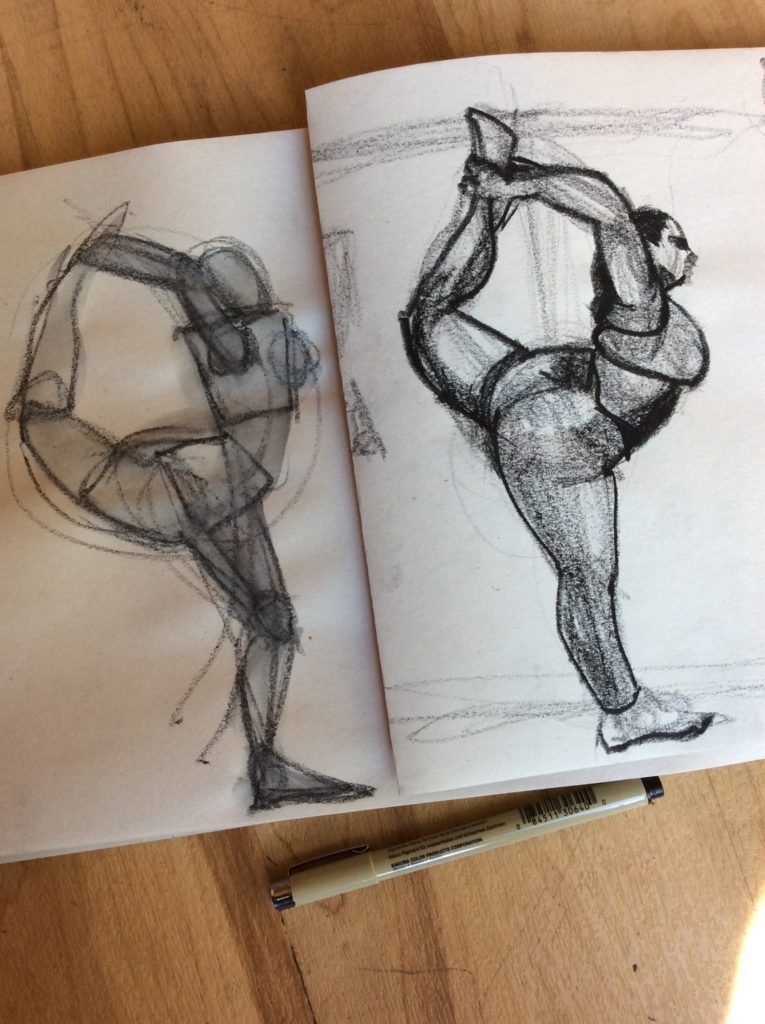
VISUAL TEXTURAL QUALITIES
While paper and watercolors /gouache have the maximum natural texture built into them, when using a digital device with Procreate app, things can come across very flat. This is why learning shading techniques and contour drawing are essential to break out of the limitations of illustrating with apps.
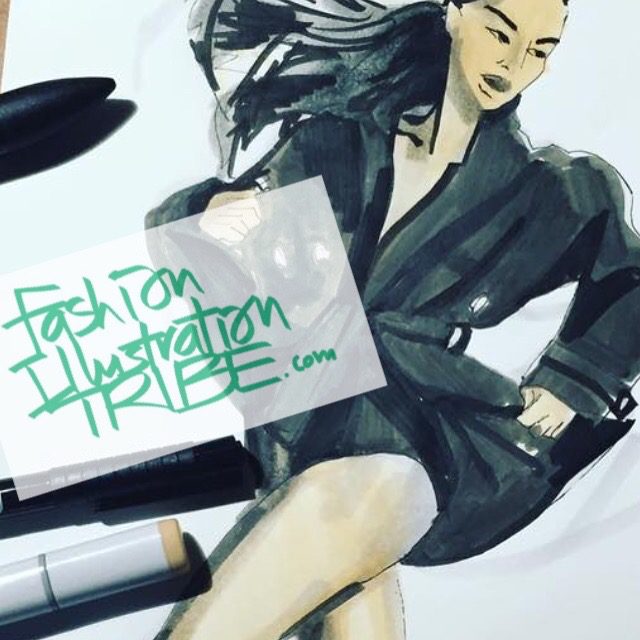
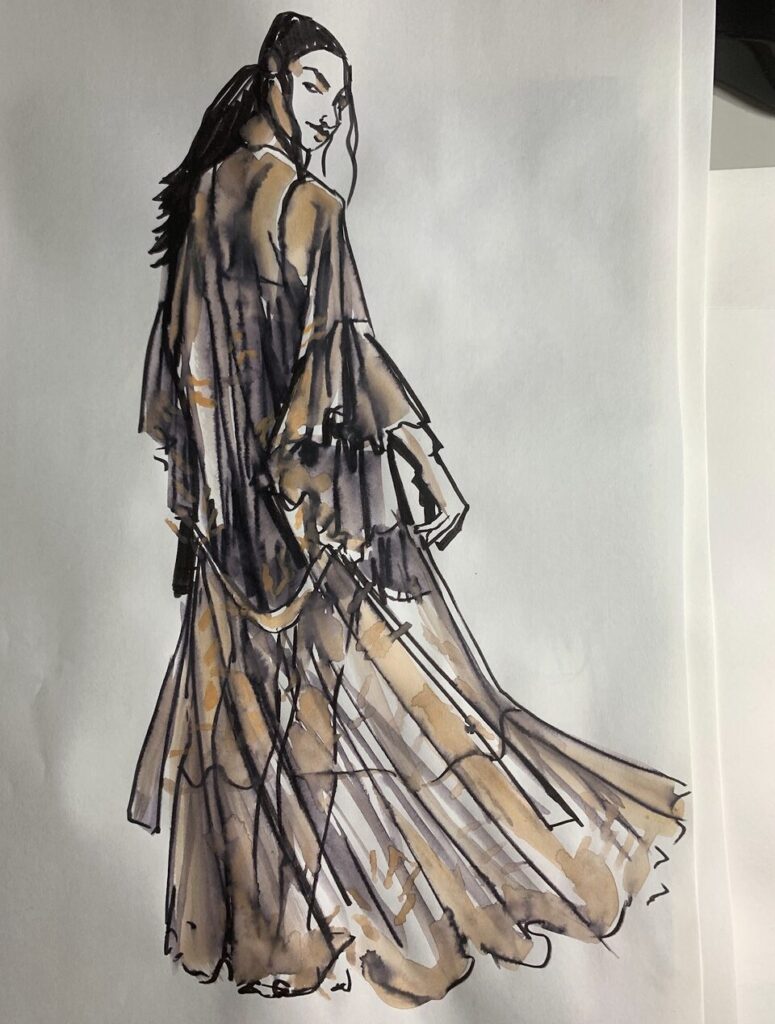
You will notice a slick, smooth character that digital drawing with Procreate has. This is why I still love Tayasui Sketches the most for fashion illustration – it has more of a fabric like texture and natural feel to it that I love- it makes me feel like i’m working with real TACTILE art supplies.
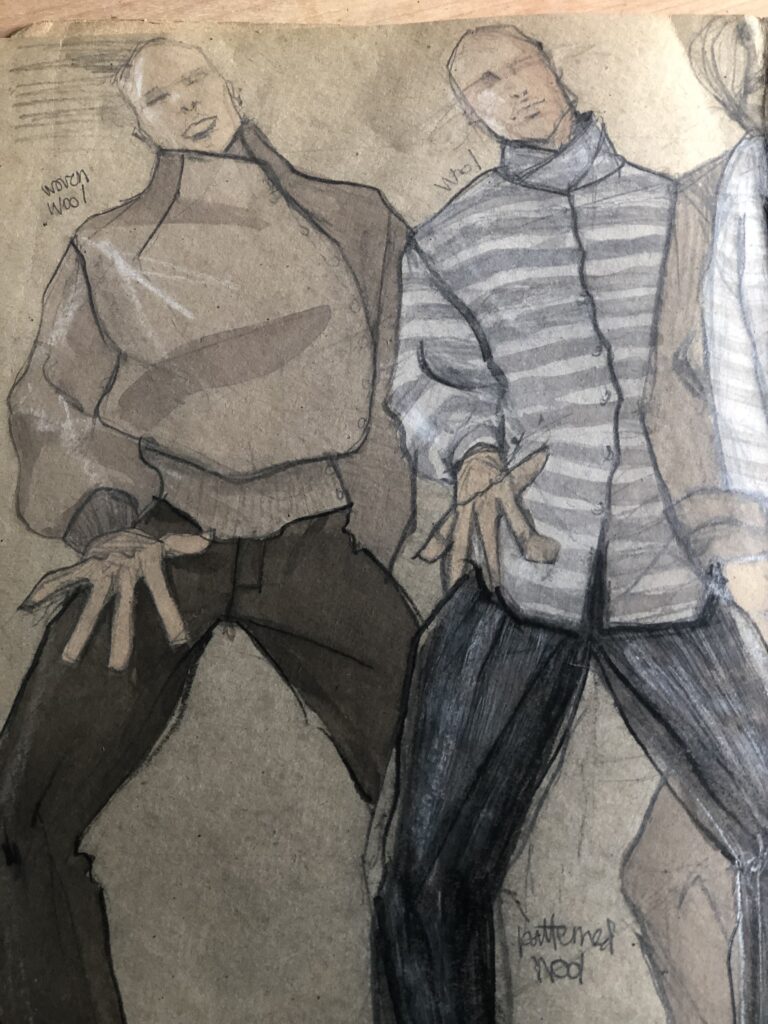
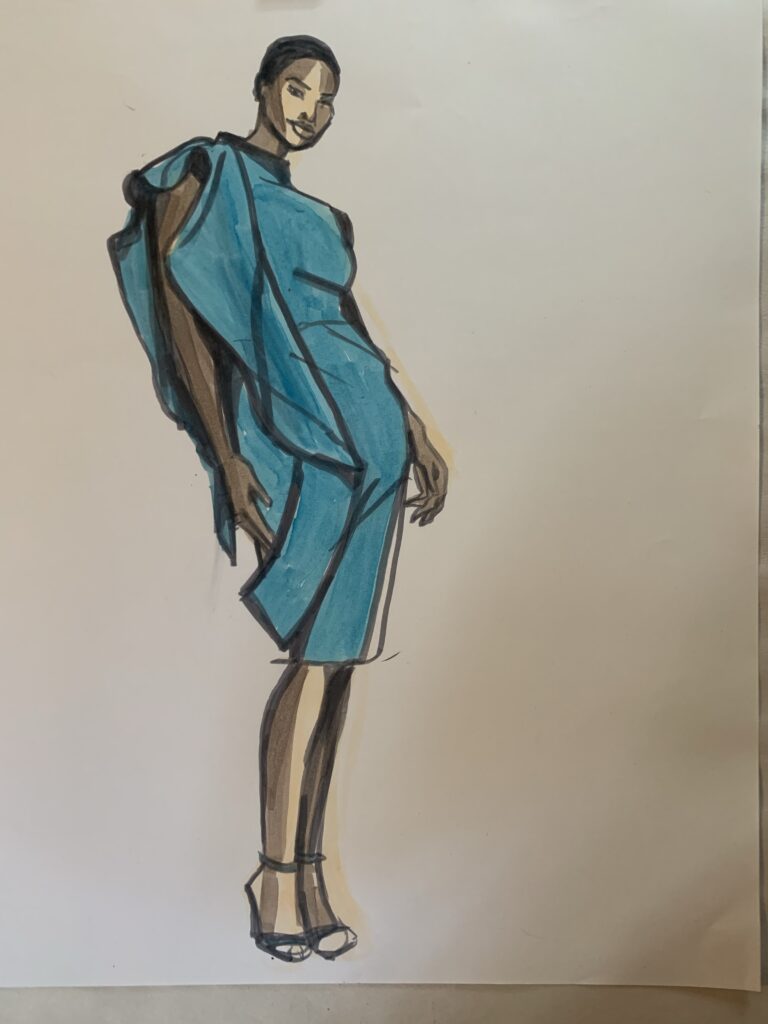
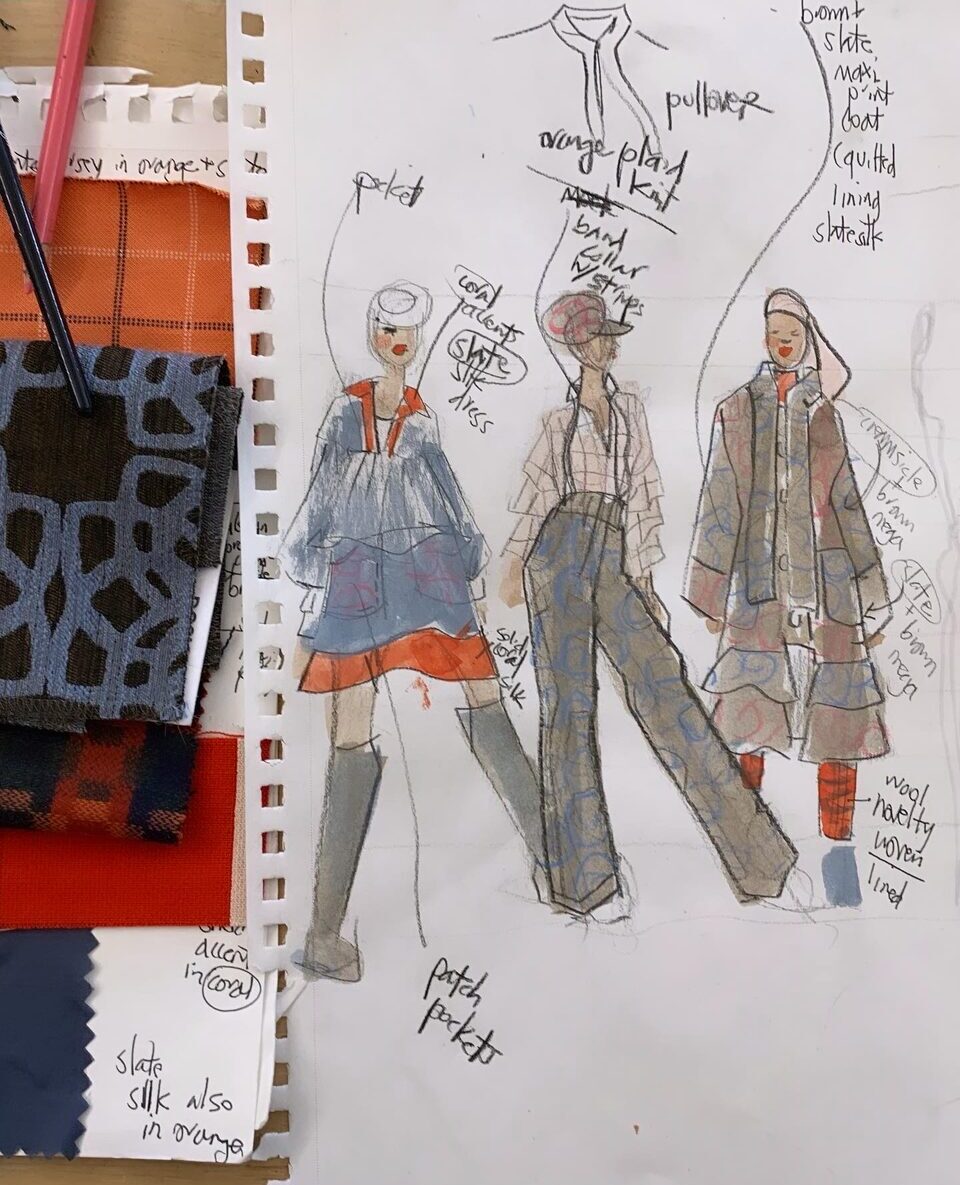
STEP BY STEP, TOOL BY TOOL in PROCREATE
Below, I’ll talk you through the different lines, brushes, tools that I used for fashion illustration digital drawing basics with Procreate. MORE IMPORTANTLY, I think, you’ll benefit from seeing the order of the steps that I use to build the fashion sketch!
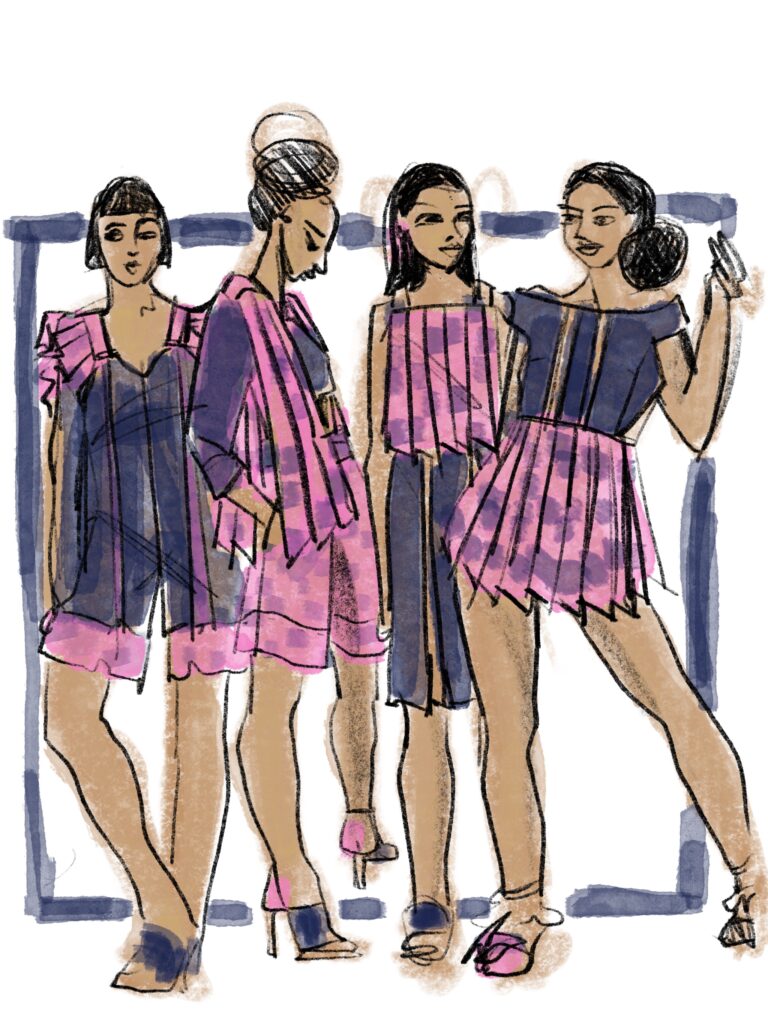
ESSENTIAL TIPS FOR PORTABLE FASHION SKETCHING on iPhone
Below, I demonstrate the capabilites of Procreate Pocket, which is the version you can get digital drawing basics with Procreate from your smartphone! (Tayasui Sketches, Adobe Fresco, Autodesk Sketchbook and Repaper also all simplified versions that operate from a smartphone)
Thanks so much for joining me today.to explore digital drawing basics with Procreate
I love you so much!
Laura