SHADING FASHION ILLUSTRATIONS
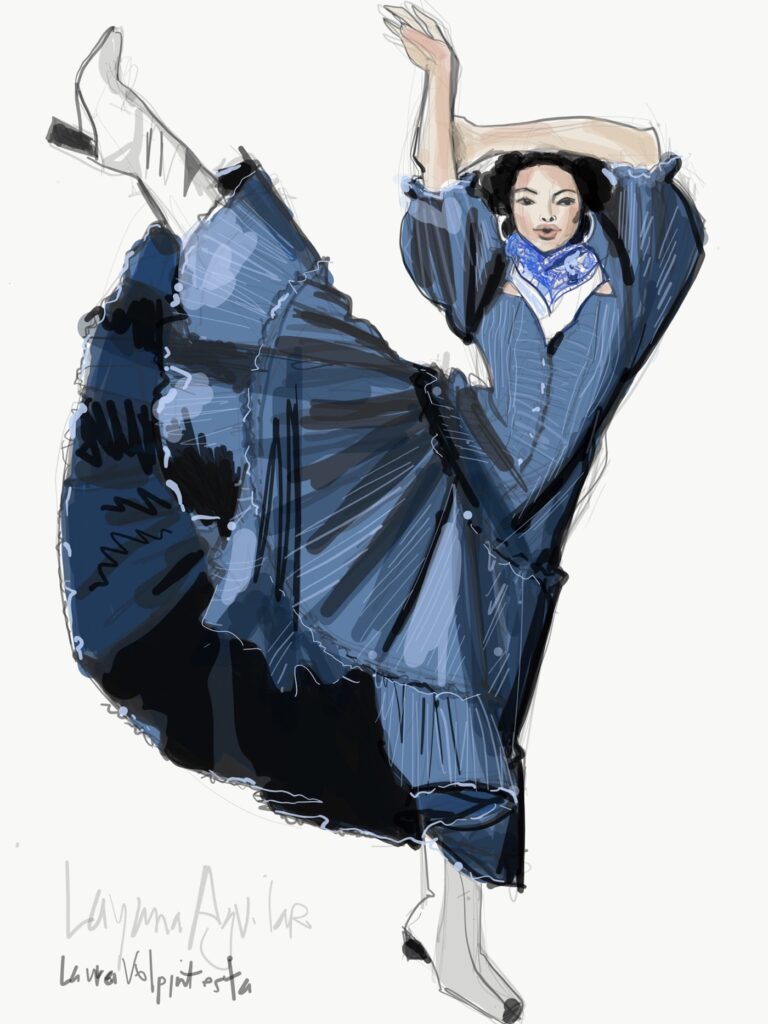
Shading is what gives depth, dimension, and 3D form to your fashion illustraitons- it is easier on the eye, and by its very nature even adds texture, emphasizes details and layers.
Also, shading won’t let you get away with drawing emaciated, super skinny distorted figures (skinny is fine, but not skinner than actual humans!) – because when you shade your figures they takeon 3D form and become much thinner in appearance. This is why it’s important to give sufficient width to all of the proportions of your figure!
Don’t overlook the power of this expressive, communicative skill!
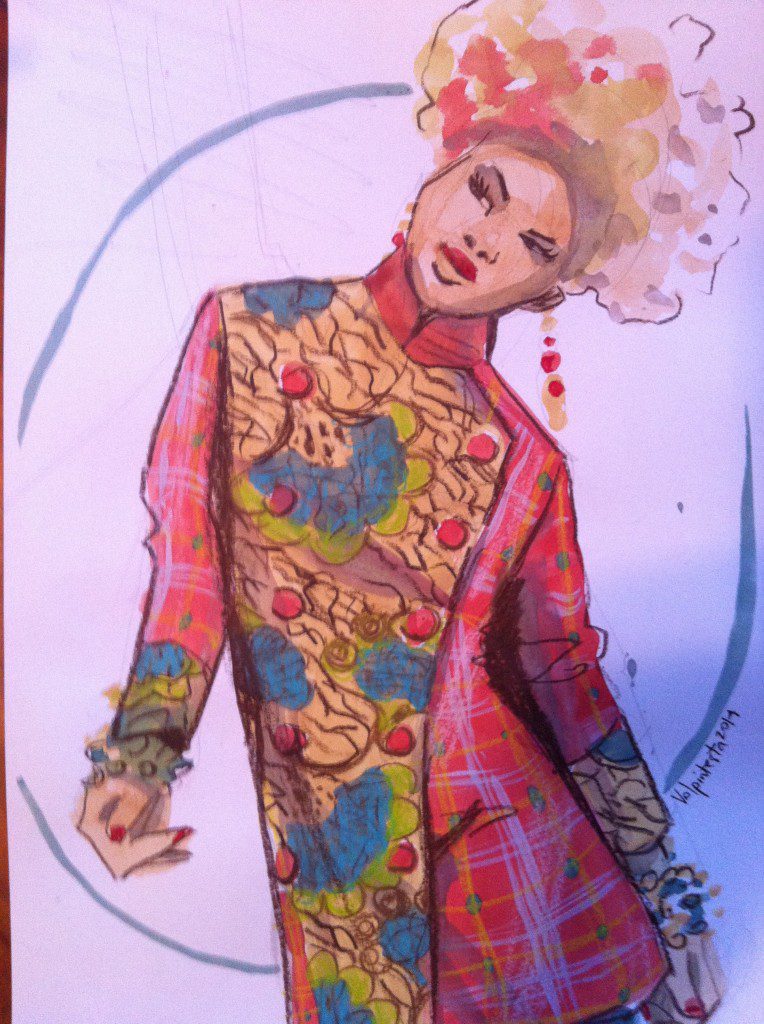
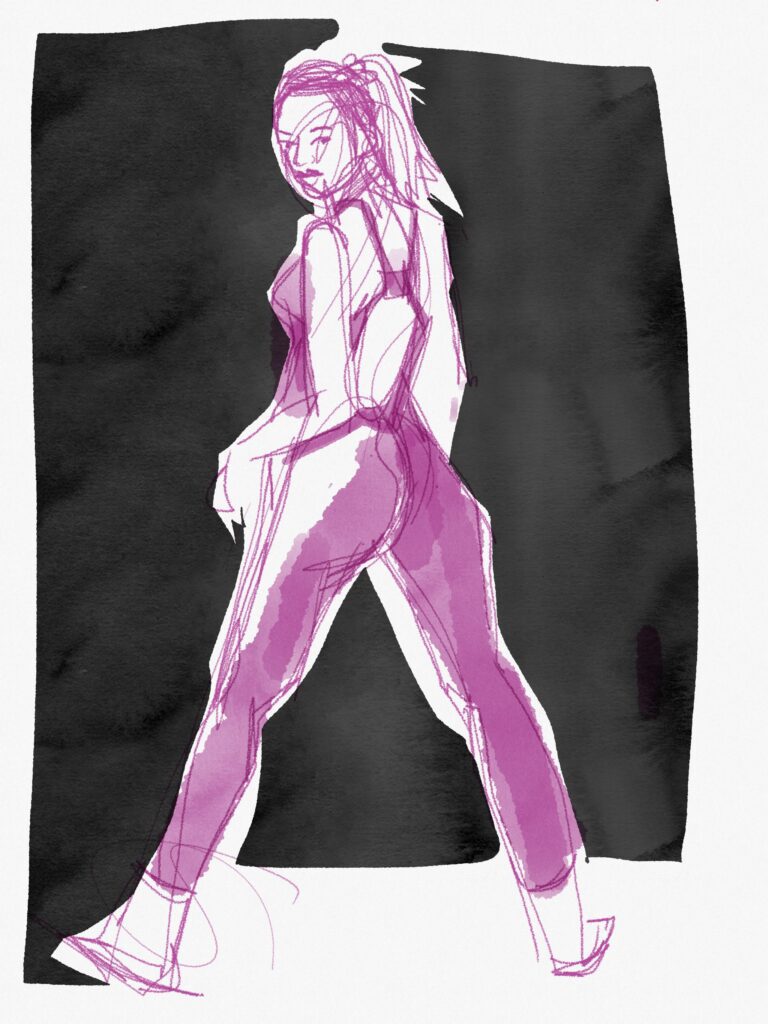
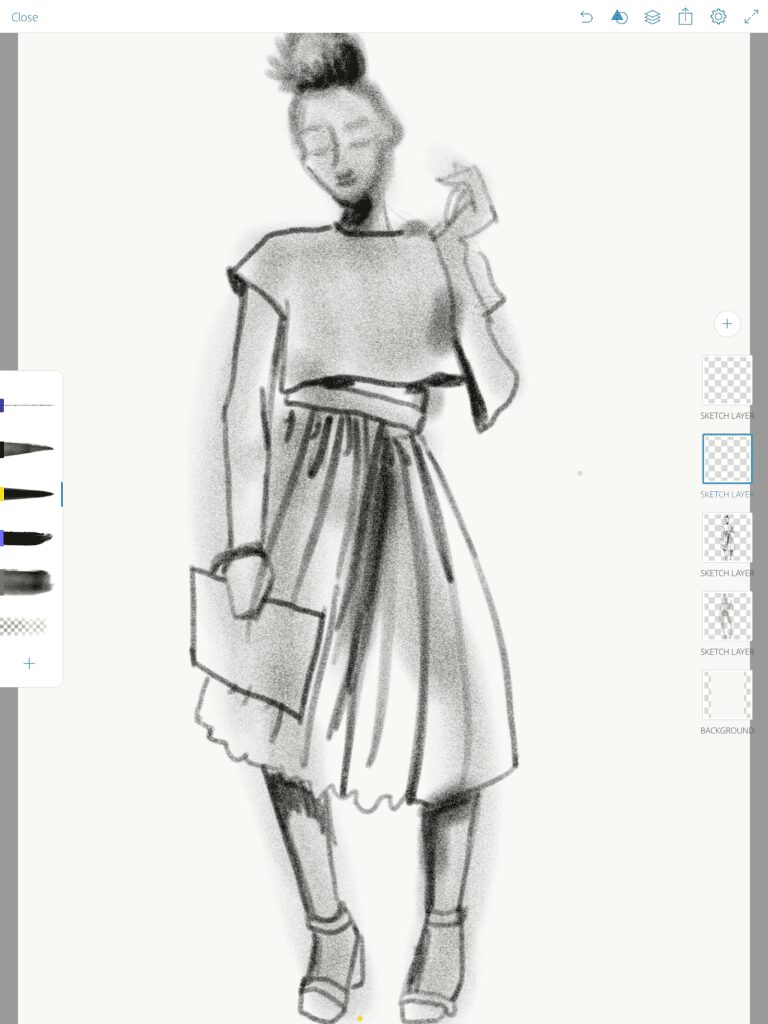
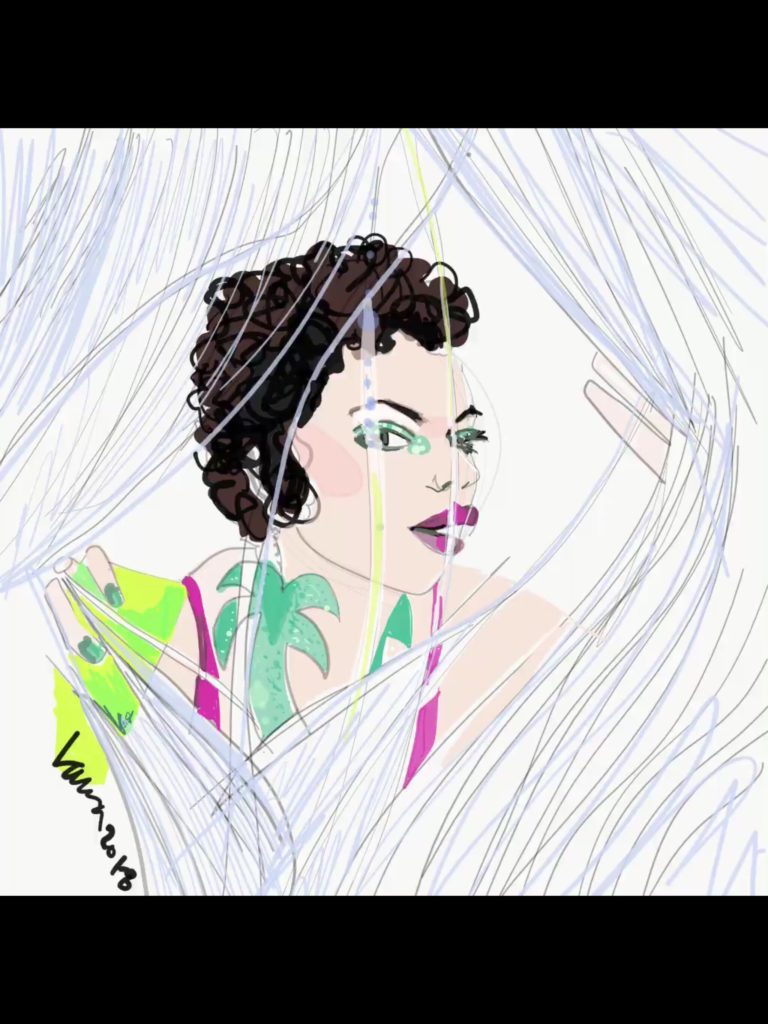
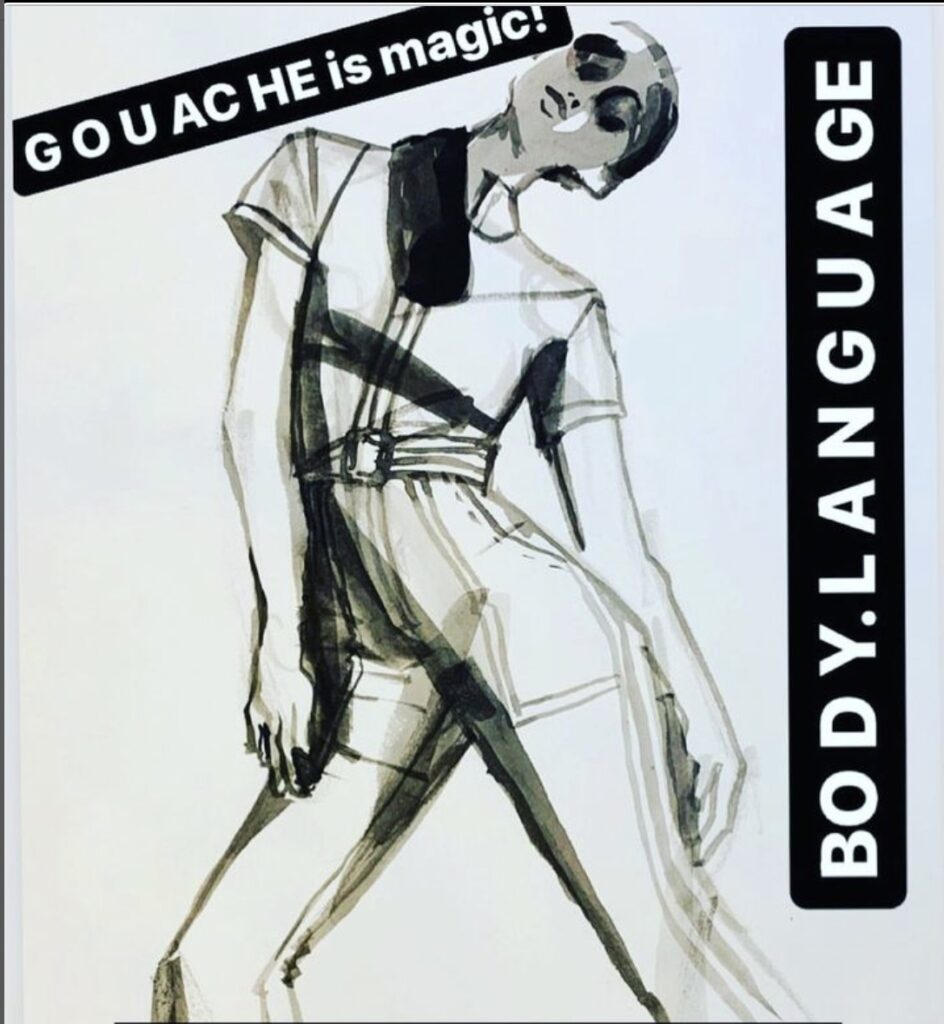
I used gouache in the sample images in this post, but I’m adding digital sketches farther down the page so you can reference exactly the same techniques working in all media: digital, marker, gouache, etc!
Is SHADING fashion illustrations so important? I definitely believe it is.
Shading Fashion Illustrations
Shading your design sketches gives them a more alive, real feel. The sensual perception of being able to touch and feel your garments, and to sense the flow and form of them, doesn’t come across – in computer printed, hand painted, or flat-rendered sketches the way it does when you take some time to develop your skill in shading and line quality.
I’m going to give you a morsel-sized, tiny tidbit today so you can start applying some of these details and changes to your drawings right away!
What can you do start shading?
- Work from fashion photos with great, strong light and shadows to give you guidance to seeing shadows. DRAWING FROM OBSERVATION is an EXCELLENT way to “build your vocabulary” of shadows that you see- and shadows that you can mimic. Check out my Pinterest Boards for images and references>
- SQUINT your eyes to quickly see and simplify shadows in the image. The effect of this simple action of squinting is absolutely priceless, it helps you see lights and darks starkly and “filters out” the “in-between ” tones. Ask yourself “what are the absolutely darkest parts of what I’m looking at? What are those dark areas shaped like?“
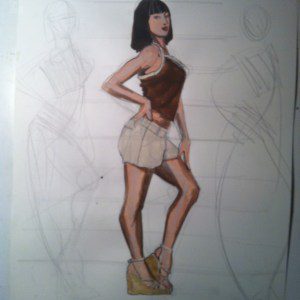
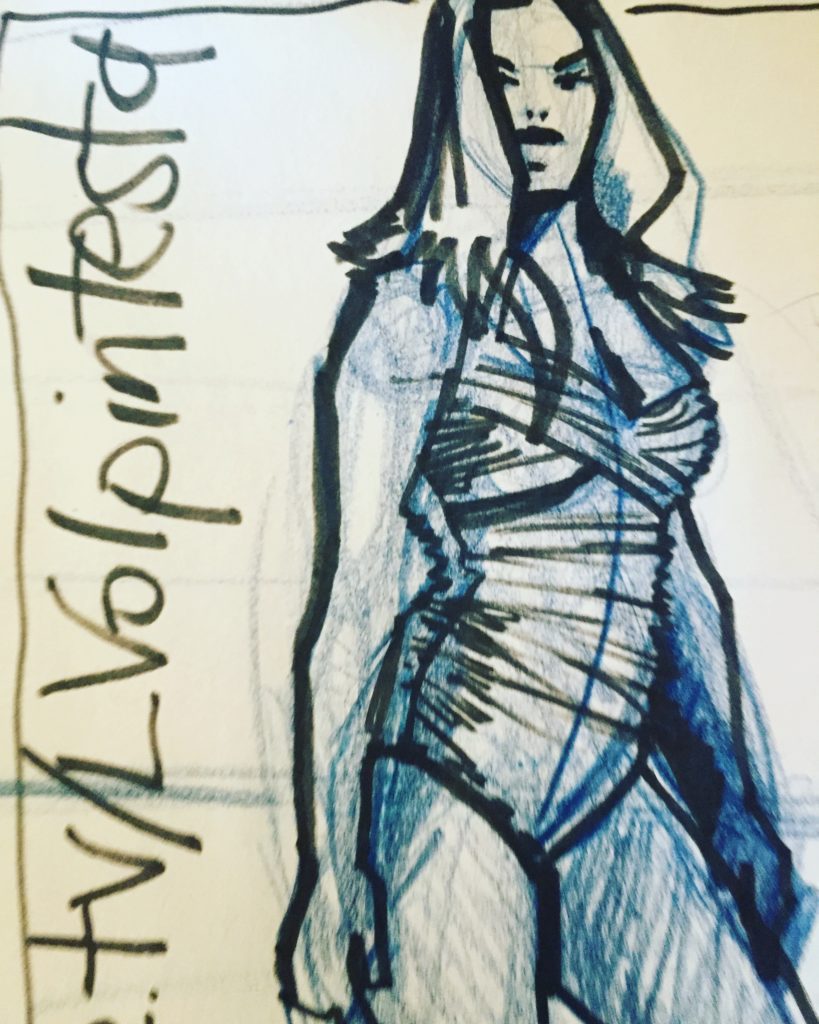
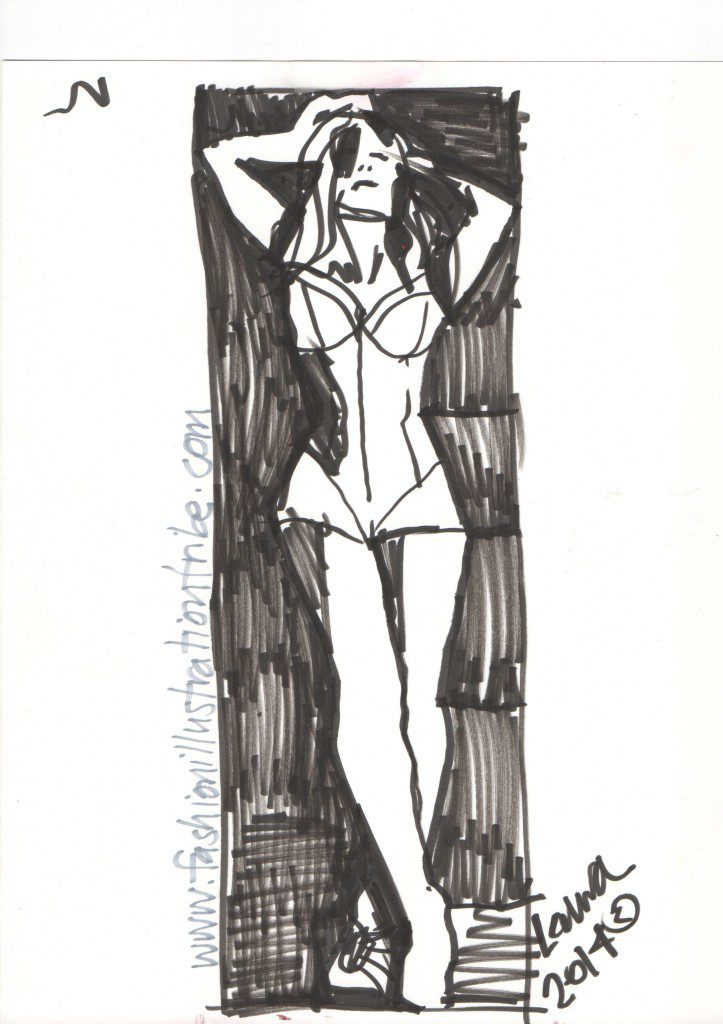
- Notice the shadows as large chunks of shape, not subtle gradations or little skinny lines around the edges of things. Go for the MACRO not the micro. (stepping back from a distance can help.) *****PRO TIP: The most effective and exciting shadows will be shapes that cross the body rather than only crawling up the edge. Train your eye to notice them They are aften triangular.
- Add a pinch of black to your garment’s basic color tone in your palette that you used to paint it…. a pinch of black will give you a clean, darker shadow tone that “recedes” visually. If you’re working digitally, then use your color picker and slide it from the base color you used towards the direction of black. It will be exactly the same hue, but with a darker value, less saturated= Shadow. (learn some great color theory in Fashion Design Infusion course!)
- If you aren’t working from a photo (I used a photo for the example I’m showing you today), decide on a location that the light or sun coming from and simply shade the OTHER/ opposite side of everything for a quick realistic feel. **** PRO TIP: Shade about half of every painted shape.
- USE LINE QUALITY to create shadow and form. Check out this blog article on line quality using pen thicknesses, or my pencil article for more info.
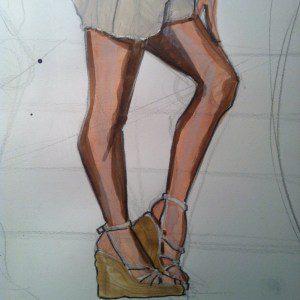
- As you see here, I used light, thin lines on the sunlight / studio light sides of things, and dark, thick lines on the underside, inside or dark side of things. *** EXAMPLE Look at the straps of her shoes. I shaded UNDER them. one side of each strap……
- Look at the shadows under the hem of her shorts. ****PRO TIPS: Body parts and garments should be shaded almost half of every single paint shape you’ve painted. It won’t make sense visually to shade only her skin, or only her clothing, or only certain items. IF YOU SHADE AT ALL, SHADE EVERYTHING! (and that’s why we need simple, straightforward shadow shapes and not a complicated realistic rendering of every nuance) *****REMINDER: this makes your model skinnier so make SURE YOU DON’T DRAW HER TOO TOO SKINNY! Sign up for my bite sized online class to get a better understanding of proportion so you can draw more accurately.
- If you’re NOT using a reference photo, shade things that are BEHIND other things. Shade under flaps, collars, hems, pleats, anything that is under or behind something else can be shaded to add depth and show attention to layers and details. Shade under the chin, too.
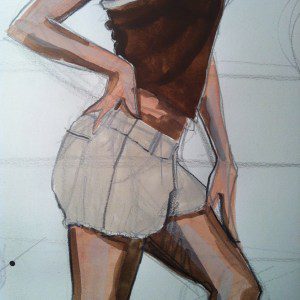
- I’m only allowing myself 10 tips so you don’t get overwhelmed :0) use your shadow tone (fabric color plus black) to create textures as well, such as cables or ribs on a sweater, or other textural effects like corduroy, etc. Sometimes just a graphite or dark colored pencil will make a decent shadow tool for textural effects.
I hope you found this helpful!!! I know implementing the above will make SIGNIFICANT changes in your fashion illustrations and make it look like your models are walking right off the page. PLEASE take a moment to share your success (or question) in the comments.
Please SUBSCRIBE and share with YOUR tribe!
Let’s create our own fashion images, that embrace OUR lives and visions…… we are REAL people and that is REALLY AWESOME!!!!!!!!
For info about my online signature course SOULFUL FASHION FOUNDATION IMMERSION program or others linked in the menu header here,,and how you can develop your illustration and designing skills with me, entirely on-line in a fantastic community, or to schedule a coaching package to work one to one on your portfolio or your foundation skills, email info@fashionillustrationtribe.com
Love always,
Laura


