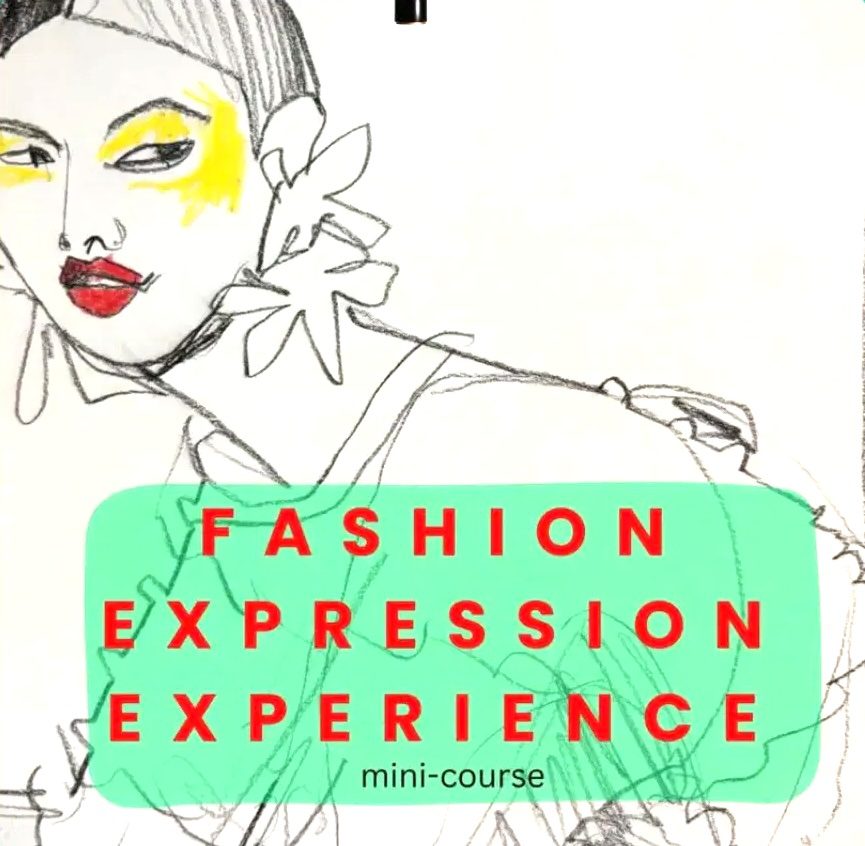
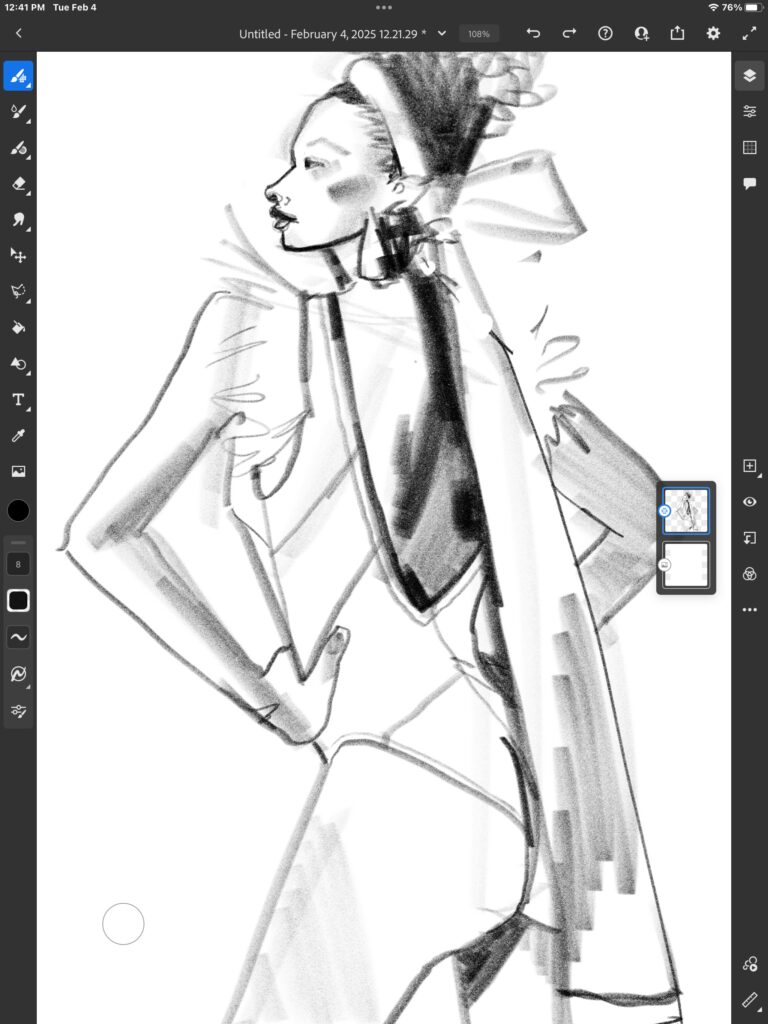
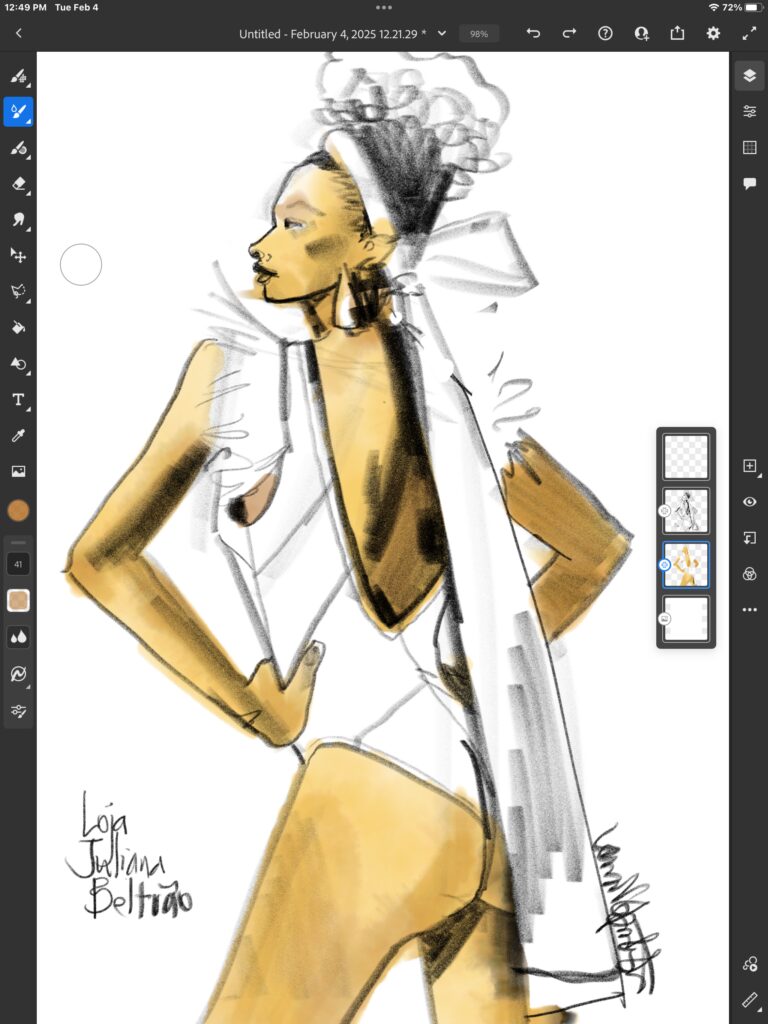
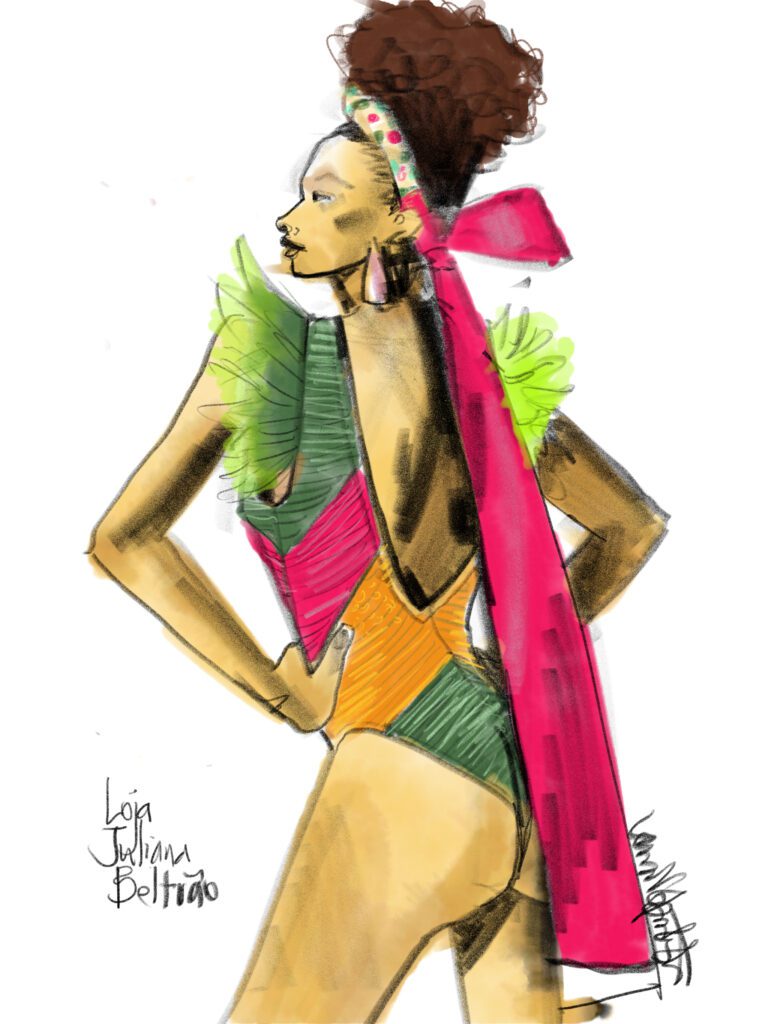
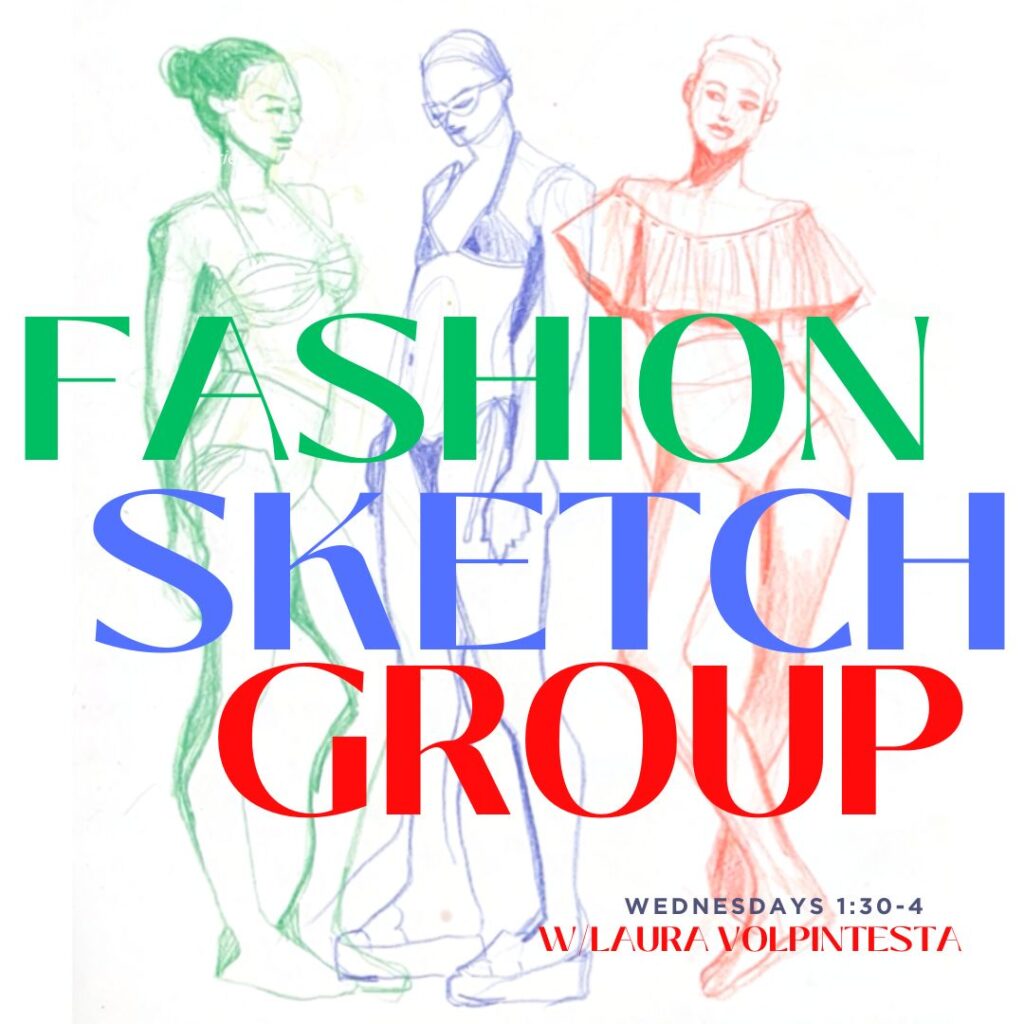
Fashion Illustration: Carnaval 2025 on ipad
PRIMER: download Adobe Fresco app on your ipad
Adobe Fresco app on my ipad pro brought me so much freedom to explore some of my favorite carnaval costume designs from Recife and Olinda this year through the art of fashion illustration.
Since I had to miss the festivities personally, (Last year I had my first Carnaval in Olinda, it was amazing.) This year, I went in January for the previas.
NOTE: Adobe Fresco is a free app
STEP 1: START WITH A 6B PENCIL tool
I go more into depth on these concepts in my Ipad fashion Illustration course, but basically you want to use just one tool when you start.
Otherwise, you may get lost in the rabbit hole of 500 different brushes–(and that’s all fine on a lazy afternoon if you feel like it, but absolutely UNNECESSARY).
The black pencil tool is my very best friend for ALL fashion illustration, digital or on paper!
You can adjust its size and its opacity, and the angle of your apple pencil also gives it line quality (along with the pressure of your stylus or finger on the glass)
So, first:
Softly map out your sketch , figure, and garment details.
THEN you can add your skin tone.
BUT FIRST DO THIS:
Step 2: Choose an image to sketch from
Recife and Olinda have my favorite street carnaval style of carnaval de rua, which you can dig here on my Pinterest board to explore.
If you’re new to fashion illustration and want to sketch independently for design from your imagination, that’s fantastic, but a mistake so many of my students make in the beginning is force themselves to draw only from their imaganation because they don’t want to “copy” anything.
***Copying is an incredible tool for learning and practicing a new skill and “building your vocabulary” and I highly recommend it while you build your own skillset!
For my fashion/costume illustration, I chose a design from AVOA, a Recife brand that really inspired me during this carnaval season.
While your STYLE is inevitable and is something that emerges and cannot be copied….
I highly recommend drawing from things you are looking at as a practice that will build a rich vocabulary of experience within you that will inform every fashion illustration and design sketch that you will do over your career!
Step 3: Identify each key color in the fashion design
It’s so easy to make colors for your fashion illustration on the ipad!
You just select them from the color picker , and no mixing is required!! This saves a lot of time compared to fashion illustration with gouache, but– mixing colors is an excellent way to learn to understand color— and gouache is a GORGEOUS medium for QUALITY, analog fashion illustrations!
Faster isn’t always better.
Step 4: FILL IN FASHION COLORS
Depending which digital app you are using for your fashion illustration, and what tools/brushes you prefer, you can either :
- lay down shapes full of tone by outlining the area that you want to fill and then “filling it” with flat or textured tone,
OR
- you can select an area and then paint or touch to create a textured fill
OR
- you can just grab your stylus and “color in” like you would normally do on a piece of paper with a brush or crayon.
Whatever you do, I recommend a “wet” tool like marker, gouache or watercolor for this, for a lush, vibrant fashion illustration style.
PRO TIP: all fill colors should happen in a layer “behind” or “under” your pencil lines so that you don’t lose your pencil details that you already sketched
Step 5: ADD TEXTURES
While SOOOO much texture happens purely in the line you use to contour hemlines, corners and edges of garments in your fashion illustration…
We can also use highlight (white based) or shadow (black based) to create textures on the surface of our fabrics.
And the higher the contrast between light and dark is, the shinier the fabric appears.
I SUGGEST YOU USE YOUR PENCIL TOOL FOR THIS because of its gritty texture that gives more of a fabric-like experience than watercolors.
(That’s the same thing I would do if I was working on paper, anyway).
NOTICE how I use the pencil tool in Adobe Fresco or any other app to do my freehand design sketching to work out my original ideas. (ABOVE)
I only used flat tone and soft pencil to create this ipad fashion illustration above)
SEE HOW I added black AND white over the base tone to create the metallic feeling on this fashion illustration of a carnaval costume look.
In this example, I added lighter versions of each base color on a superior layer with colored pencil to create the shine and texture of these sequins and feathers.
Even the vans sneakers fabric was executed in colored pencil!
Step 6: (optional) add background details or color to your fashion illustration
It’s not requred to add a background but I’d like you to consider the impact that architectural, abstract, or natural elements intersection with your illustration can bring to the composition of the page!
Even a simple horizon line or frame can make a world of difference so that your fashion illustration isn’t just “FLOATING IN SPACE”.
Also, while i usually choose paper color or texture at the beginning, it can be really fun at this point to play with your color palette by putting a LAYER of colored paper behind your illustration.
Test out how different colored backgrounds or papers can impact your color story and mood!
Of course, it’s up to you how little or how much of elements from your background you include in your illustration.
I used a bit of shadow on the ground near their feet, and details from the mural painted in the background behind the models, plus a horizon line, in this illustration of carnaval fashion designs from Periodo Fertil in Olinda.
This image is different from all others on this page because I didn’t use a gritty pencil-like tool. Instead, I used a single VECTOR TOOL/ brush to create the whole illustration, can you see how smooth the strokes are, even the grey and black “pencil strokes”?
Vector tools can be infinitely blown up into large images without losing quality, while conversely, the more realistic watercolor and pencil tooks are more like photshop images and get pixellated if you blow them up too big. Adobe Fresco offers Vector brushes as well as more textural brushes, so that you can work either way.
Step 7: Shadows
When sketching from fashion photography for fashion illustration studies (something we do ALL THE TIME in Fashion Sketch Group every week)., you can look up and down this page and see how some of the images have shadows on the floor and / or wall around them, which creates depth and dynamics on the page..
You can choose to include or not to include these shadows.
Here you can feel the softness of pencils and brushes that aren’t vector brushes. I created these in Tayasui Sketches app.
JOIN ABOUT FACES / ipad illustration course TODAY and begin your journey in digital fashion design sketching!
OR
Work with gouache, markers, and digital techniques in FABRIC FORM AND FLOW digital course.


