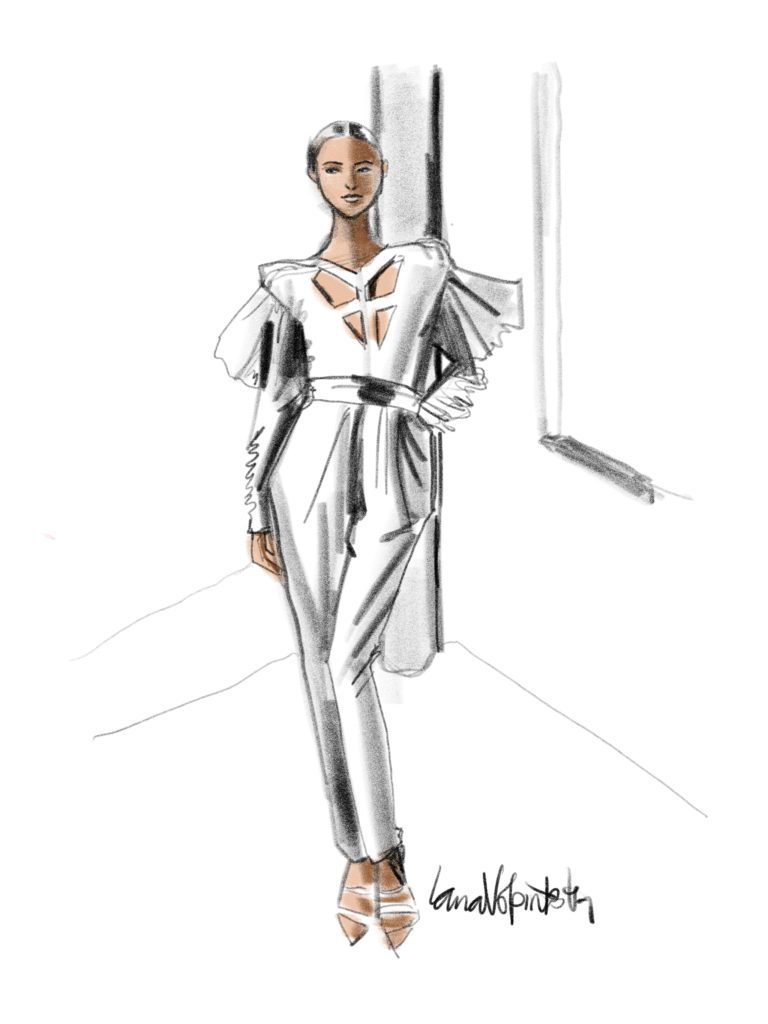
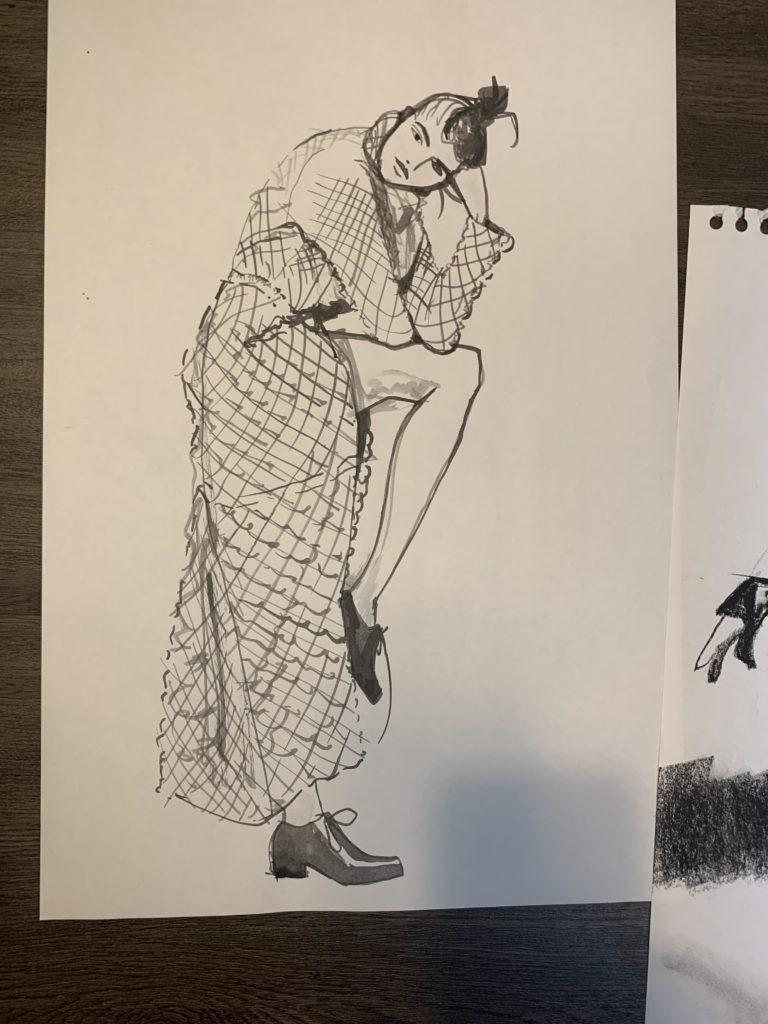
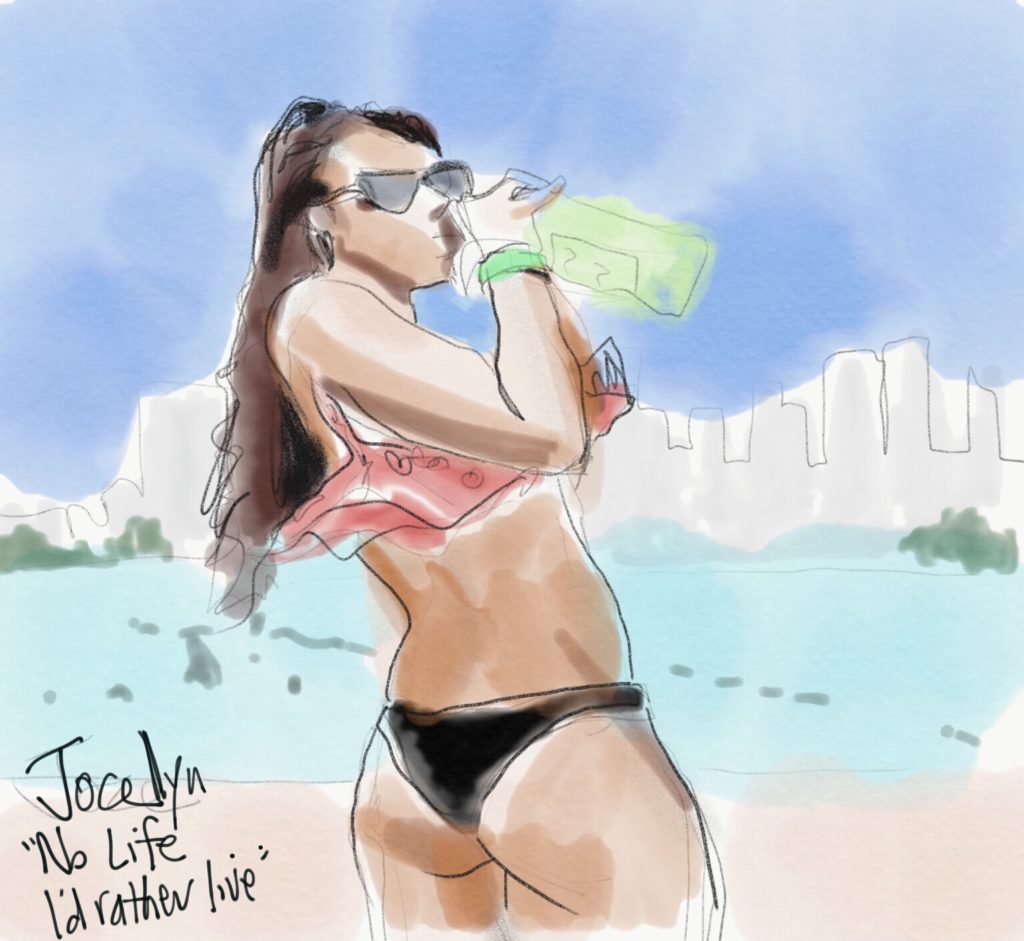
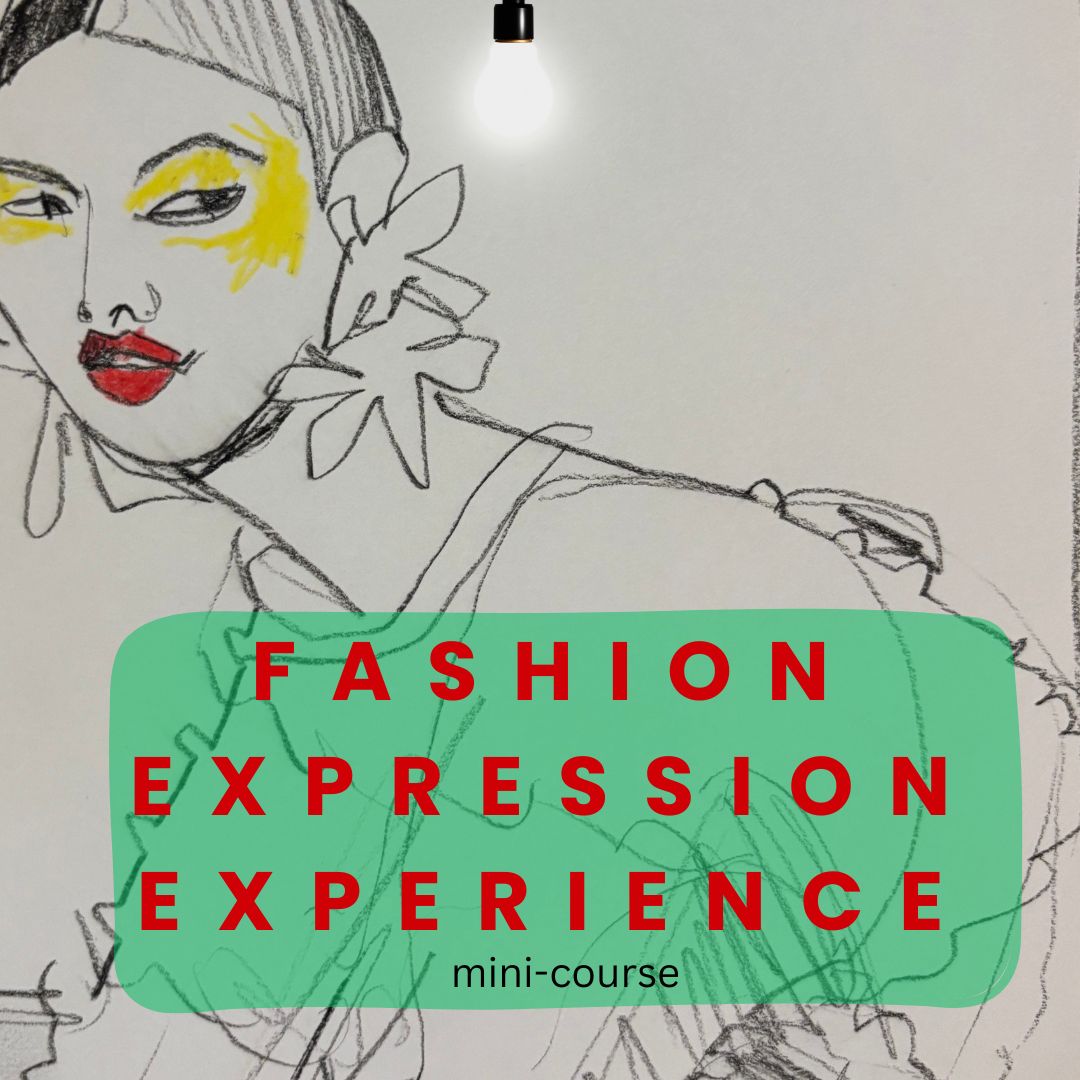
It’s time for instagram stories social media coloring fun!
Forget about coloring books and markers. Instagram now has all the tools you need to play and share on social media.
You can upload / photograph any image (from a coloring book, or of your own drawing)
And color it right side instagram stories! Grab your smartphone, iphone, tablet or ipad… this is going to be fun.
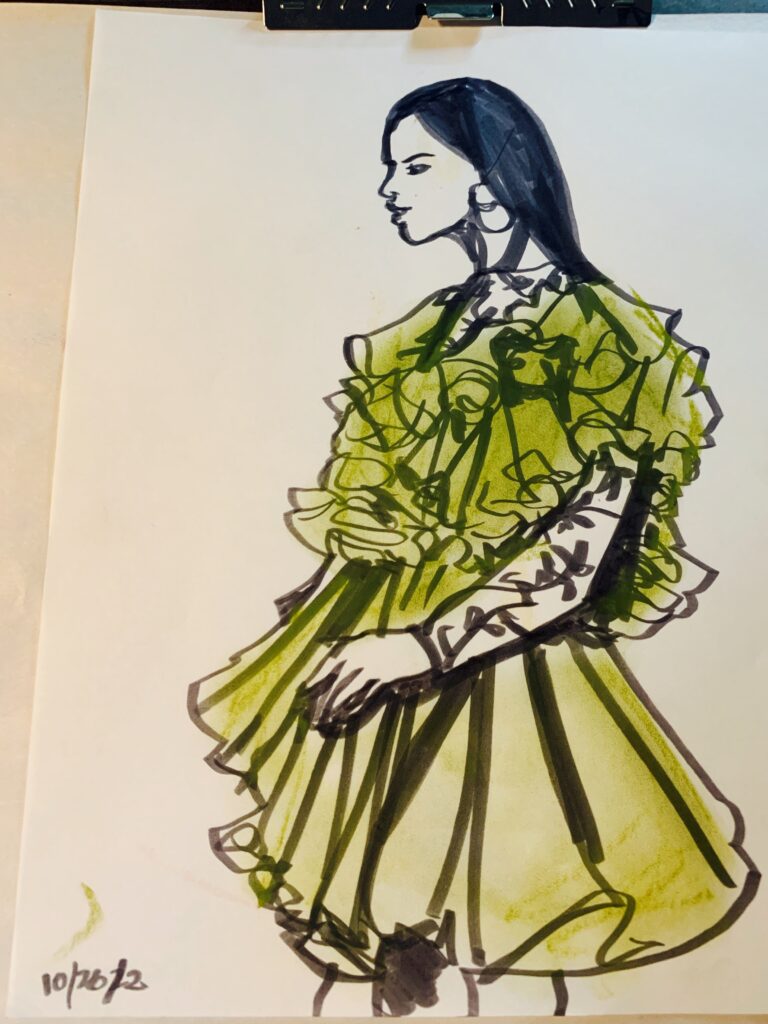
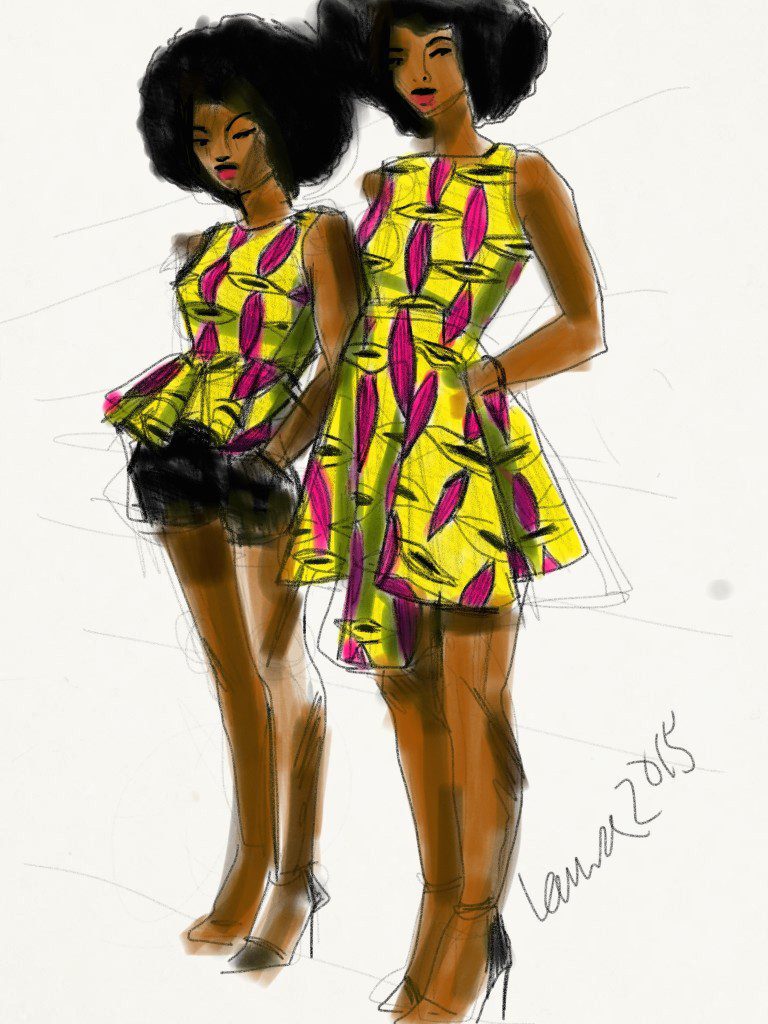
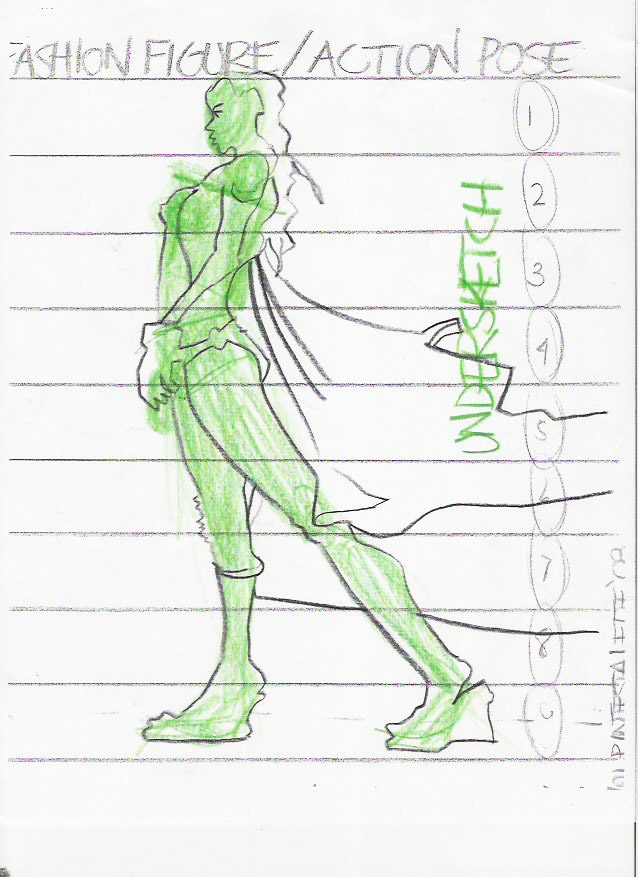
I love to use this for fashion illustration, of course, but you can use it for anything.
You could even share an image on your feed, tag friends, and then invite everyone to color and share in their stories.
(disclaimer….you know i love analog art supplies too. I’m a fashion illustrator and designer and I love hands-on tools. I love getting messy. But you can get kinda messy coloring in instagram stories, read on so YOU can make a mess on social media!)
It’s so fun to see
how different people interpret and color ,create differently!
STEP 1:
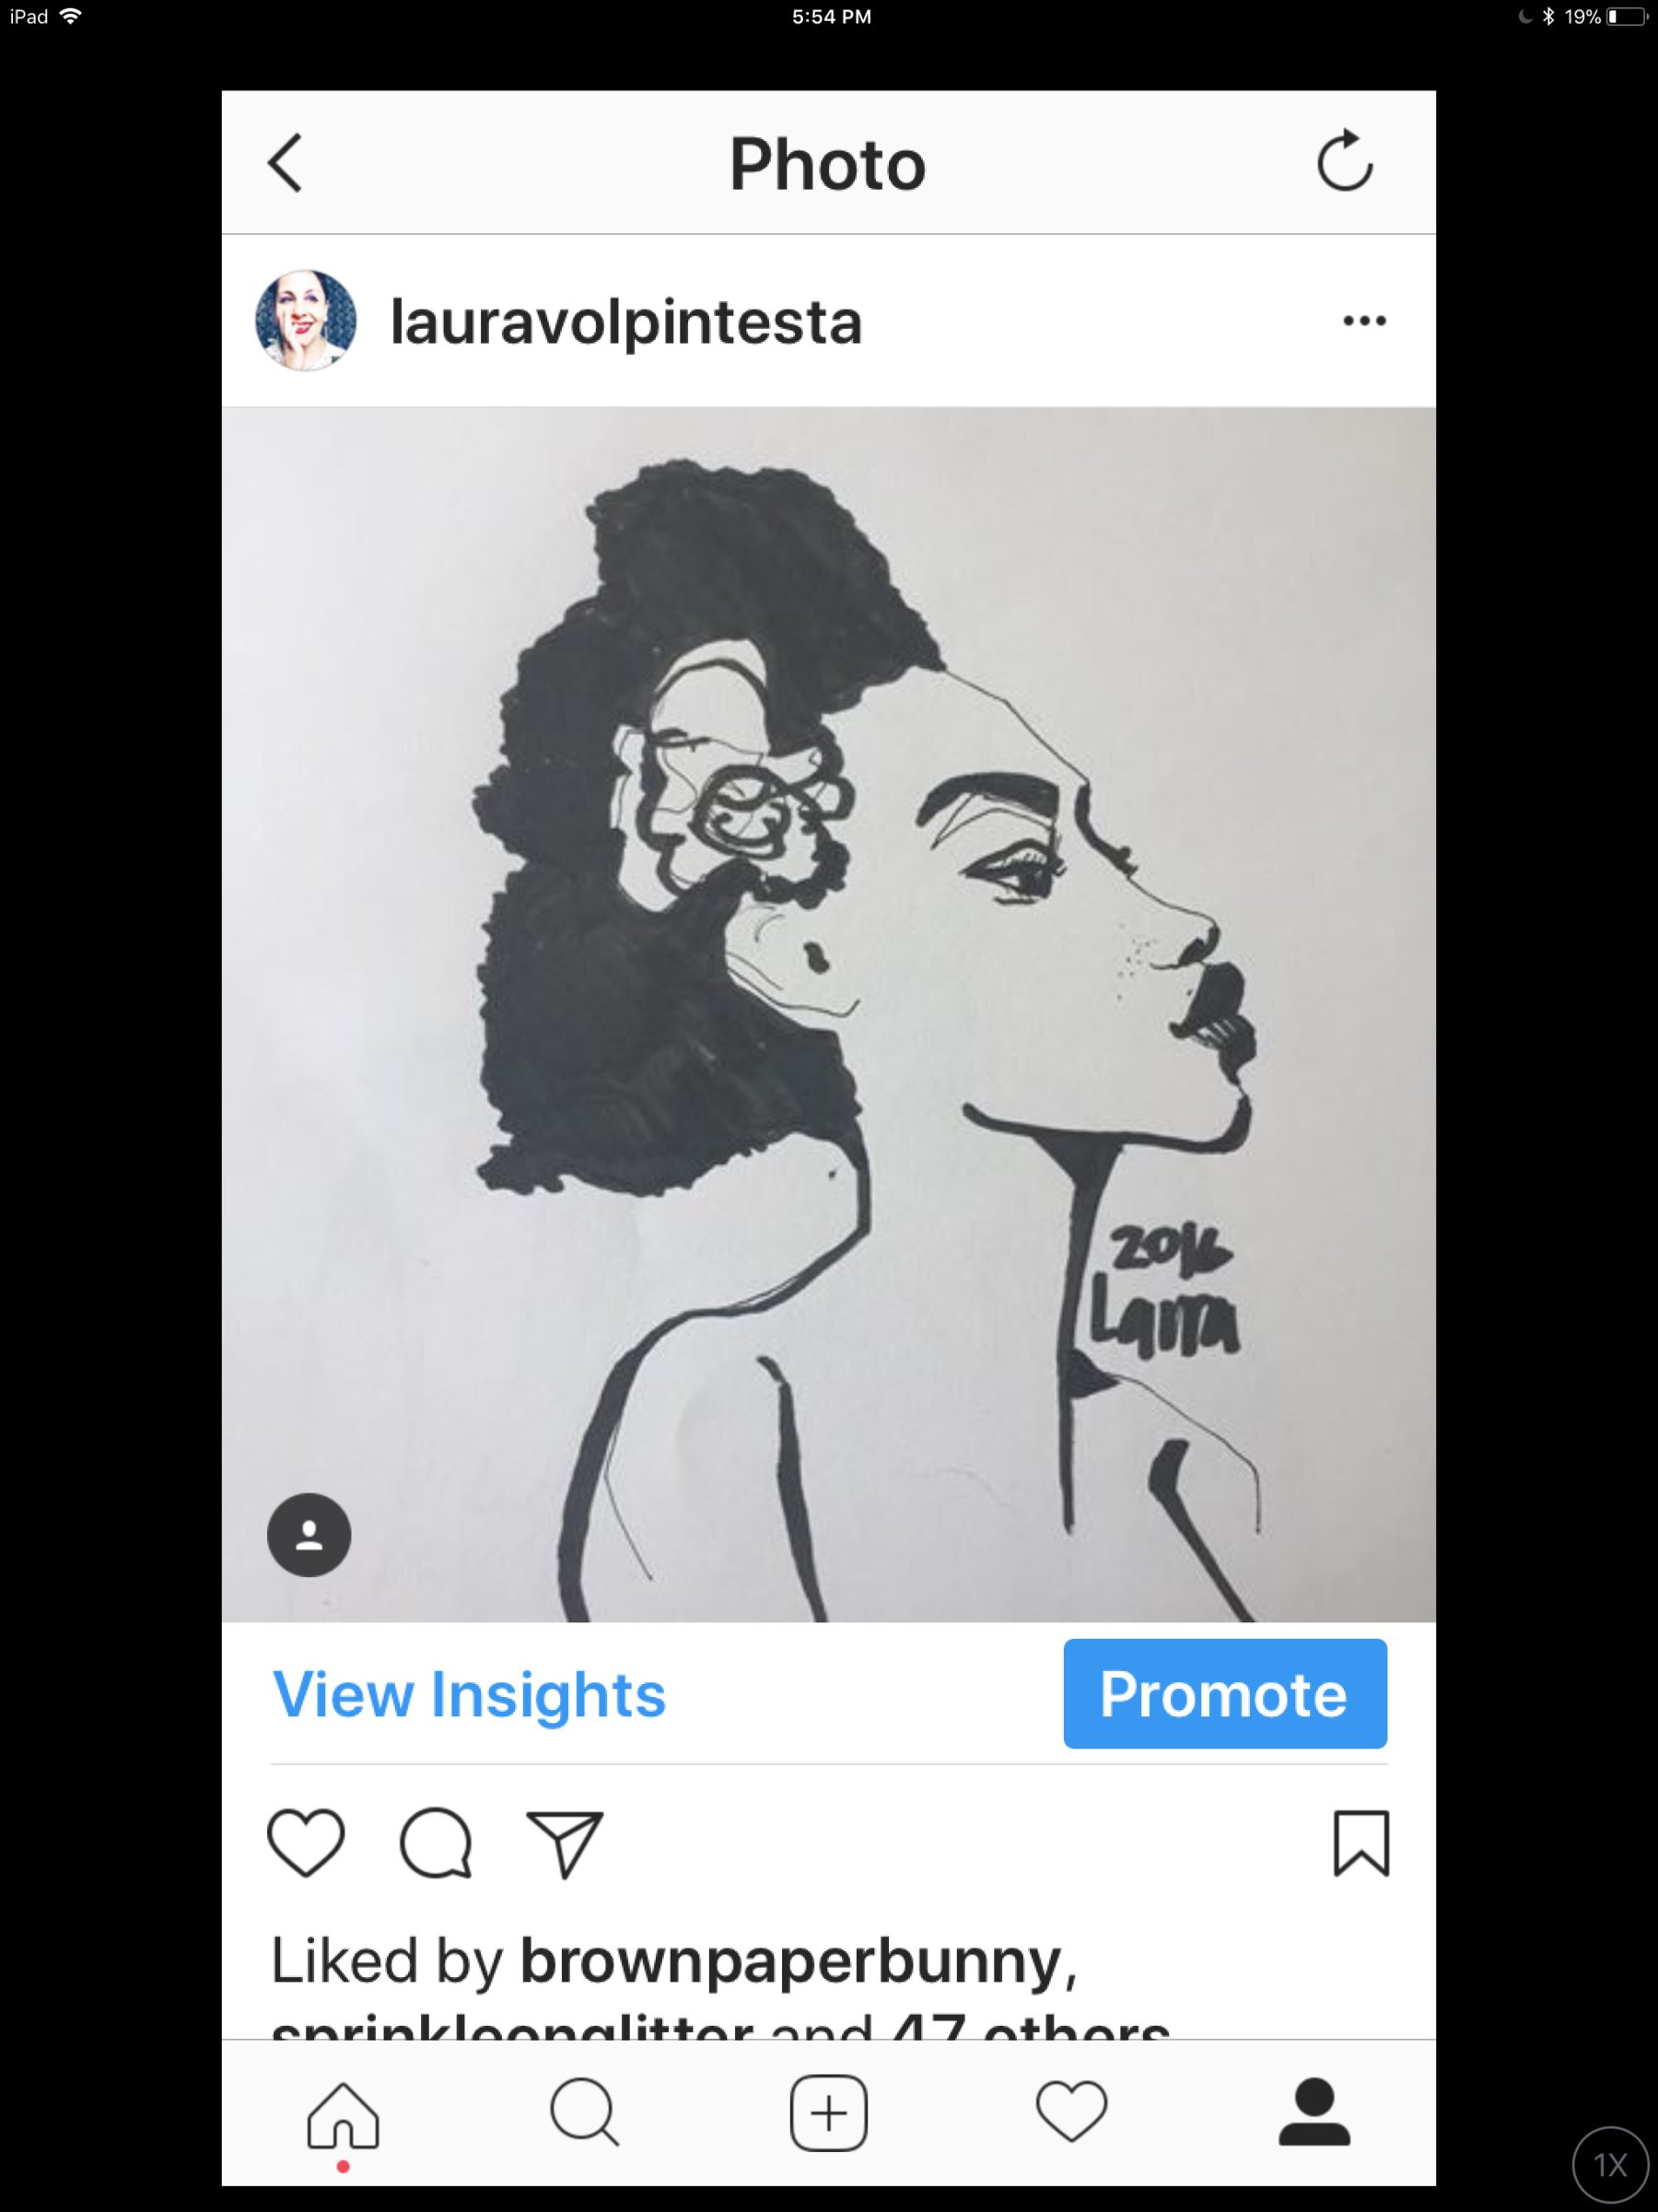
Find a black and white drawing, or any image really. Here, I took a screen-shot of my own instagram post from last year.
Instagram stories is of course a great place to color over a photograph, too.
(like of a real person or thing not a drawing, haha)
(if you use someone else’s art, just make SURE THAT YOU CREDIT THEM BY TAGGING WITH THEIR USERNAME @_________ . You can do this using the text tool in instagram stories. For more on instagram stories tools, click on this post.)
#nettiquette
Pull it into instagram stories as a photo, and then use the tools inside instagram stories to color and create!
_________________________________________________________________________________
STEP 2:
go “home on your instagram. (click the little house at the bottom left of your screen)
_________________________________________________________________________________
STEP 3:
you’ll see the feed of people you follow. Swipe right to get to your “stories” screen
_________________________________________________________________________________
STEP 4:
at the bottom left of your screen, click on the tiny square to select a photo from your camera roll (the one you just screen-shotted)
_________________________________________________________________________________
STEP 5:
THE PHOTO WILL APPEAR IN YOUR SCREEN.
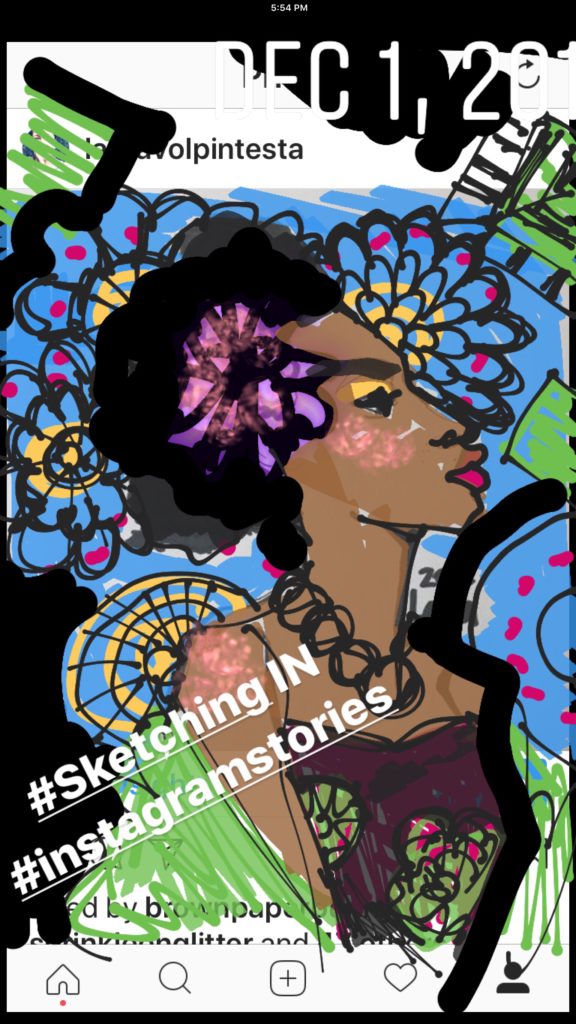
THE SHAPE of instagram stories is tall and narrow..your image might crop in a way you didn’t expect. See the size and shape of the images below: they are long and narrow, smartphone- screen-sized.
_________________________________________________________________________________
STEP 6: DOODLE AWAY!!
(you can get a total recap on tools for sketching on instagram stories here)
Scroll lower in this post for larger visuals.
_________________________________________________________________________________
I love instagram stories
Because you can’t REALLY labor over them.
By nature, they are quick, improvised, fresh and lively., and that’s where you want to be for fun.
When we work fashion and free, without hight expectations, we can do our best work.
KEEP THE SPIRIT OF FUN and FREEDOM alive by working this way regularly!
It could even even be a daily practice that you share with your community or besties on IG!
_________________________________________________________________________________________________________________________
Confession time:
That sometimes I do these with Instagram in my iPad, not my iphone.
It is so freeing to have that larger space to work in.
I also like to use a stylus or Apple Pencil to do it, I’ll be honest.
But not always.
Again, You can learn a lot more about the tools I used in this article.
AND
You can learn how to draw faces digitally using great digital painting apps in my online course ABOUT FACES
The digital drawing and coloring/ marking tools all show up at the top of your instagram stories screen.
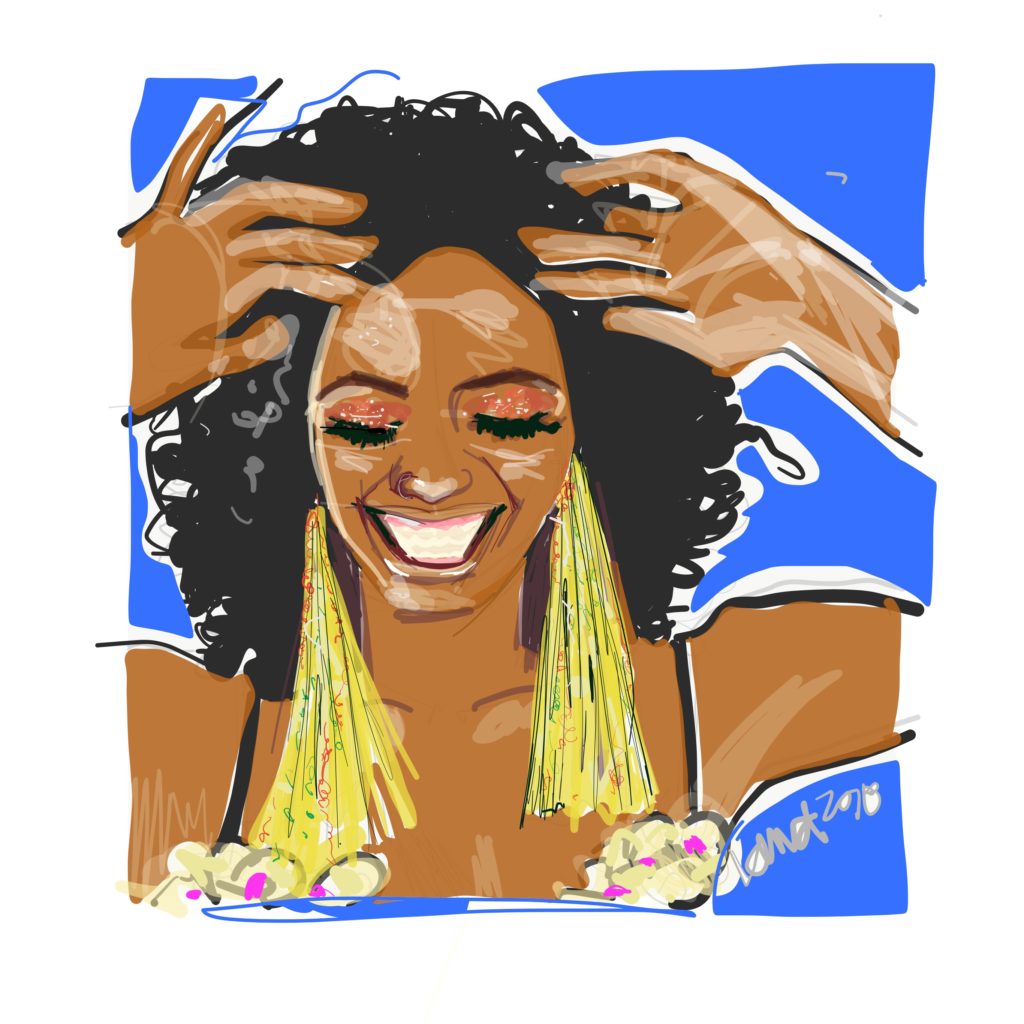
HOW TO- Social Media coloring in Instagram Stories:
Here’s how i created today’s project, I:
- imported a screen shot of a pic I created last year in my instagram feed. I had drawn it with a sharpie or a micron pen.
- chose the pen tool from the menu at top right in instagram stories. Then I used it finely for creating the thin, opaque lines you see. You can adjust the thickness of your lines using a slider that always appears at the left hand of the screen.
- used the same pen tool thickly to create the opaque, bright and dark areas like the flat black color.
- selected the marker tool and used it widely to create the larger areas of color that are every-so-slightly sheer and square
- picked the pencil tool (it’s the last tool in the palette, all the way to the right) to color her cheeks. It has that crumbly uneven effect.
- used mostly the available colors in the palette at the bottom of the instagram stories screen .(i’m in love with this tropical palette)
- coloring away and making it up as I went along, I’m madly in love with what I created. It’s wonderful to watch the “story” change. Color says so much!
- let your dream-world emerge!
I hope this inspires you to play with the very -under-estimated tools that live in instagram stories.
If you don’t take one of my courses like the eveningwear online course or digital illustration course about Faces,
At least give yourself the opportunity to have fun exploring this easily accessible, customizable platorm
Let’s play and get creative
In instagram stories and eveyr day, whenever we can. FOLLOW ME ON INSTA!
ART IS OUR BIRTHRIGHT.
Love
Laura
My next blog post will share more.


