Tayasui Sketches Pro on your DESKTOP.
Today, let’s explore the tools and capabilities of Tayasui Sketches Pro app when used for Fashion Illustrations and Sketches- scroll down to see the tutorial/ video)
After resisting digital art supplies for decades, since 2015 I’ve been shouting from the rooftops that Tayasui Sketches is my favorite (mobile) app for fashion design illustration and sketching….. HANDS DOWN!
However, I usually use it on my ipad.
But sometimes I have a student or client who doesn’t have an iPad. (I first used Tayasui on my ipad mini before I ever had an iPad pro and Apple pencil, and it was already WONDERFUL on the mini.)
So, what about using the desktop or laptop computer version of Tayasui Sketches Pro?
I’ll share some screen shots
and break down what is happening through my workflow, in this post, BUT REMEMBER THERE IS A VIDEO IN HERE!

TEXTURES AND TOOLS: INTERFACE
Which one calls to you??? Tayasui Sketches Pro beautifully mimics the same lush art supplies I love to use in “real life”.
I recently had clients using laptops and computers who wanted to learn freehand digital costume design sketches and fashion illustrations. So I dove deep into Photoshop and Tayasui Sketches Pro desktop versions in order to teach them this way, to bring their styles and ideas to life in living color.
That’s why i’m here writing this today. It was wonderful!
Perhaps its a bit less “immediate” than the mobile devices, tablets and ipads), so I was inspired to take you all along with me AND SHOW YOU on the journey exploring Tayasui Sketches app desktop version in this video.
Tayasui Sketches desktop version
for Fashion Illustration and Costume Design Sketches:
I’ll share some of my favorite brushes and tools in the video.
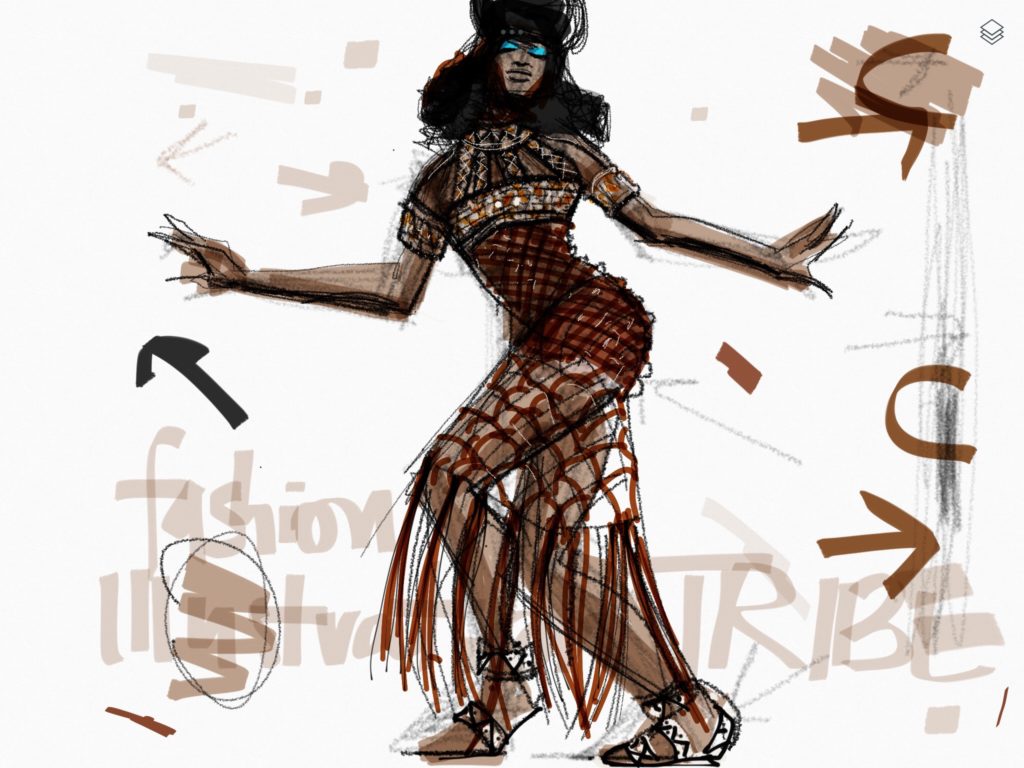
Tayasui Sketches is great for
- showing fashion design construction details,
- highlights and shine
- capturing fabric textures and weave/knit
- matching colors,
- representing fabric weights, drapes and opacities
- shading
- layouts, framing, labeling, notes
- adjusting opacities
- zooming in an out
- copy and pasting
- imitating the pens, brushes, watercolors, gouache and brush pen effects that I usually use on paper for illustration and design

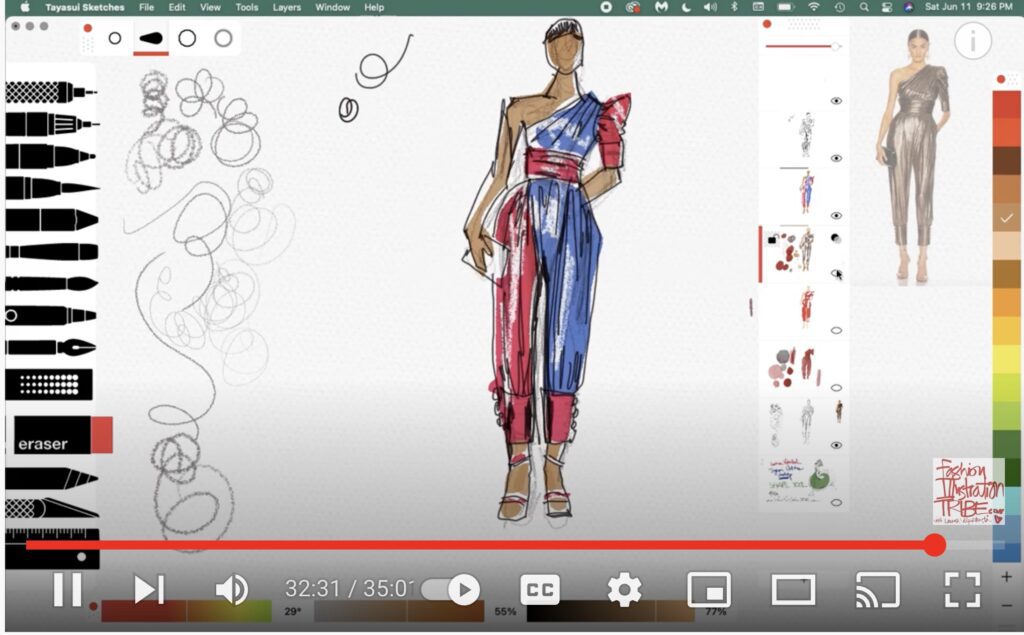
PLAYING AND EXPLORING WITH THE TOOLS
Above left, you can see the different textures of ink pens, pencils, gouache.
While I show you the most important Tayasui tools(you only need a few), you deserve to allow yourself some “play time” where you aren’t learning the app in a structured way, but rather exploring your senses with a sense of discovery, sincere curiosity, and play. This is an important part of “bonding with” the app in your own way and remembering that fun makes your work better.
Above at right, notice the layout of the layers. Learn exactly how – and (and learn why)– I use them in the video.
LAYERS ARE FABULOUS
The ability to use layers in Tayasui Sketches opens up a lot of freedom and ease that fashion or costume sketching on paper doesn’t.
QUALITY, TEXTURE, EMOTION
Why do I love Tayasui Sketches SO MUCH????
Because it has texture that looks like real art supplies on real textured paper, which even Photoshop cannot do the with the same ease and immediacy that Tayasui Sketches offers.
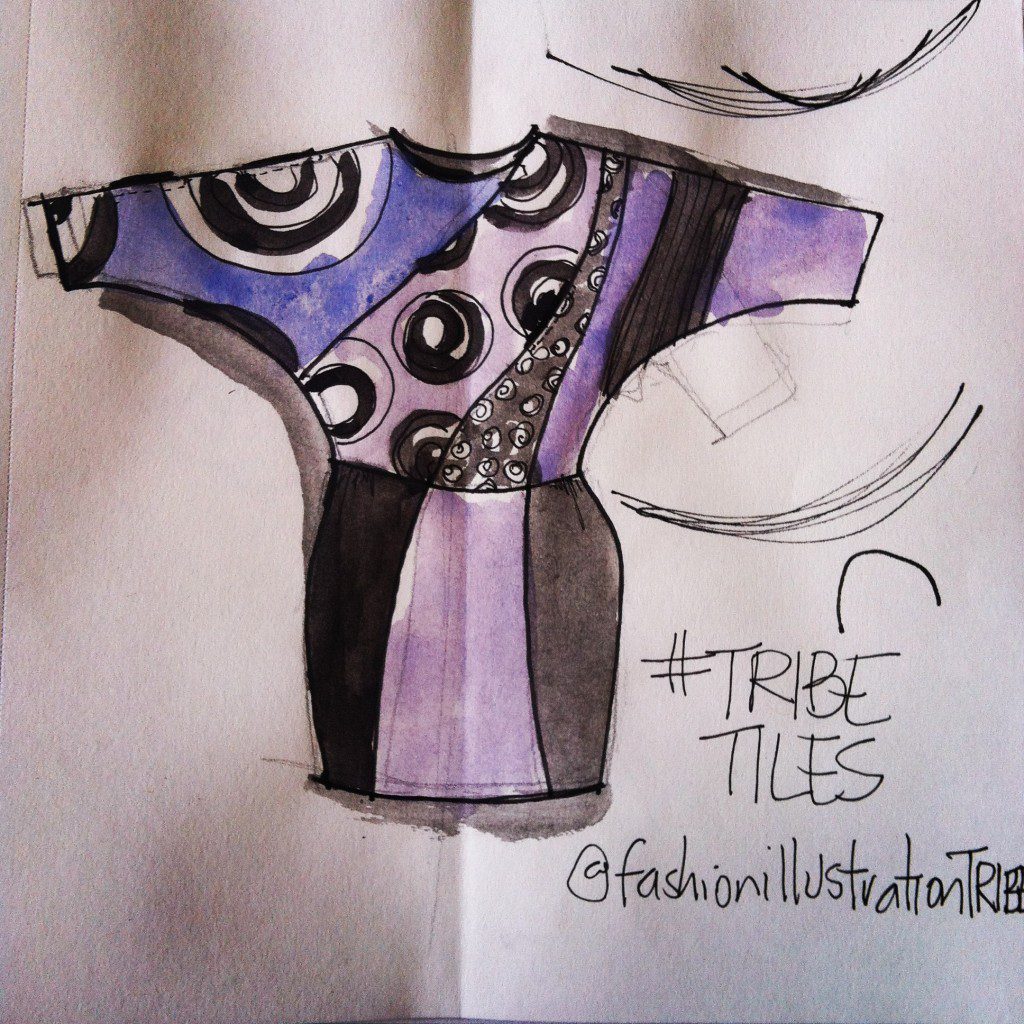
GOUACHE AND PENCIL ILLUSTRATIONS
I love working with gouache and pencils on watercolor paper (or occasionally markers) and the rich quality that that provides, AND Tayasui Sketches offers the same rich texture I’ve relied on for decades!
Other benefits ?
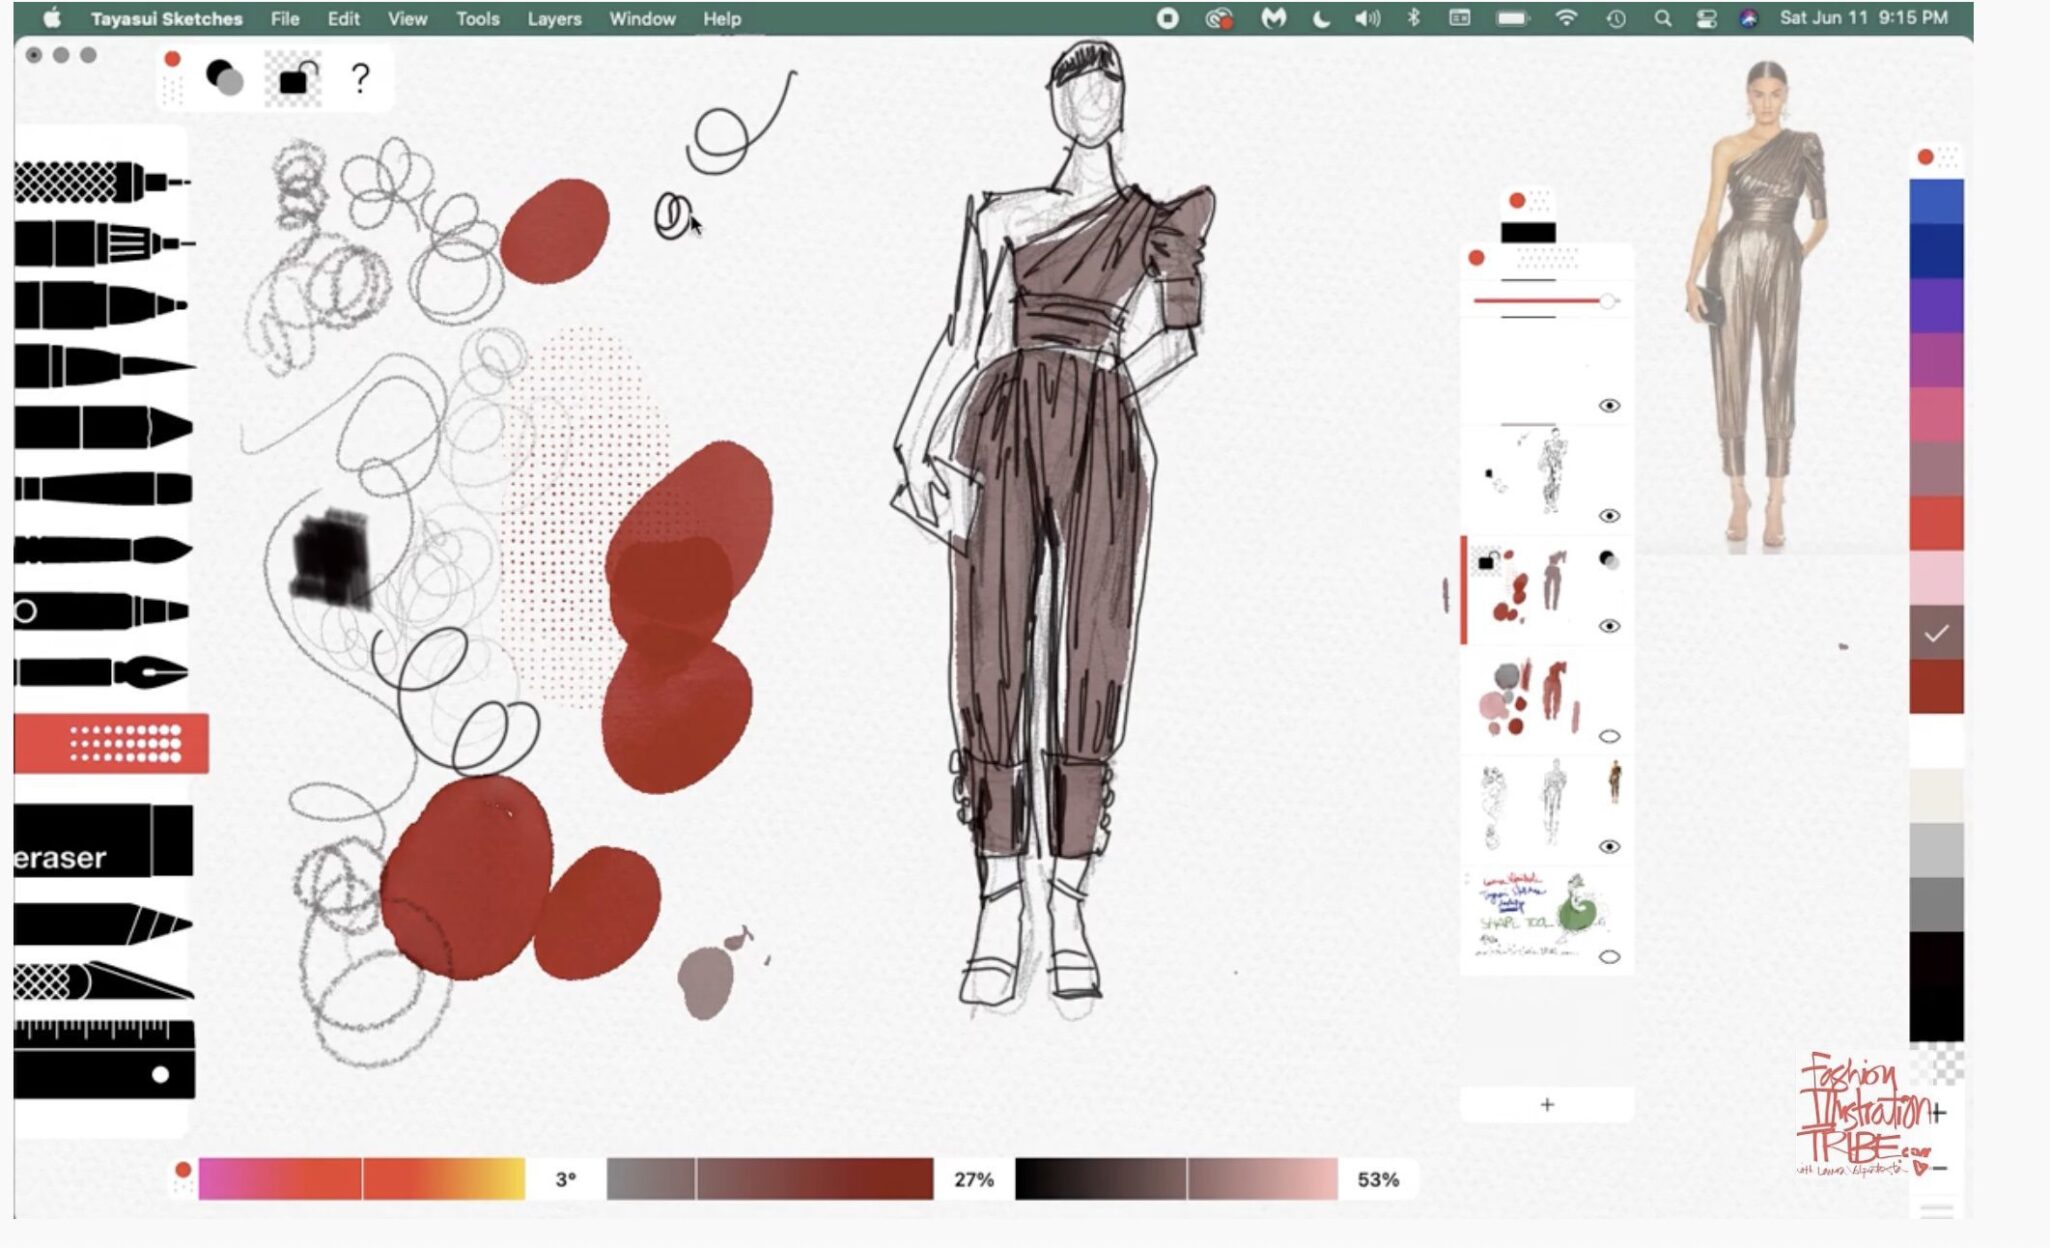
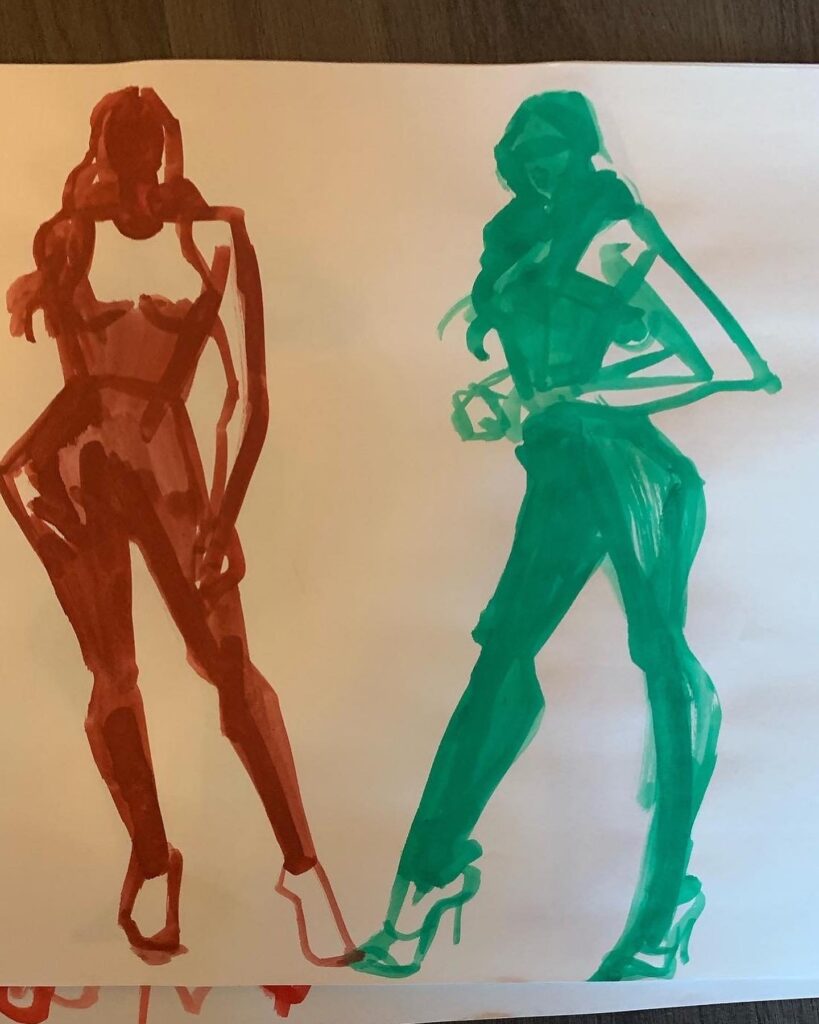
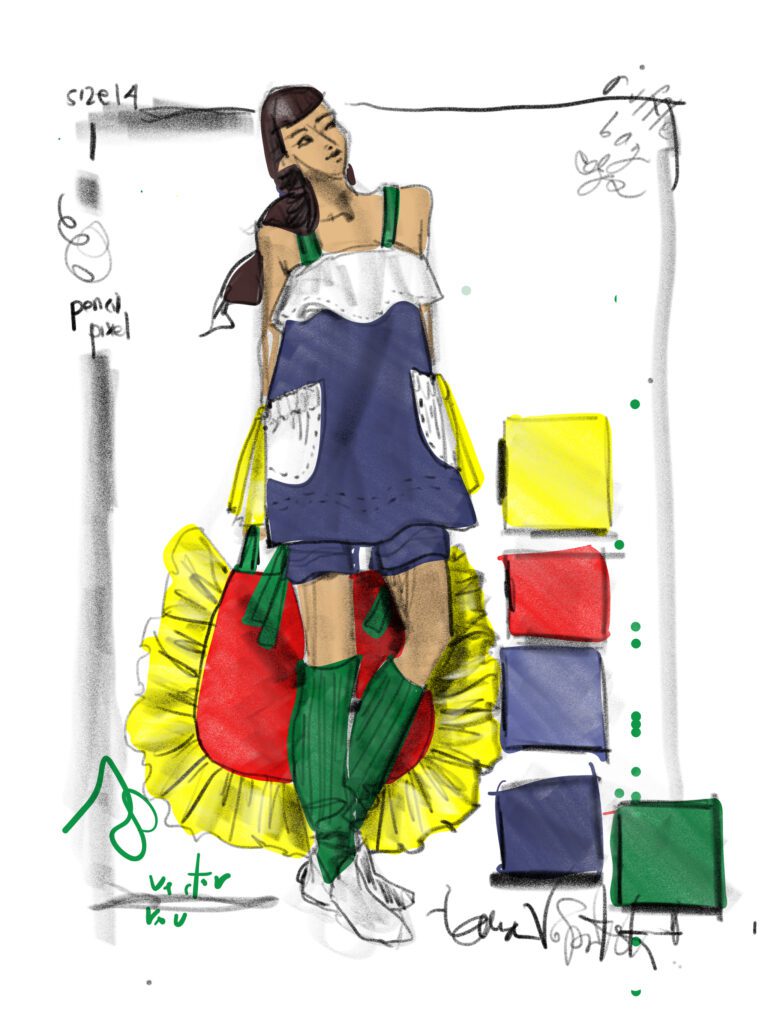
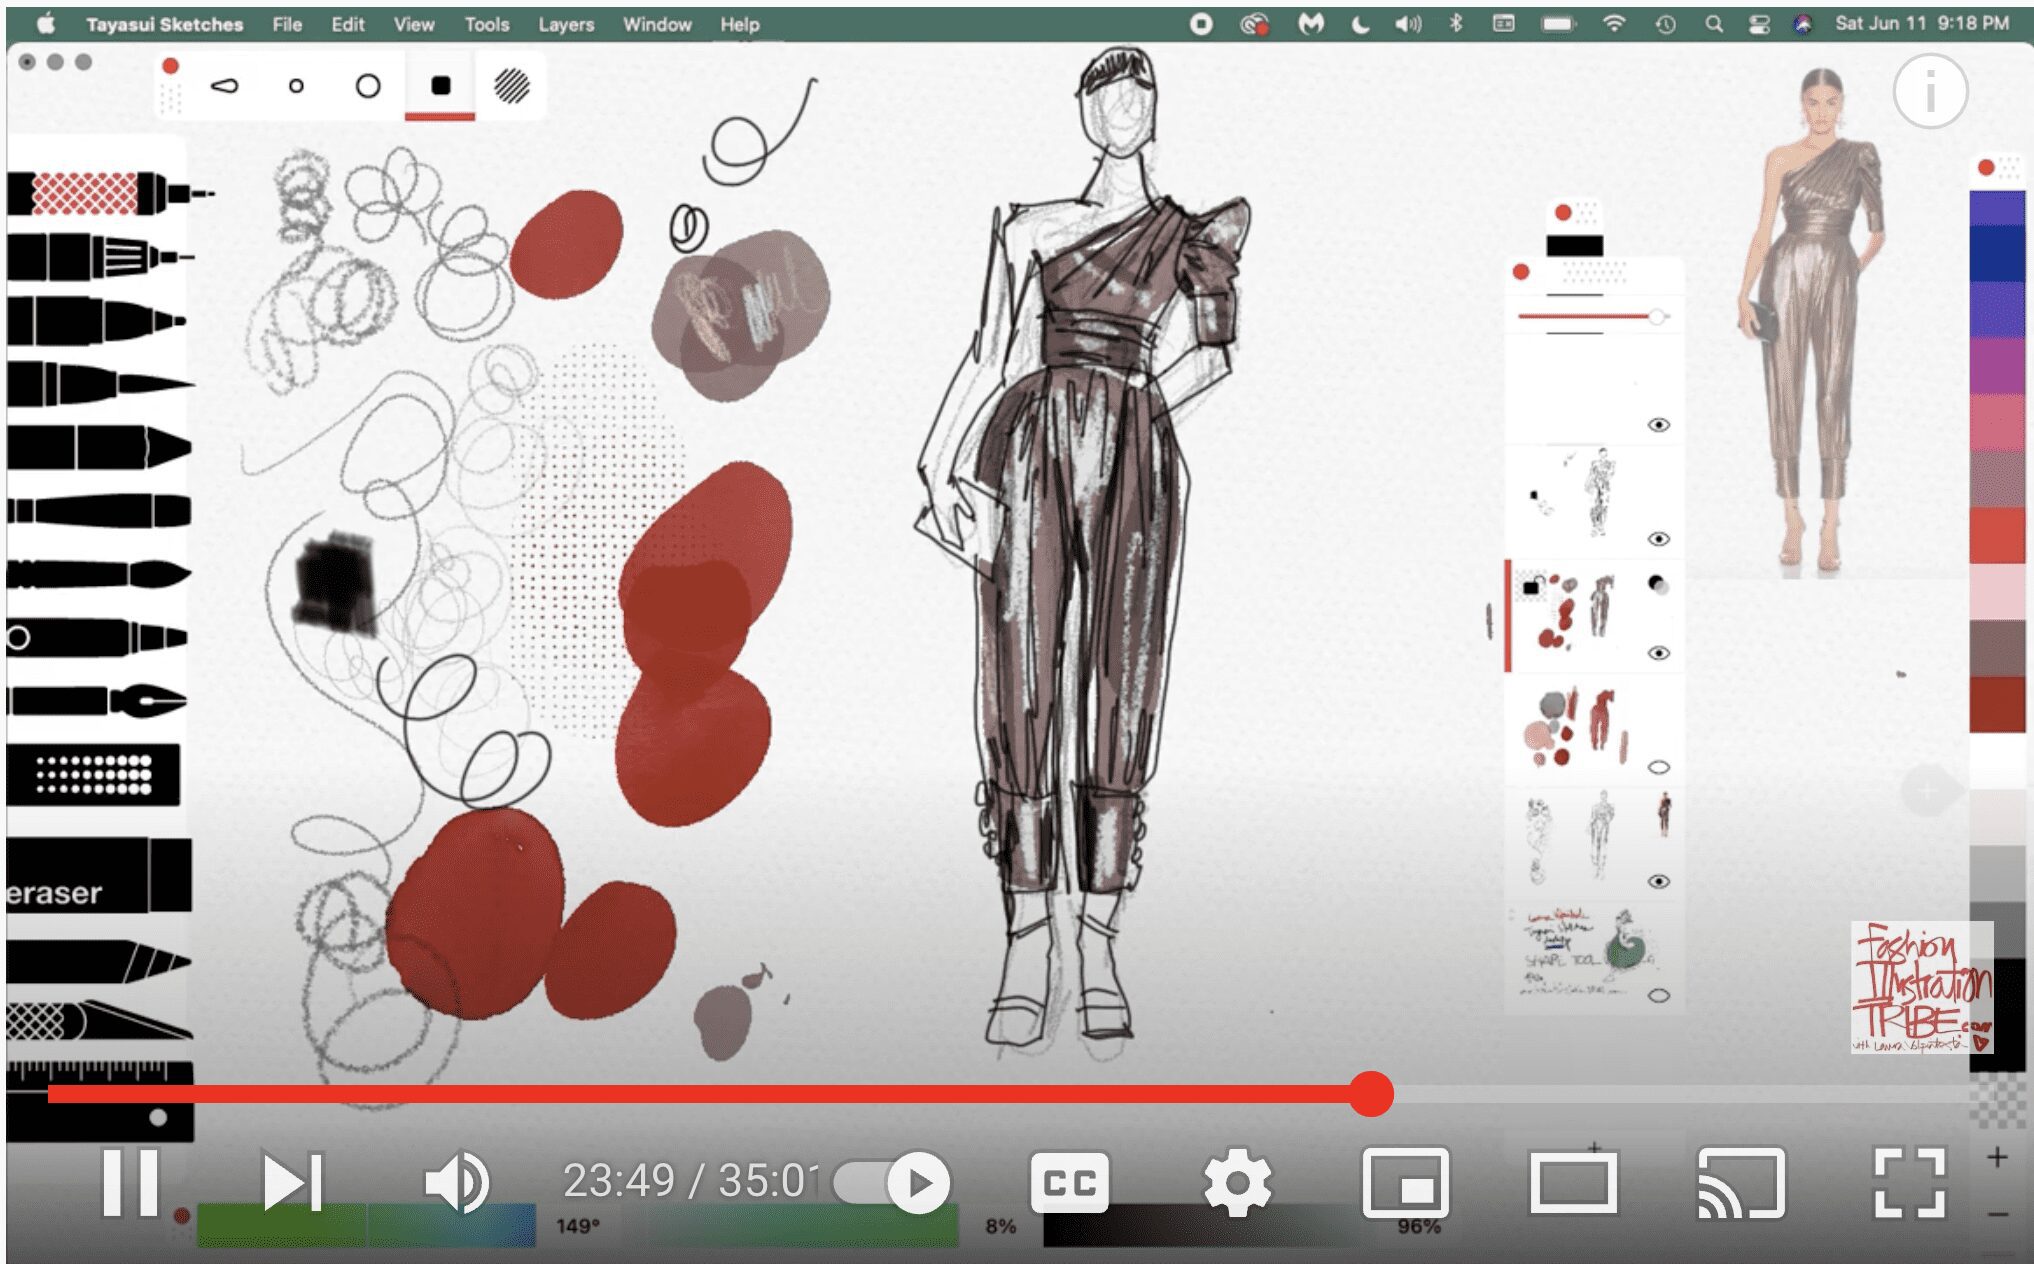
ABOVE, notice the color selection menus as well as the texture of the red gouache and how it layers over and under pencils, depending which layer I place the color on. THE COLOR SELECTION LOOKS DIFFERENT ON DESKTOP THAN ON APPS.
MIXING DIGITAL COLORS
Color mixing is super quick and easy compared with mixing your own paints, and there is no time needed to wait for paint to dry in Tayasui Sketches Pro app desktop version.
And if you do your drawing with “pen” or “pencil” on one layer….
You can do your coloring on a separate layer (you’ll see several methods for doing this in the video above….) which also means you can color and recolor the same drawing as many different times/ ways as you want!
This means you can re-fabricate a collection, change color or fabric placements, or switch out prints or patterns without redrawing the silhouettes and construction details.
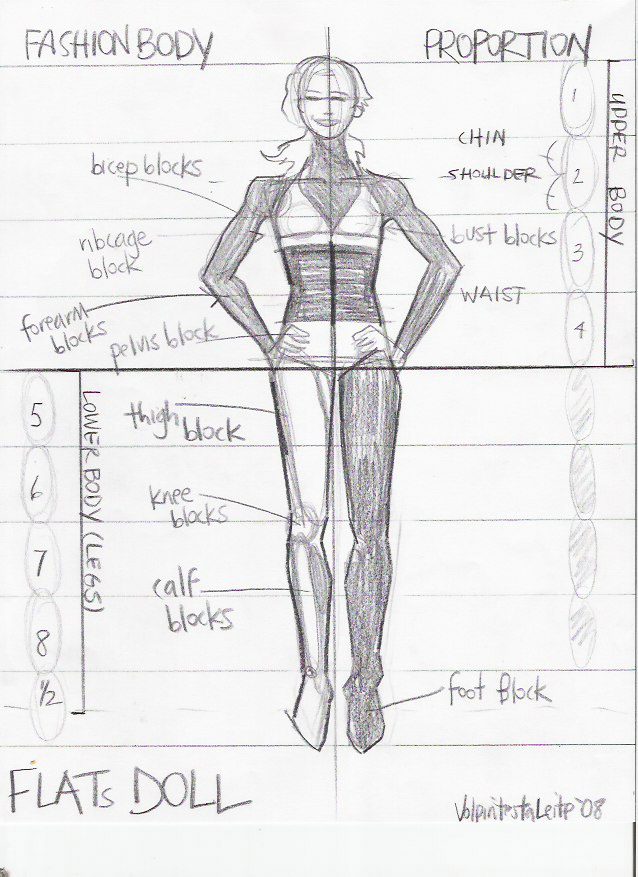
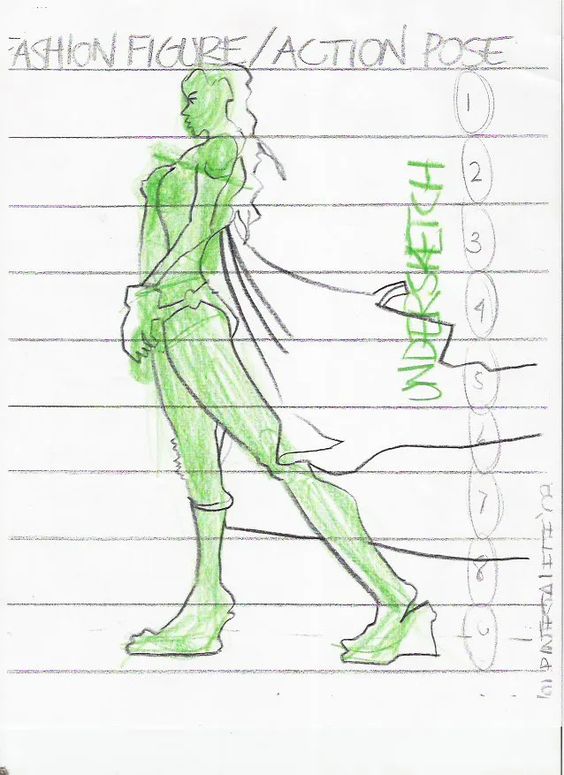
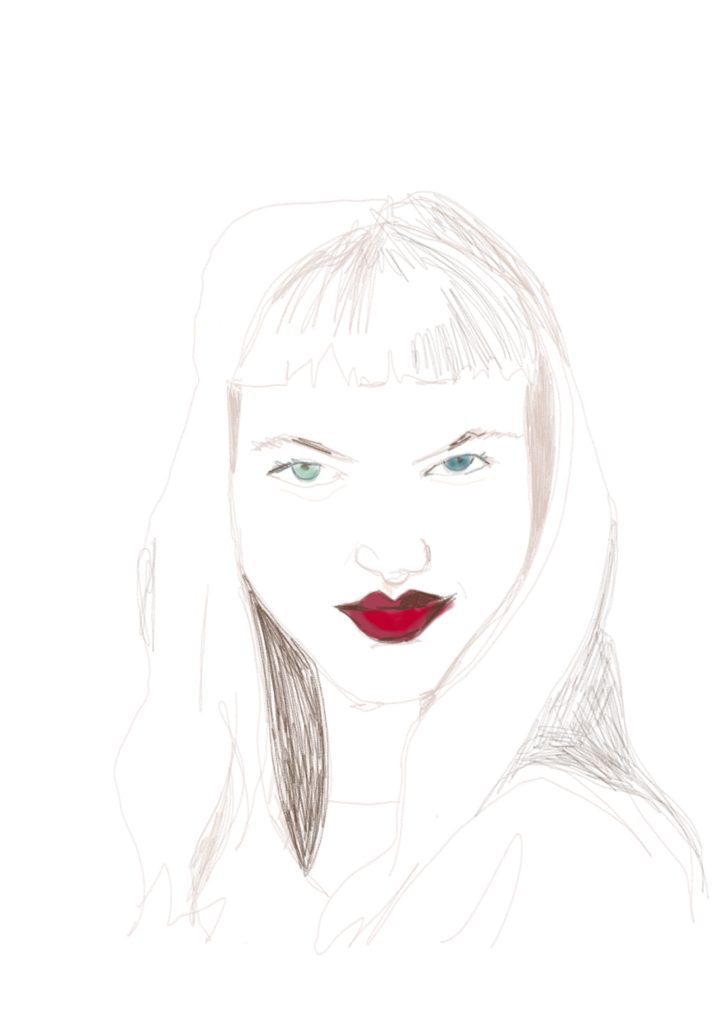
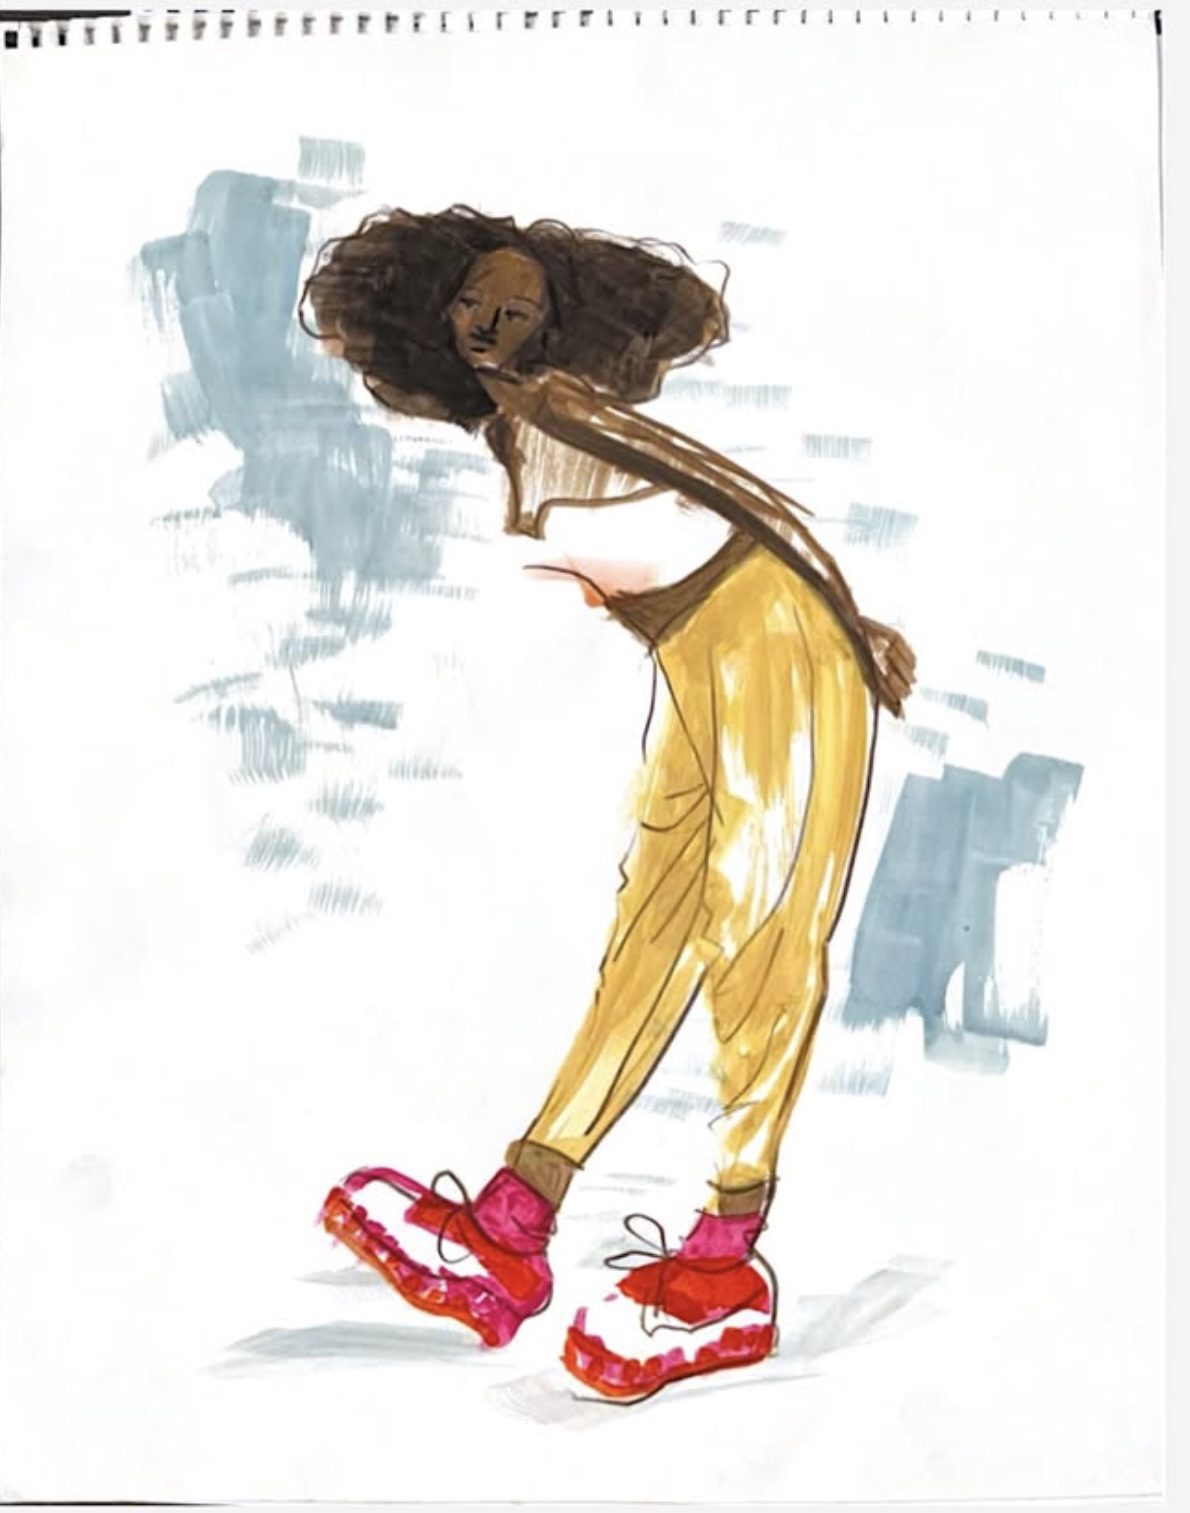
PENCIL SKETCHING FOUNDATION:

I almost ALWAYS begin my PROCESS with soft, gentle, exploratory free pencil sketches and NO APP feels as “pencilly” to me as Tayasui Sketches Pro does.
I choose black as the color, then it becomes grey as I adjust its opacity to my taste. Then I fiddle with the pencil SIZE until it feels JUST RIGHT for how I want it to look.
For my initial process sketching, I often use a rather sheer pencil, and then make it darker as I feel more sure about my strokes and design choices.
ADDING COLOR ON SEPARATE LAYERS
Realize that you can color the whole dress red, for example, on one layer, and then toggle the visibility of that layer “on” or “off” while you go to ANOTHER layer to “try out” another version or color! USE THE EYEBALL ICON TO HIDE OR EXPOSE A LAYER.
And , you can save or export any or all of these different versions to your desktop or printer!
I hope this video helped you and visit my course links in my header menu as well as private coaching packages that open from time to time, email me at info@fashionillustrationtribe.com to take a deep dive with me for 4-6 weeks and bring your sketches, aesthetic and creative freedom to a WHOLE new level!

payments at paypal.me/lauravolpintesta