Procreate App Tutorial for Fashion Illustration:
PROCREATE PROS AND CONS
[PROCREATE APP VIDEO TUTORIAL BELOW)
Are you curious to try Procreate app for fashion illustration?
Everyone is always talking about Procreate app for digital drawing/ digital painting.! (even if you aren’t a digital fashion or costume sketcher, you’ll find the step-by-step walk through below useful, i’m sure.
As a fashion illustrator who “went digital” (it’s one of the ways i love to create and share now), Procreate app for fashion illustration: is NOT my favorite app- at all!
But you can see I enjoyed it- but I’ll still reach for other apps first when I want to sketch.
There are MANY posts here on the blog teaching my favorite apps for fashion illustration and art. TO STUDY WITH ME ABOUT ART APPS join me in the ABOUT FACES online course!
But, I did have a wonderful time making this fProcreate app ashion illustration. (and there’s a behind-the-scenes video in this post!)
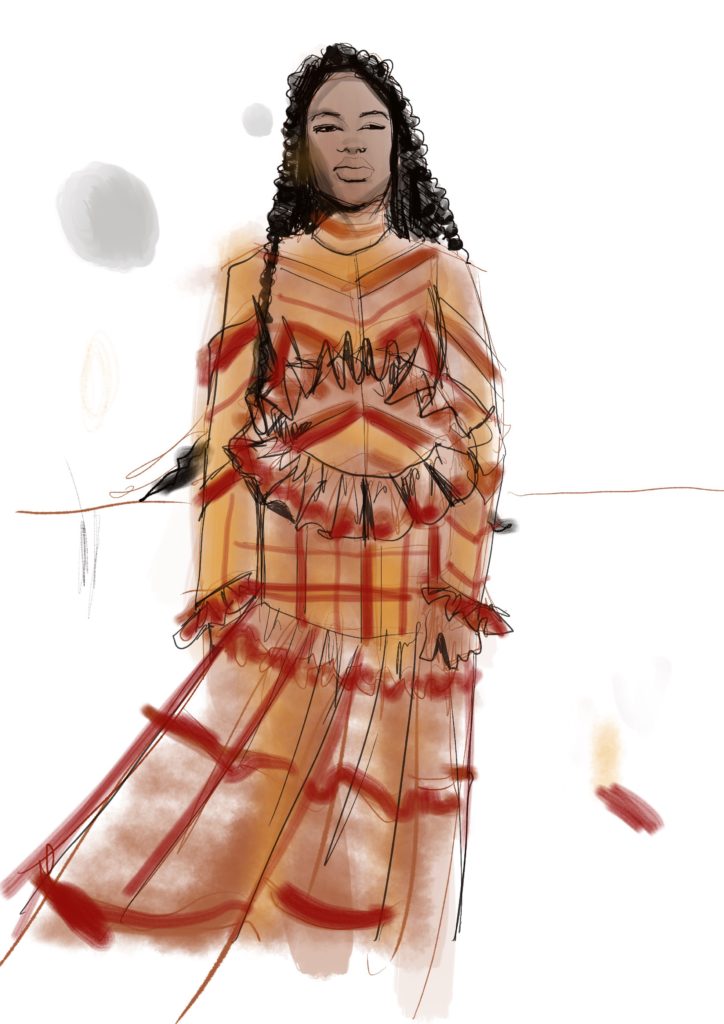
Come along with me and get a lot of insight to HOW I CREATED this beautiful piece of fashion art.
Why I do and don't love the Procreate app for fashion sketching:
I DON’T LOVE PROCREATE APP for FASHION ILLUSTRATION BECAUSE:
- it isn’t as gritty and natural as my favorite app, Tayasui Sketches– everything feels kinda too “smooth” to me.
- there are LOTS of tools- TOO many for a beginner, in my option
- you can’t “undo” by simply swiping the screen like many other apps. If you try to swipe, the whole “sheet of paper” moves. Rather, you have to go to a backwards arrow in the margin and tap it every time you want to undo. This is tedious and distracts you from your FLOW state.
- the page or paper you are working on can be moved around and rotated a lot: I like my paper straight and squarely oriented all the time
BUT PROCREATE APP IS AWESOME BECAUSE:
- YOU CAN RECORD your process, as time-lapse, real-time, or even PERISCOPE live from the app!(*** UPDATE THIS FEATURE HAS BEEN DISABLED****)
- there are a LOT of brushes in there:pencils, wide graphite, oil pastel, chalk, crayon, technical pens, brush pens, flat markers, calligraphy pens,…round , flat and pinted brushes..watercolor..a bunch of airbrush effects, and textures. Just click on the “paintbrush” shaped icon in the top right menu, and you’ll get all of your brush opetions.
- try and fiddle with a lot of transforming tools such as flip, crop, mirror
- ability to save as psd, pdf, jpg, png or pro file. (or just save to your camera roll)
- you can upload photos into your drawing, which can be handy for some things.
- there are sliders to easily increase or decrease the point size or opacity for any brush you use, but that’s standard for most apps.
- you can save timelapse videsos of your process
PROCREATE APP FASHION ILLUSTRATION:
Here’s the blow-by-blow. ( the video has more in-depth insights with the time-lapse fashion sketching video, but these photos will be useful to give you a peek how i work so YOU can apply it to YOUR own practice!!!!)
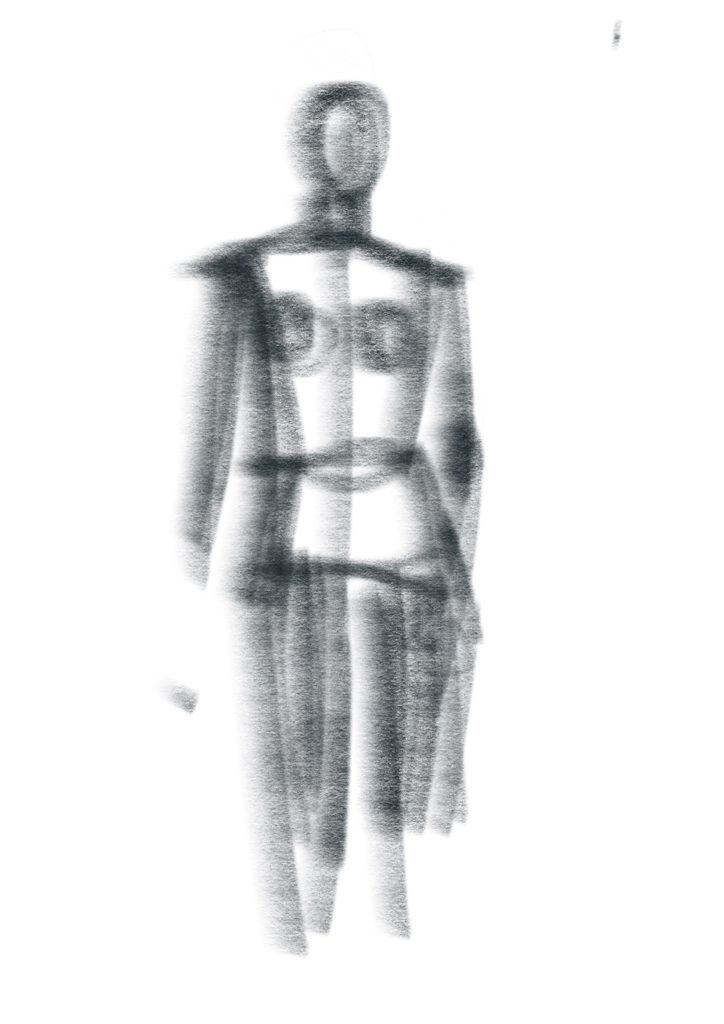
- I used a wide, soft graphite to sketch out the figure’s frame, on a layer that I later erased. This is really important to me because it is more about shape than lines.… hence the wide, thick pencil.
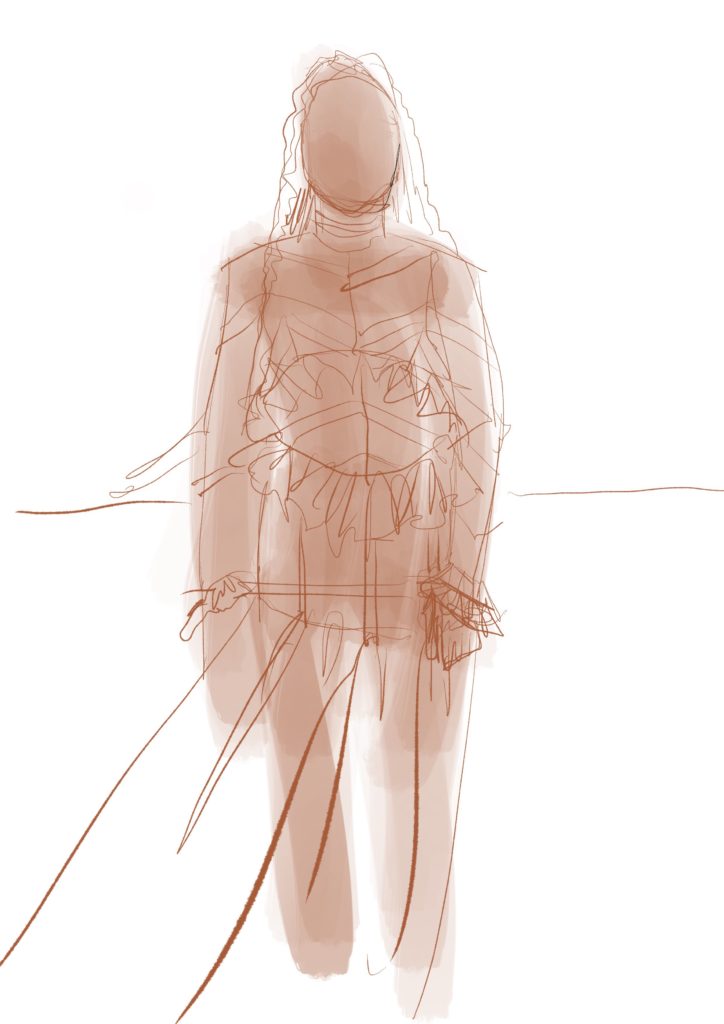
- Next, I selected a skin tone in Procreate app and laid it down (using a new layer) because she is wearing a slightly sheer dress, so I wanted to show the skin through everything.
- Always paint your skintone if they are wearing sheer in: the more opaque and strong the skintone is, the sheerer the fabric will seem. If the skintone is very light /sheer and faded out, then the fabric over it will appear LESS sheer. Compare that to “full strength ” skintone anywhere that the fabric is fully exposed without sheer fabric over it, and to zero skintone where the skin is covered with opaque fabric.

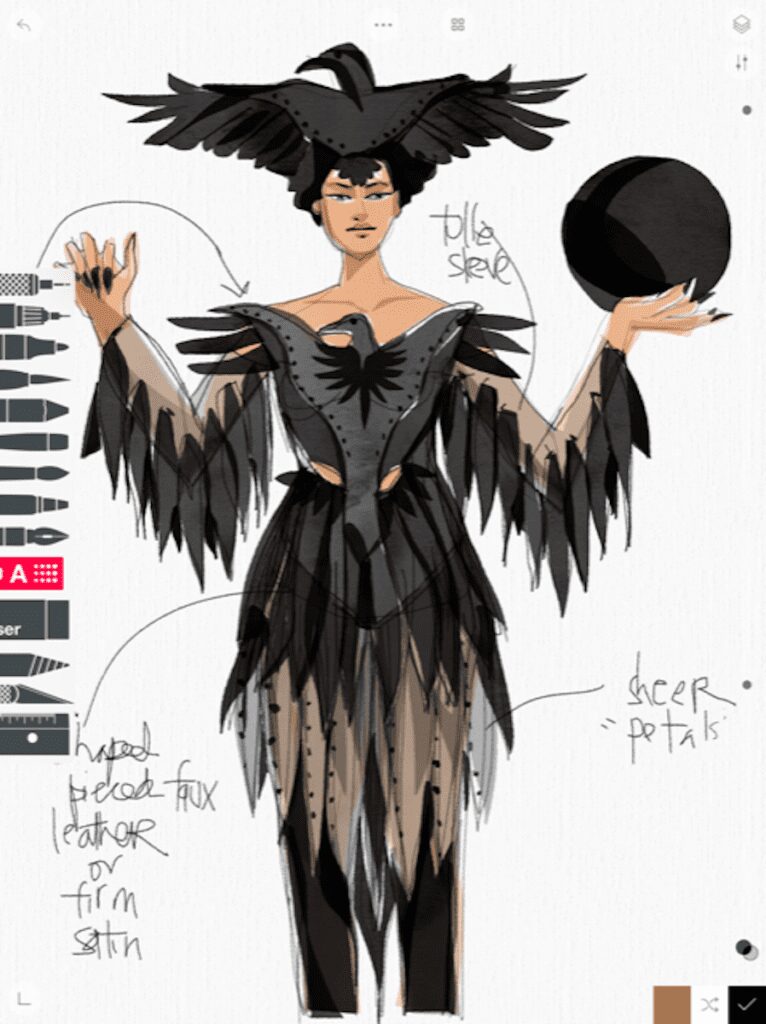
- Next, I took that graphite/ charcoal skeleton away by making that layer “invisible”. I started a new layer to work on and took my skintone color from the watercoloring, but this time used it as a brush pen tip which is totally opaque but beautifully uneven (thick and thin). Usually I do this in grey or black, but i was experimenting here with using the COLORED brush pen. I used it to plot out the silhouette of the garment and hair, and then to define any seams, ruffles, or gathers I could see for fashion design clarity.
- Time to add some MORE CONTRAST!!! (yay!). above, you see sheer, wide shapes, and opaque thin lines. NOW i’m pulling in the big guns: BLACK for deep , bright impact! I used lines for the hair contours and filled in with a chisel/square tipped black marker. NOTICE the impact! BAM.
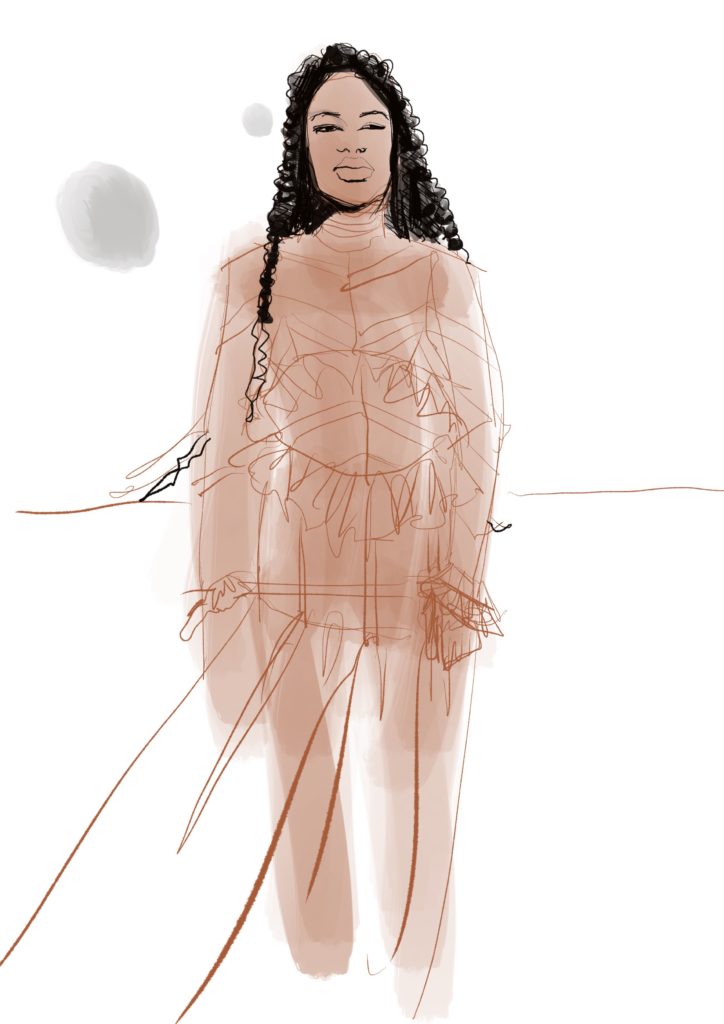
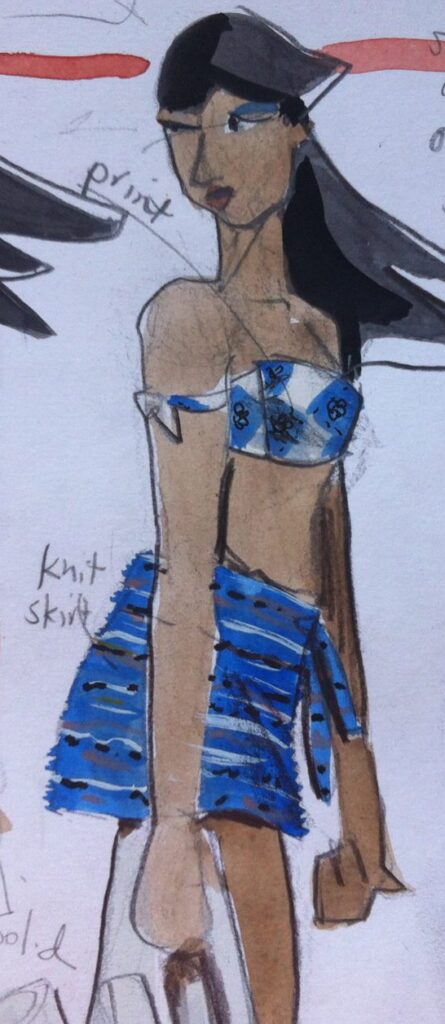
- FABRIC RENDERING is super-fun and always so uncertain….. there is no one RIGHT WAY TO DO IT. So you experiment. What are the main colors of the fabric when viewed at a distance? What are the main motifs? How big are they compared to her body? How often do they occur? What color should you work with first? Which colors could be added on top of a base color?
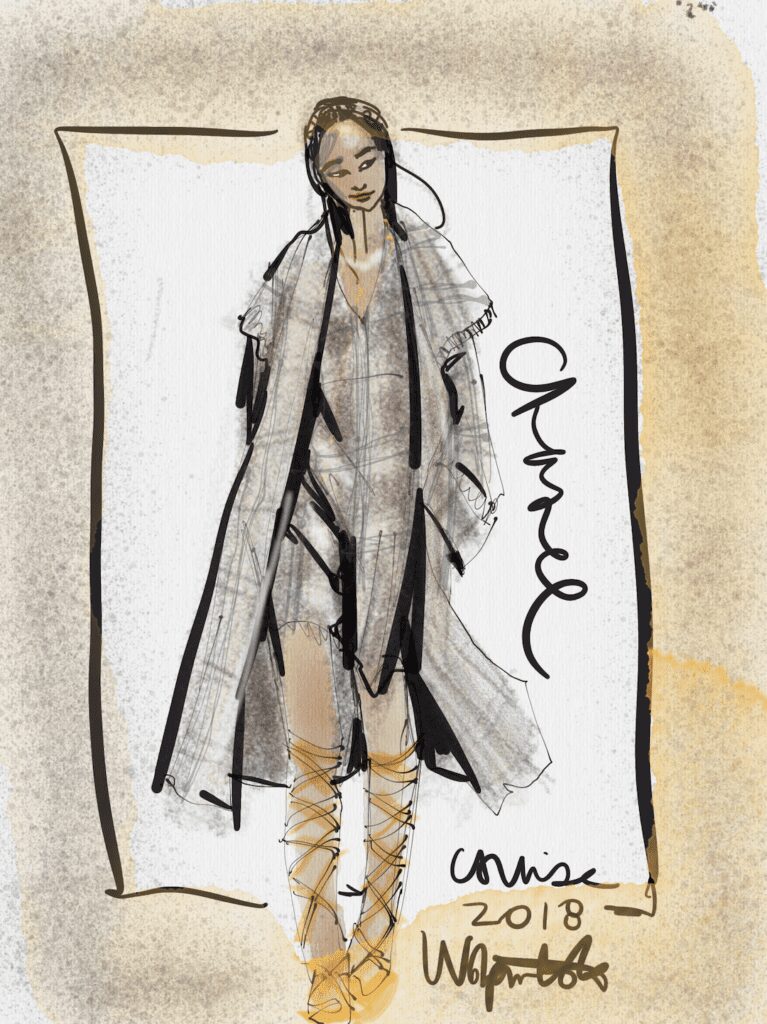
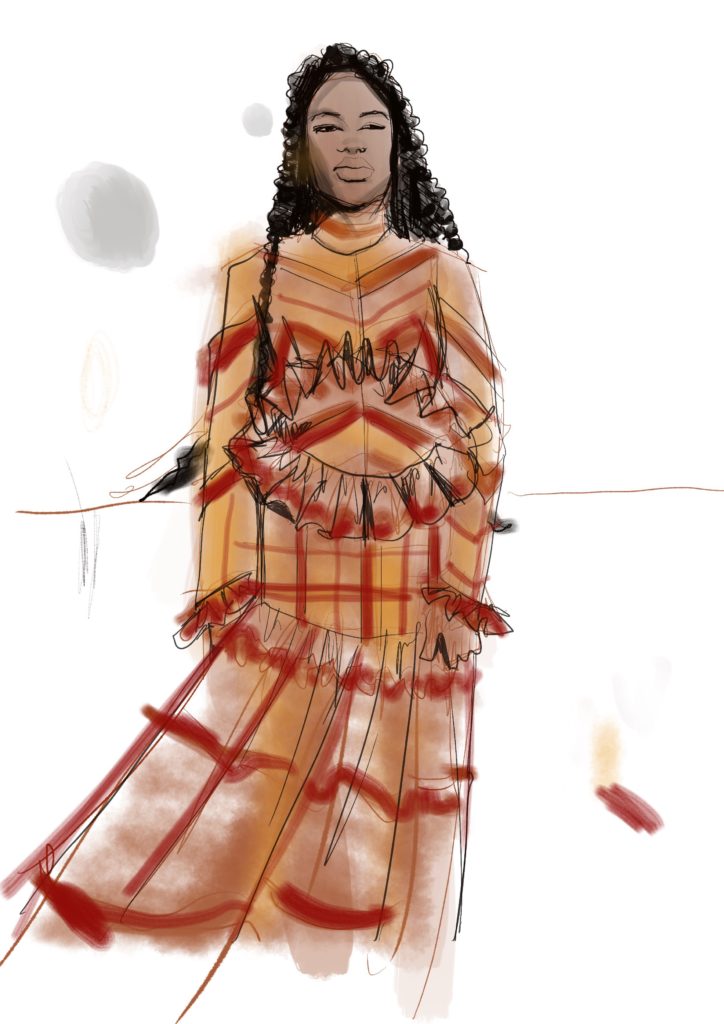 Here is the result of my choices on this sheer fabric for my Procreate app fashion illustration… with a “plaid ” of opaque, rust-colored bands. I drew in the design details like seams and gathers with black, intentionally so that they would be visible independant and separate from the fabric rendering.
 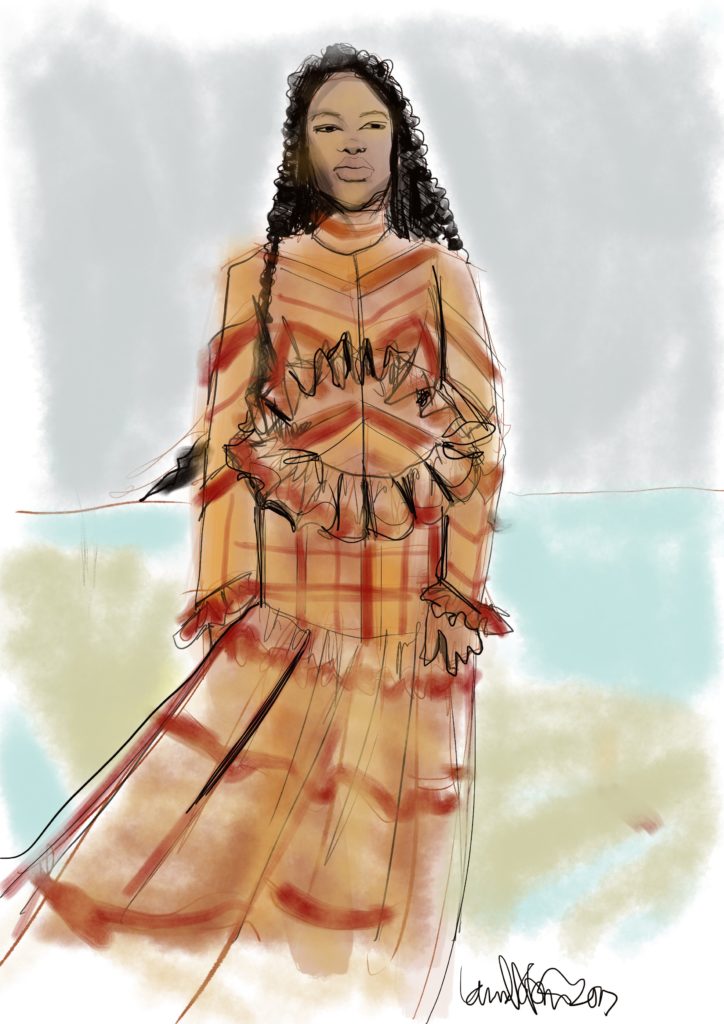 COMPOSITION . Finally, not only do I come out with a sheer overlay of a soft, golden hue to make the dress look more like the dress in the photo I worked from, but I also add in a horizon line and a strip of beach and stormy sky… this adds a lot of mood, a richer color palette, and TONS OF DEPTH TO THE PAGE
I’d love to work with you!
one on one or in my group coaching or self-study online programs!
First, I offer a DIGITAL DRAWING “ABOUT FACES” course to get you comfortable on iPad or Tablet.
it includes my absolute favorite recommendation apps for fashion sketching and illustration along with a whole host of tutorials, examples, exercises, explorations, formats and prompts to move you forward in the realm of ipad fashion sketching.
You can dive in even deeper when you join Soulful Fashion Foundation Immersion online program to take you through a whole semester (16 weeks) of fashion study. I’ll take you from beginner and basic model drawing to finally fashion croquisssketching and illustrating your own unique fashion collection with mood board, fabric swatches, and personal style.
Imagine the confidence you’ll have after completing this program, and becoming so experienced
Don’t hesitate to comment below
with your thoughts or comments, or questions about my programs!
Can’t wait to meet you. I’ve been helping creatives go from beginner to portfolio in the world of fashion at Parsons the New School for Design since 1997 and now I’m here on my own.
Love,
Laura
